


About Libby’s Famous Pumpkin Pie Recipe
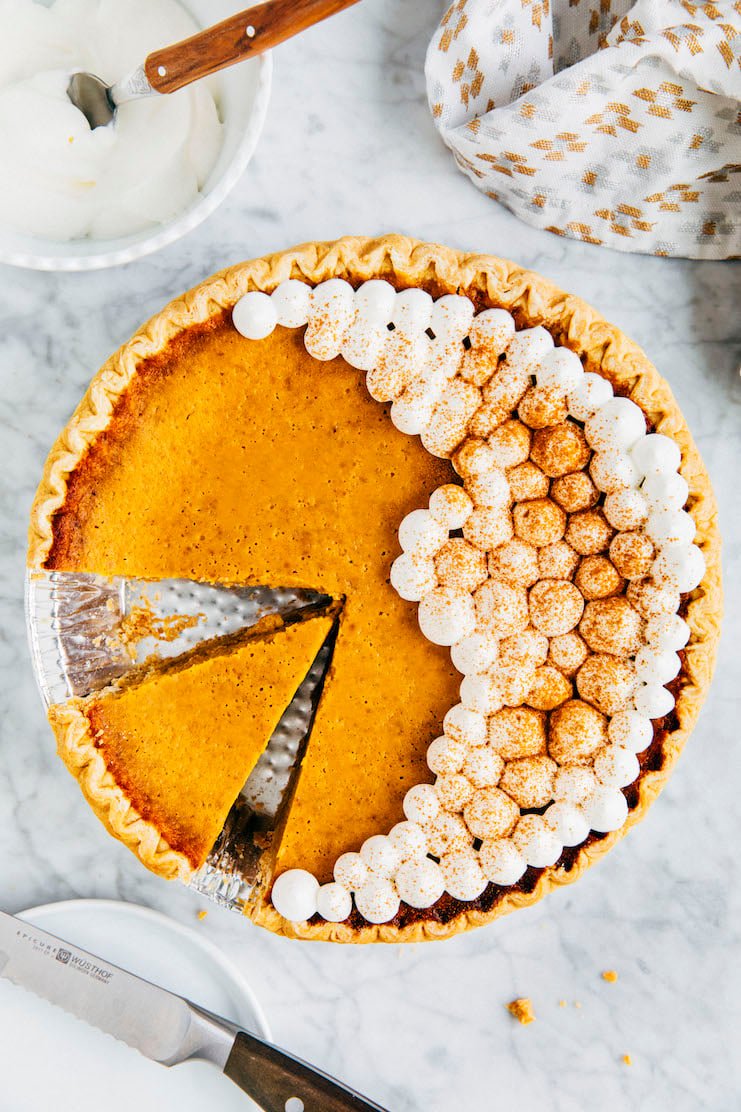
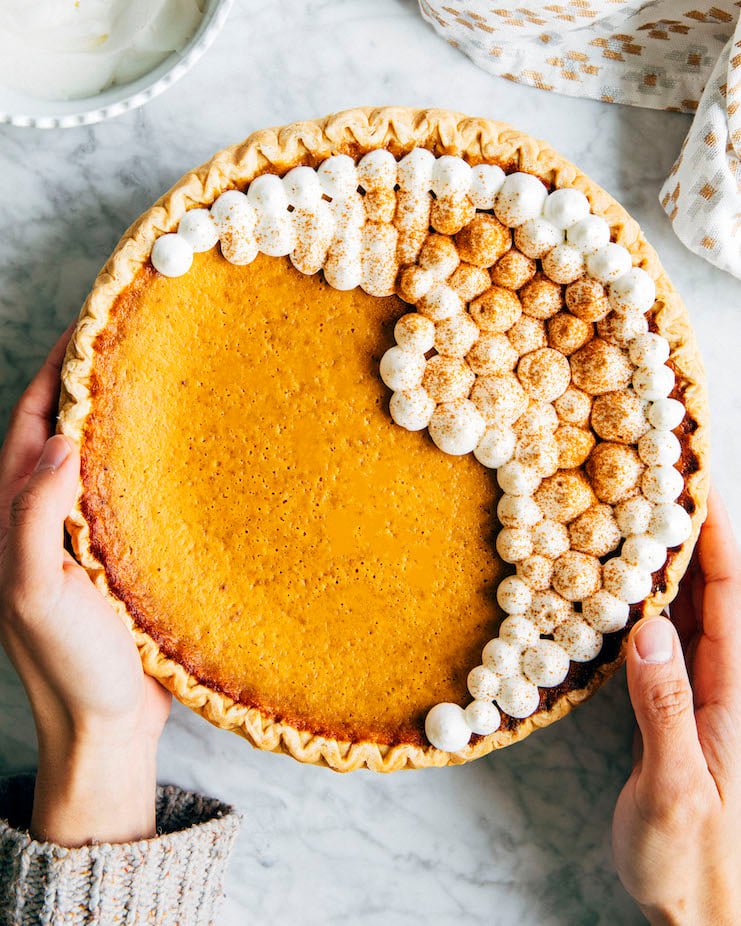
Libby’s Famous Pumpkin Pie Recipe is the perfect pie recipe. It is the dictionary definition of Thanksgiving “pumpkin pie.” The pumpkin pie filling is smooth yet creamy, custardy with just a little bite, and spiced with subtle amounts of cinnamon, ginger and cloves. The best part? The pumpkin pie comes together SO quickly—especially if you use store-bought pie crust like I did!
This recipe is a classic and comes from the back of a Libby’s 100% Pure Pumpkin puree can. And with just a few easy tweaks, you can make Libby’s timeless pumpkin recipe even better!
@hummingbirdhigh google “libby’s pumpkin pie recipe, elevated” if you want the full recipe!!! #bakingrecipe #bakingtiktok #thanksgiving #pumpkinpie ♬ The Great British Bake Off – Tom Howe
This recipe is a part of my Back-Of-The-Box-Recipes baking series, where I bake and review the recipes included the packaging of popular ingredients. Often times, I update the recipes for more modern tastes. I also incorporate techniques and tricks to make the recipes better! Past recipes include my take on the Toll House Chocolate Chip Cookie recipe and the Hershey’s Perfectly Chocolate Cake recipe.
Why You Should Make My Version of Libby’s Pumpkin Pie
My version pre bakes the pie crust.
The original Libby’s Famous Pumpkin Pie recipe on the can simply instructs you to make the filling, then pour it into the pie shell. It does not specify whether the pie shell is homemade, store-bought, raw, baked, frozen, at room temperature, or whatever else.

And between you and me, if I had read this instruction back when I first started baking, I likely would have ruined everybody’s holiday dessert. Why? I probably would have just poured the filling into a raw, frozen, store-bought pie shell. And doing so would have resulted in the soggiest pie crust… ever!
Most custard-filled pie recipes (like pumpkin pie!) instruct you to pre bake the pie crust before filling it. Pre baking the pie crust helps keep the crust crisp and prevents a soggy-bottomed pie. There’s also the fact that many custard fillings cook much faster than the crust itself. The crust needs extra time in the oven to really crisp up.
So in my recipe below, I add specific instructions on how to pre bake store-bought pie crust. Although most store-bought pie crusts have instructions on how to pre bake the crust, I am never satisfied by their results. I found that the crusts were never crispy or done enough! So the recipe below uses my tried and tested method of pre baking pie crust.
My version adds an extra egg yolk to the pumpkin pie filling.
My tried and tested method of pre baking pie crust involves sealing the pie crust with egg wash to prevent it from getting soggy. To make egg wash, simply whisk together 1 large egg white and some water. Then, brush it on the bottom of pre baked crust to lock in the crispiness! Doing so guarantees a crispy pie crust 100% of the time.
My only problem with this method? You end up with a leftover egg yolk. Although you can save it for use in cookie recipes (like these egg yolk chocolate chip cookies or these Neapolitan ones), I’d rather much use it now. In one of my recipe test runs, I ended up adding the leftover egg yolk to the pumpkin pie filling. I *LOVED* the results. The extra egg yolk made the pumpkin pie filling just ever-so-slightly smoother and creamier.
My version instructs you to bake the pie at a consistent temperature throughout its Bake Time.
The original recipe on the back of the can instructs you bake the pie at 425°F for 15 minutes. After 15 minutes, it instructs you to reduce the oven temperature to 350°F and continue baking for another 30 to 40 minutes. This is nothing unusual. Many pie recipes instruct bakers to first bake the pies at a hotter temperature, then at a lower temperature.
But between you and me, I hate it. I think this instruction typically leads to inconsistent results.
Why? It’s likely that your oven will take some time to cool down to the new temperature. But ovens are wildly variable. Some will reduce down to the right temperature in 10 to 15 minutes; others will take 20 to 30 minutes to do so. If your oven naturally runs hot, this instruction puts you at risk for over-baking the pie filling. And doing so comes with its own set of problems (seriously—go look at the Troubleshooting and FAQ section of this blog post).
So my solution? Let’s just bake the pie at a consistent temperature for the entirety of its Bake Time. Simple as that.

Ingredients and Substitutions
Now that I’ve convinced you to make this pumpkin pie, here’s your shopping list for the recipe:
Shopping List for Libby’s Pumpkin Pie Recipe
- a 9-inch, deep-dish frozen pie crust
- large eggs
- canned pumpkin puree
- granulated sugar
- ground cinnamon
- ground ginger
- ground cloves
- kosher salt
- evaporated milk
And let’s talk about some key ingredients and their substitutions:
Ingredient Sources and Substitutions
- Pie Crust. For this recipe, you need a deep-dish frozen pie crust. Deep-dish pie crusts ideally hold around 4 cups of volume and around 2 to 2 ½ inches deep. In contrast, regular pie crusts hold around 2 to 2 ½ cups of volume and are around 1 to 1 ½ inches deep. Store-bought pie crusts will typically specify whether or not they are “deep-dish” (but more on that shortly—not all store-bought pie crusts are created equal!). If the label doesn’t say anything, assume it’s a regular pie crust!
- Pumpkin Puree. You can substitute the canned pumpkin puree with homemade pumpkin puree.
- Spices. If you don’t want to buy individual bottles of cinnamon, ginger, and cloves, you can just buy a Pumpkin Spice mix. Use 1 ¾ teaspoons of the pumpkin spice mix in the recipe!
- Kosher Salt. Kosher salt is the best salt for baking recipes—learn more in my post. But if you don’t have any on hand, you can use table salt. Just use half the amount listed in the recipe below!
The Best Kind of Store-Bought Frozen Pie Crust for Libby’s Pumpkin Pie Recipe
I mentioned earlier that not all store-bought pie crusts are created equal. There’s a shockingly large variety of store-bought pie crust available. But in general, there are two kinds of store-bought frozen pie crust: the kind that comes in a sheet that you roll and shape onto your own pie pan, and the kind that already comes molded onto a disposable pie pan. To make your life easier, I recommend the latter kind that is already in the pan.
And again, find a store-bought frozen pie crust that labels itself “deep-dish” and can hold at least 4 cups of filling. But let me warn you now—some deep-dish pie crusts are LIARS! When I tried to make this with the generic “deep-dish” pie crust my supermarket sold, it wasn’t able to hold the filling. So stick with a trusted brand. I like Marie Callendar’s Deep Dish Pastry Pie Shells and Pillsbury Deep Dish Frozen Pie Crusts.
How To Make Libby’s Pumpkin Pie Better
Below are the basic steps to make my version of Libby’s Pumpkin Pie. Although it’s pretty similar to the original recipe, there are a couple of key steps that elevate the recipe and result in a better pumpkin pie:
First, pre bake the pie crust.
- Prep the pie crust for pre baking. (Prep Time: <5 minutes)
Unwrap the pie crust from its packaging and set it on a lined sheet pan. Cover the crust with foil and make sure that its crimped edges are completely covered. There should be no gaps between the foil and crust—if there are, you risk burning parts of your pie! Fill the covered pie with pie weights. - Pre bake the pie crust. (Bake Time: 30 minutes)
Bake for 30 minutes to “set” the pie crust. While the pie is baking, make your egg wash: whisk together 1 large egg white and 1 teaspoon of water. I also recommend prepping the ingredients—that is, measuring everything out—for the pumpkin pie filling at this time. - Seal the pie crust with egg wash. (Work Time: 5 minutes)
Once the pie crust is done baking for 30 minutes, set the whole thing—sheet pan with the pie full of pie weights—on a wire rack. Don’t forget to leave the oven on! Carefully use the foil to lift out the pie weights into a heatproof bowl. Be careful! Everything will be hot! Brush the bottom and sides of the pie crust with the egg wash. - Finish pre baking the pie crust. (Bake Time: 5 minutes)
Bake for another 5 minutes to “set” the egg wash. Once done, set the pre baked pie on a wire rack to cool slightly while you make the filling.
Then, make the pumpkin pie filling and assemble the pie.
- Make the pumpkin pie filling. (Work Time: 5 minutes)
Libby’s pumpkin pie filling comes together SO quickly. First, whisk together the eggs, egg yolk, and pumpkin puree. Then, mix in the sugar and spices. Finally, gradually pour in the evaporated milk while whisking continuously. That’s it! - Assemble the pumpkin pie. (Work Time: <5 minutes)
Similarly, assembling the pumpkin pie is a breeze! Once you’ve made the pumpkin pie filling, pour it into the pre baked pie shell. That’s it! The best part? There’s no need to wait for the pie shell to cool before doing so.
Finally, bake the pumpkin pie.
- Bake the pumpkin pie. (Bake Time: 50 minutes)
The pumpkin pie needs 50 to 55 minutes in the oven, or until the edges are set but the center of the pie wobbles ever so slightly. Don’t overbake! Overbaking the pumpkin pie leads to cracking and a weird, sandy texture in the filling. Check out the Troubleshooting section below for more information.
Recipe Troubleshooting and FAQ
Help! I couldn’t find the kind of deep-dish frozen pie crust you recommended anywhere. What can I do instead?
No worries! If you can’t find deep-dish frozen pie crust, feel free to use a regular frozen pie crust. Just note that you’ll have some pumpkin pie filling leftover. But don’t throw it out! You can pour the leftover pumpkin pie filling into some ramekins and bake them to make pumpkin pie pots de creme! See the question “What can I do with the leftover pie filling?” below for more information!
I used a deep-dish pie crust but still had filling leftover. What did I do wrong? What can I do with the leftover pie filling?
It’s likely that the deep-dish frozen pie crust that you used wasn’t *actually* deep-dish pie crust. I’ve had this happen with a few brands. Fill your pie crust with as much filling as it can hold and bake as directed in the recipe. However, I recommend checking for doneness at the 45 minute mark instead.
Don’t throw out the leftover pumpkin filling! You can use it to make pumpkin pots de creme. Fill a couple of 4-ounce ramekins with leftover pumpkin filling. Place the ramekins in a baking dish. Pour hot water into the dish, enough for the water to reach two-thirds up the sides of each ramekin. Bake for 30 minutes, or until the edges of the pots de creme are set but the center wobbles ever so slightly when tapped with a knife.
Help! Why did my pumpkin pie crack?
Uh-oh! Cracks in your pumpkin pie filling typically mean that you’ve overbaked the pie.
Note that if you follow the recipe’s instructions to a tee, you can overbake a pie easily if your oven runs too hot. That’s why I always recommend an external oven thermometer. If you don’t want to invest in an external oven thermometer, check the pie 10 to 15 minutes before the recommended Bake Time. Give the side of the pie pan a tap with a butter knife. The edges should be set, but the center should still wobble ever so slightly. If the center wobbles violently, it needs more time in the oven. If it doesn’t wobble at all, bad news: you’ve overbaked your pie.
Help! Why did my pumpkin pie puff up?
Okay, how puffed are we talking here? If it puffed up ever so slightly, just around the edges, there’s nothing to panic about! That’s 100% normal. The pie will flatten slightly as it cools.
However, if we’re talking about SUPER puffed up—like, the entire filling looks like a soufflé—this is very bad news. It typically means that your oven runs WAY too hot and you’ve accidentally overcooked the filling. Again—see my point above about investing in an external oven thermometer! Sometimes it’s worth it to get the right tools in the kitchen. 😜
Can you freeze Libby’s Pumpkin Pie?
Yes!
Cool the pumpkin pie on a wire rack completely. Once it’s cool, stick the entire thing—pie pan and all—in the freezer. At this point, leave it uncovered. You’re freezing it to get the filling solid for wrapping later. Freeze for 2 to 4 hours, until the pie filling is completely solid. Then, wrap the entire thing in two layers of plastic wrap and a layer of aluminum foil. Doing so ensures that the pumpkin pie doesn’t absorb any flavors or odors from other goods in the freezer. Freeze for up to 3 months.
To serve, transfer to the refrigerator to thaw overnight. Serve slightly chilled, or rewarm individual slices in the microwave.
Best Recipe Tips
- This recipe instructs you to brush the pie crust with an egg wash made from 1 large egg white and 1 teaspoon of water. Don’t throw out the leftover egg yolk! You’ll need it for the pumpkin pie filling.
- For the best pie crust, only brush the bottom and sides of the pie crust with egg wash. Avoid brushing the pie crust crimp. Doing so will cause it to overly brown and burn before the filling is done cooking! So don’t worry if you have leftover egg wash—this is normal.
Video Tutorial for The Recipe
Use the video player below to watch my Instagram Story tutorial on how to make Libby’s pumpkin pie recipe! The arrows to the left and right of the frame allow you to skip through the different recipe steps. You can also hit the “pause” or “enlarge” buttons on the upper right hand side of the frame to pause or enlarge the frames accordingly.
Alternatively, head to my Instagram profile to watch these Stories on mobile! The circles underneath my bio indicate saved Instagram Story highlights for various recipes. Click on one of the circles to play the video tutorial for the recipe. You may need to swipe left or right to find this Libby’s pumpkin pie recipe.
Get the Recipe:
The Elevated Libby’s Pumpkin Pie Recipe
Prep: 5 minutes
Cook: 10 minutes
Bake Time: 1 hour 25 minutes
Total: 1 hour 40 minutes
Servings: 1 9-inch pie
This is the Libby’s Famous Pumpkin Pie recipe on the back of a Libby’s 100% Pumpkin Puree can, but made better with some easy pie baking tricks I’ve learned over the years! With its super smooth texture and subtly spiced filling, this recipe is the dictionary definition of a Thanksgiving pumpkin pie!
Prevent your screen from going dark
For the Elevated Libby’s Pumpkin Pie
For the Elevated Libby’s Pumpkin Pie
-
Prep your oven. Position a rack in the center of the oven and preheat the oven to 350°F. Line a half sheet pan with parchment paper.
-
Prep the pie crust. Place the frozen crust, still in its plate, in the center of the pan. Cover the crust with foil, making sure the crimped edges are completely covered and that there are no gaps between the foil and the crust. Fill with pie weights and spread them out so they are more concentrated around the edges of the crust.
-
Prebake the crust. Bake for 30 minutes. While the crust is in the oven, make the egg wash: In a small bowl, whisk together the egg white and water.
-
Remove the sheet pan from the oven, keeping the oven on. Carefully lift out the pie weights and foil. Use a pastry brush to coat the bottom and sides of the pie crust (but not the crimped border) with a thin layer of egg wash. Bake, uncovered, for an additional 5 minutes. Set aside on a wire rack to cool slightly while you make the pumpkin pie filling.
-
Make the pumpkin pie filling. In a medium bowl, whisk together the eggs, egg yolk, and pumpkin puree. Whisk in the sugar, cinnamon, ginger, cloves, and salt. Slowly add the evaporated milk and whisk to combine. Pour the mixture into the pre baked pie crust on the sheet pan.
-
Bake the assembled pumpkin pie. Bake for 50 to 55 minutes, or until the edges are set and the center of the pie just slightly jiggles. Cool on a wire rack.
-
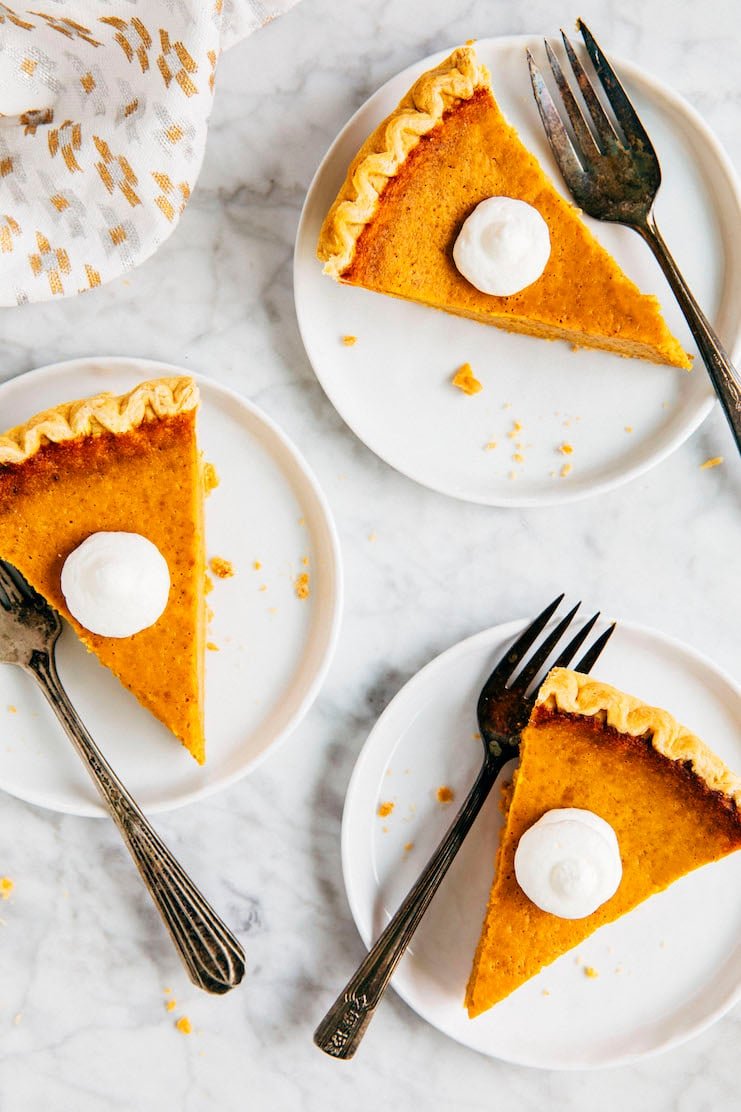
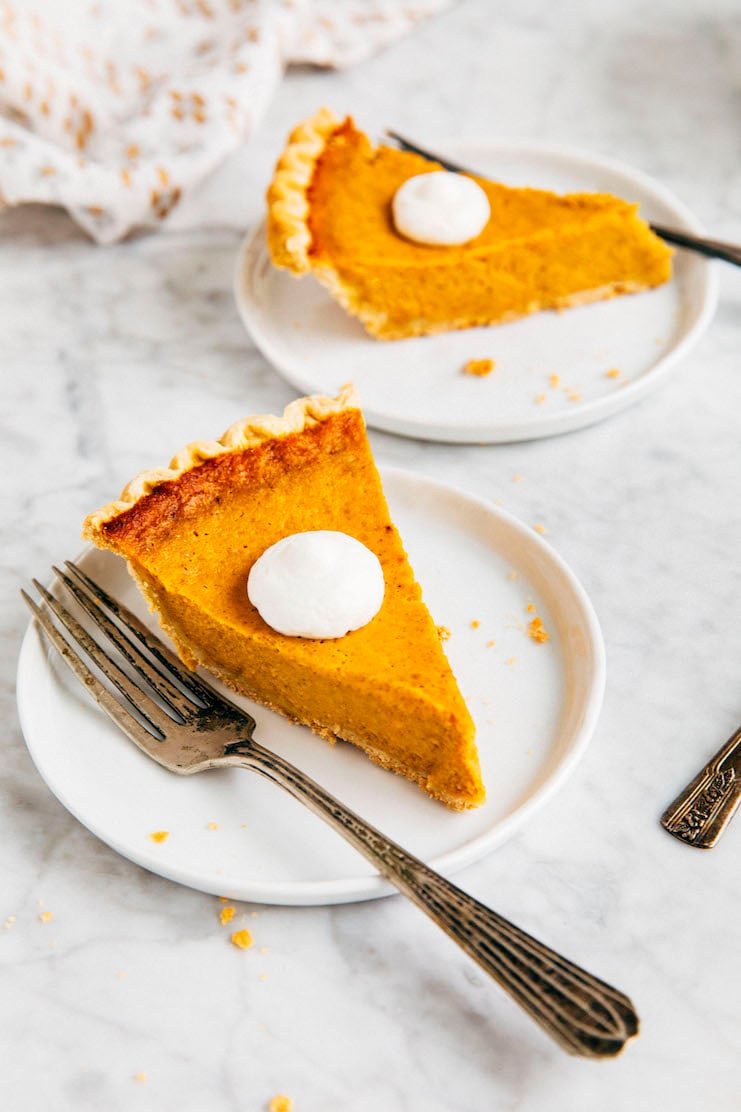
Serve and store. Serve slightly warm or at room temperature with whipped cream. The pie can be kept at room temperature, under a cake dome or a large bowl turned upside down, for 1 day. After that, cover tightly in plastic wrap and refrigerate for 2 more days.
get new recipes via email:
buy the book
Weeknight Baking:
Recipes to Fit your Schedule
Over the past several years of running Hummingbird High, I kept a crucial aspect of my life hidden from my readers: I had a full-time, extremely demanding job in the tech world. In my debut cookbook, Weeknight Baking, I finally reveal the secrets to baking delicious desserts on a tight schedule.
")
")