


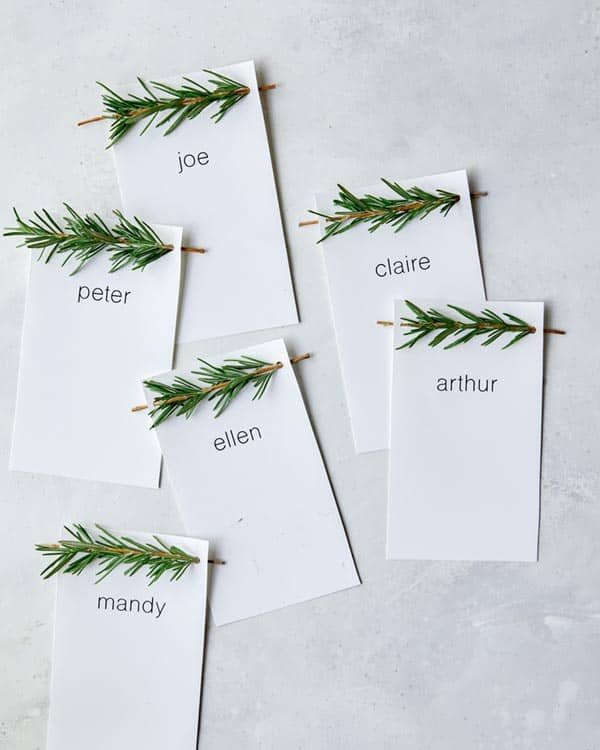
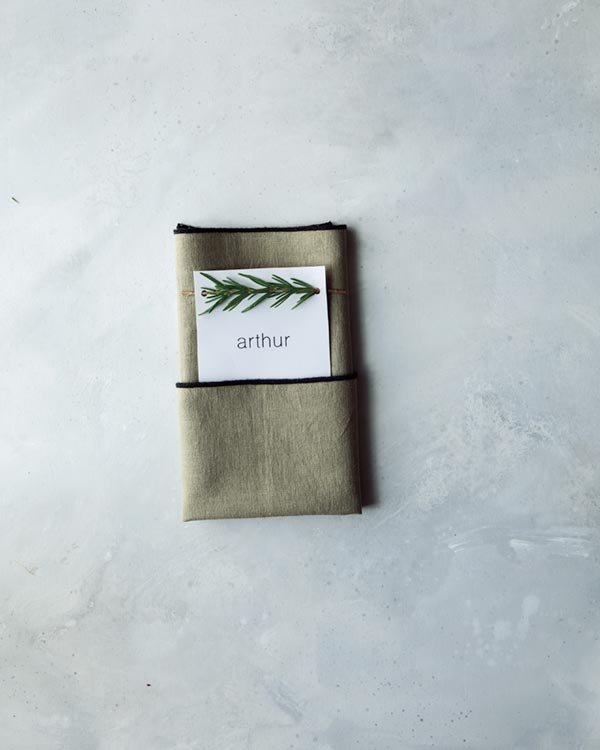
These Rosemary Sprig Place Cards are an easy DIY! They take only a handful of readily available supplies and come together super quick. Perfect if you’re looking for some last minute holiday place cards!

Personalized place cards are the finishing touch to any holiday table. I love thinking of new ways to make cute and easy DIYs and these Rosemary Sprig Place Cards fall into both of the categories! Cute and easy. This DIY takes only three things to make. I love that the rosemary is readily available at grocery stores making this a great last minute DIY too! So let’s get started!
How to make Rosemary Sprig Place Cards
Supplies

- Printed name cards – you can use this template and type each name or hand write them. You can also just cut rectangles of paper and avoid a printer all together. Each rectangle should measure approximately 3.5″ x 6″. The holes should be a half an inch from the stop, and a quarter inch from the sides. The names should be 1.75″ below the top edge of the paper.
- Rosemary Sprigs
- Hole Punch
- Scissors
Process
- Print name cards using this template. Or you can trim cards into 3.5″ x 6″ rectangles. Hand write names on them, or print names.
- Using a hole punch, punch holes into the rectangle. My hole punch is similar to this one, which I love.
- Trim rosemary springs into 4.5″ lengths. Remove leaves leaving half an inch bare stem on either side of the sprigs.
- Carefully thread the rosemary sprigs into the holes.


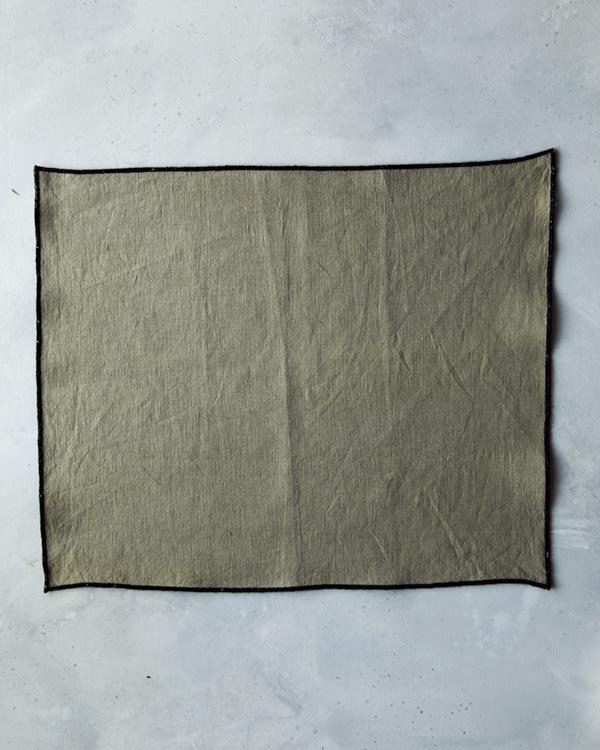
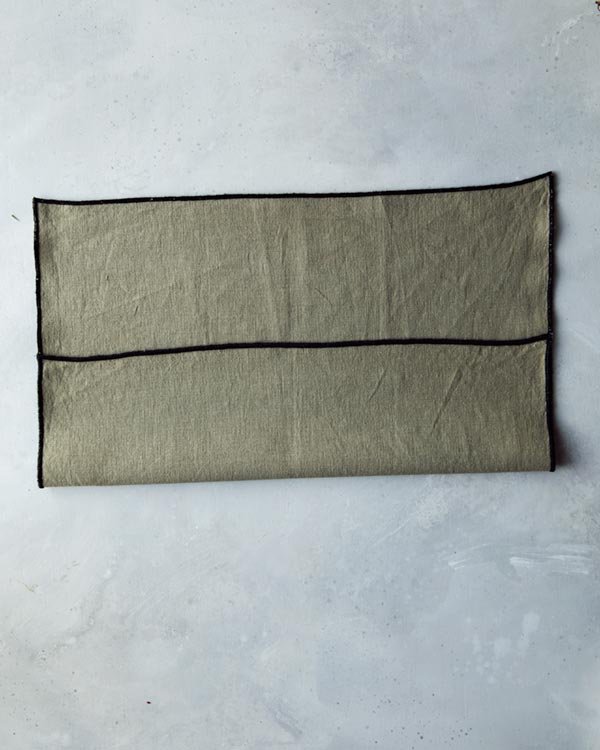
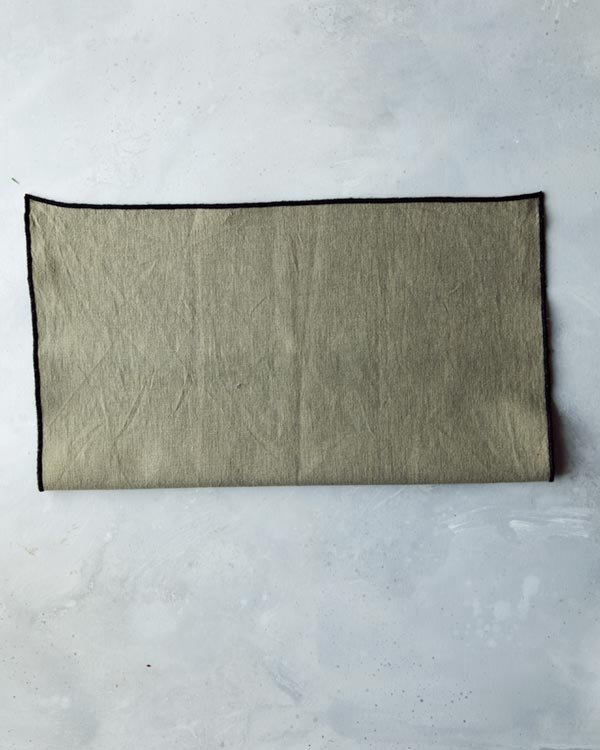
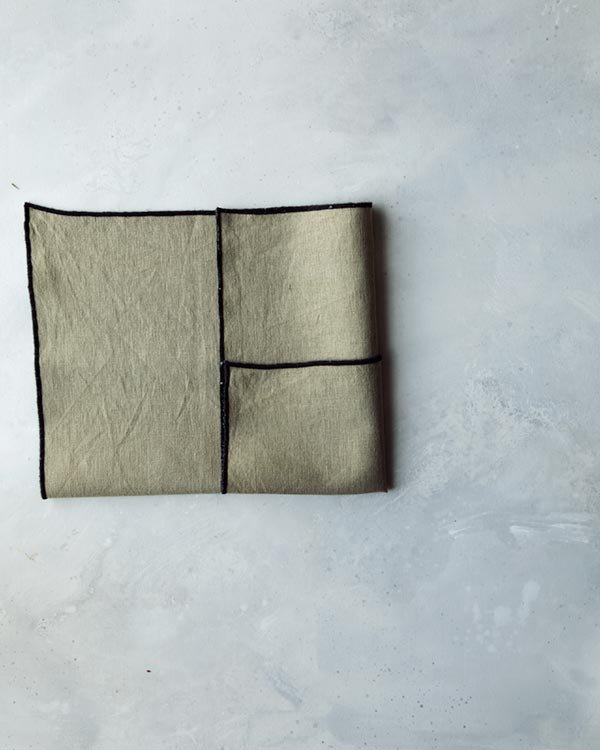
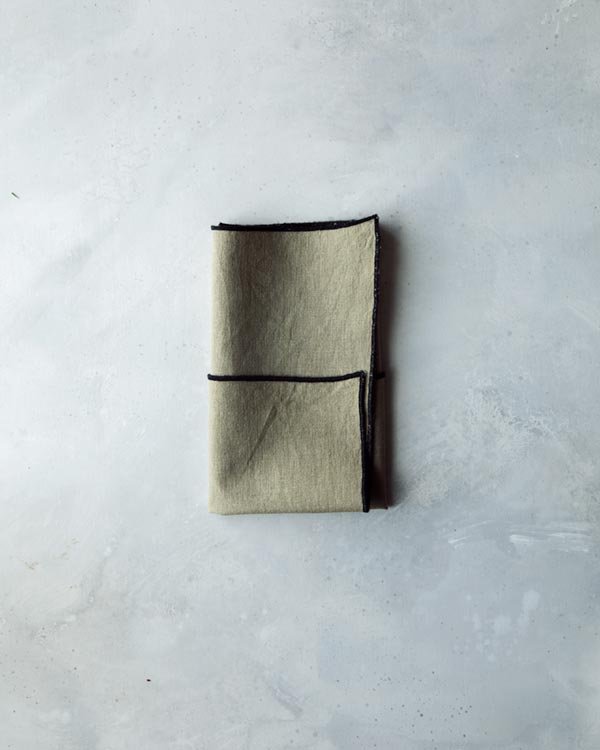
How to fold a napkin with a pocket
I love tucking these place cards into a pocket of the napkin. It’s really easy to fold a napkin to create a pocket, so I wanted to show you how I do it.


Tips and Tricks
- It’s important that you keep the holes on the paper a quarter of an inch in from the edge or more. This will help you avoid ripping the paper when you thread the rosemary stems in the holes.
- When you trim the rosemary to length, be sure to trim the top and the bottom. The ideal situation for the sprigs is to have a thicker stem at both ends. Sometimes with rosemary the top of the sprigs are wreak and floppy. That is best to cut off.
- The best rosemary for this project is the kind that is loose and doesn’t come in the plastic clam shells. I find that the ones in the plastic clam shells are often folded to fit and therefore bread. The farmers market is also a great resource – or a friends rosemary bush!
Other Holiday DIYs you might like:

- Rosemary Wreath Place Cards
- DIY Mini Wreath Place Cards
- Cement and Wood Place Card DIY
- DIY Place Cards

Hungry for more?
Subscribe to never miss a recipe. Follow along on Instagram, Facebook, Twitter, and Pinterest.

Rosemary Sprig Place Cards
These Rosemary Sprig Place Cards are an easy DIY! They take only a handful of readily available supplies and come together super quick. Perfect if you’re looking for some last minute holiday place cards!
EQUIPMENT
-
hole punch
-
Scissors
SUPPLIES
- 6 rosemary sprigs
- 6 printed name tag rectangles
INSTRUCTIONS
-
Print name cards using this template. Or you can trim cards into 3.5″ x 6″ rectangles. Hand write names on them, or print names.

-
Using a hole punch, punch holes into the rectangle.

-
Trim rosemary springs into 4.5″ lengths. Remove leaves leaving half and inch bare stem on either side of the sprigs.

-
Carefully thread the rosemary sprigs into the holes.

NOTES
Here is a link to the template I made for these rosemary sprig place cards.
KEYWORD: DIY, place cards


")
")