


About My Best Easy Vegan Pumpkin Pie
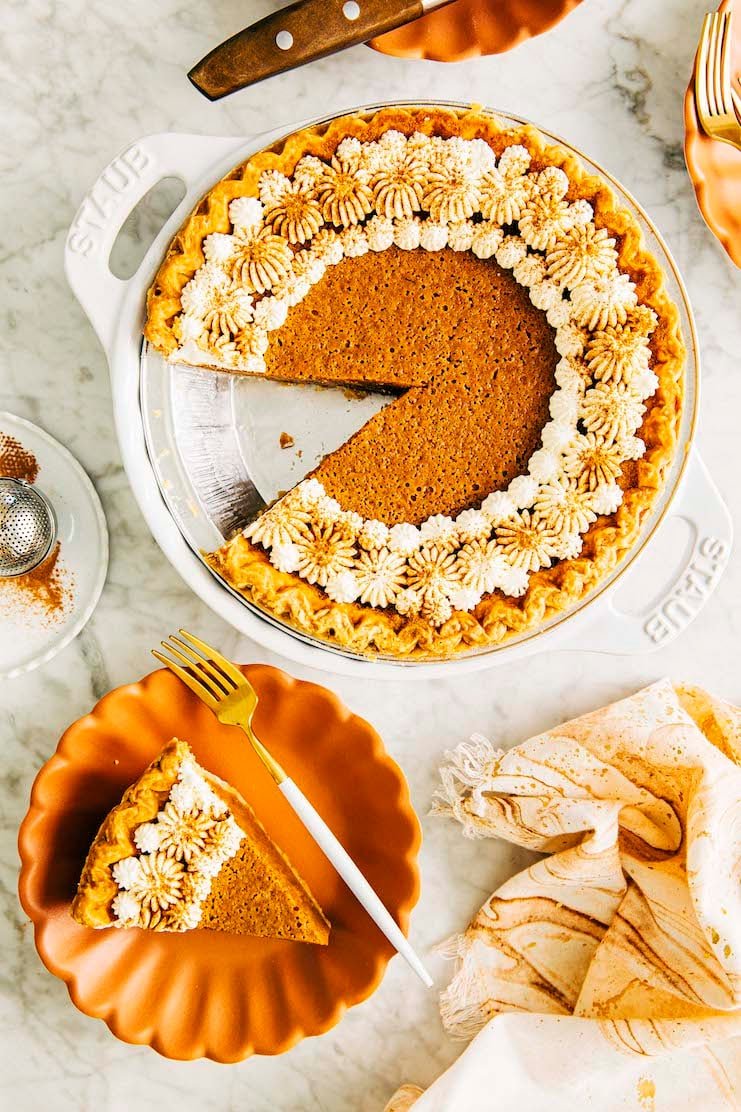
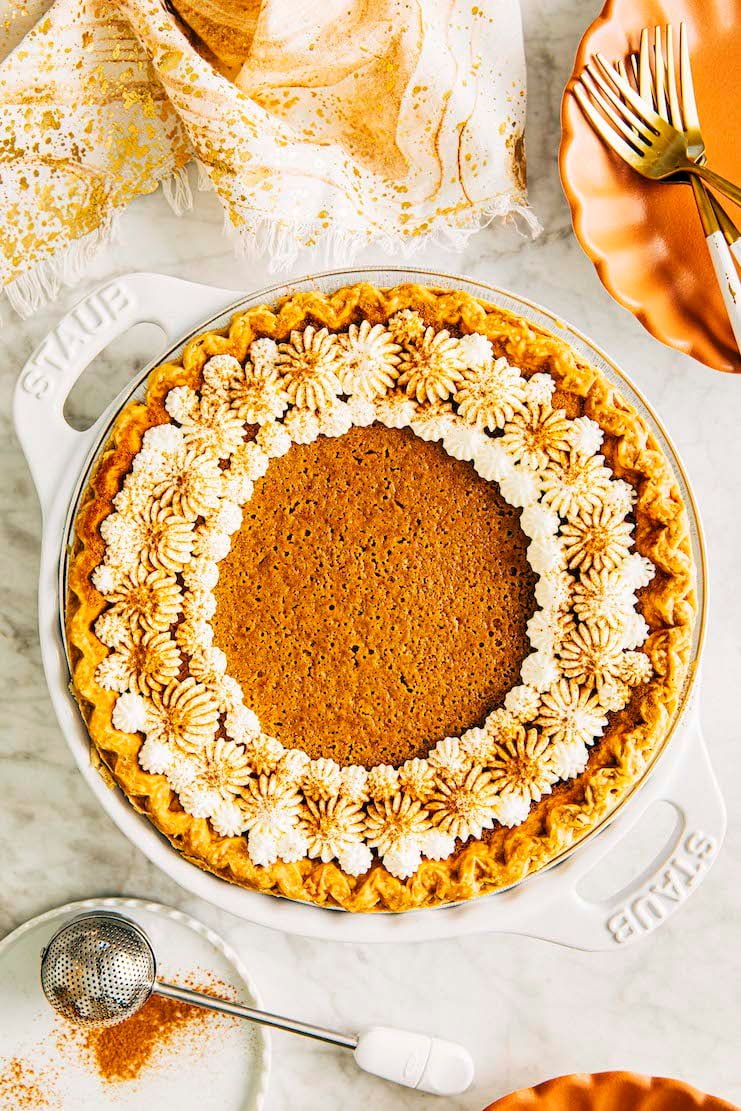
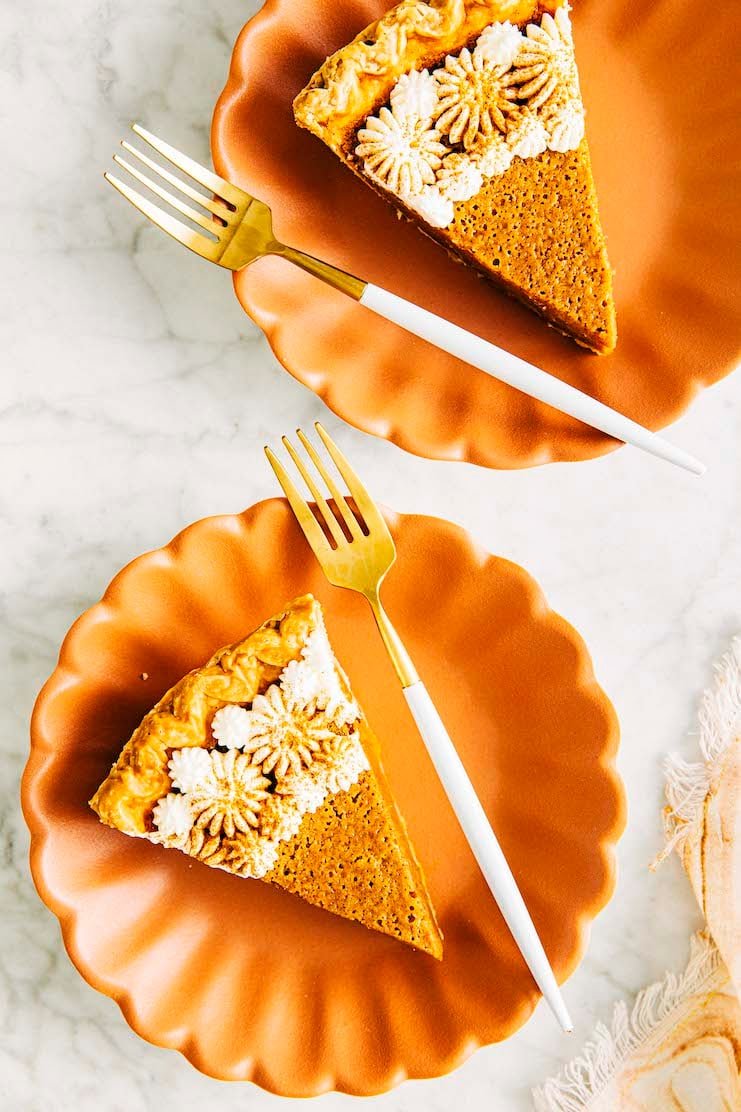
My best easy vegan pumpkin pie recipe is made with a coconut milk based pumpkin custard in a store bought vegan pie crust! The recipe comes together SO quickly—the custard comes together in less than 5 minutes! You can also customize the recipe by swapping out the crust for a homemade one, or even a gluten-free pie crust. It’s the perfect recipe for folks who want a quick-and-easy make ahead Thanksgiving dessert perfect for all diets and lifestyles.
For more unique Thanksgiving pie recipes, check out Hummingbird High‘s Pie Recipe collection! Popular recipes include this elevated Libby’s Pumpkin Pie Recipe and Chocolate Chess Pie.
Ingredients and Substitutions
Now that I’ve convinced you to make my easy vegan pumpkin pie recipe, here’s everything you need:
Shopping List For My Best Easy Vegan Pumpkin Pie Recipe
Be sure to scroll down to the recipe card for the exact ingredient quantities:

- a 9-inch, deep-dish frozen vegan pie crust
- virgin (unrefined) OR refined coconut oil
- canned pumpkin puree
- canned coconut milk
- pumpkin pie spice
- ground cinnamon
- kosher salt
- cornstarch
- organic light OR dark brown sugar
- maple syrup
- vegan whipped cream
All About Store Bought Pie Crust (Vegan Or Otherwise)
Deep-Dish Frozen Pie Crust versus Regular Frozen Pie Crust
Deep-dish pie crusts ideally hold around 4 cups of volume and around 2 to 2 ½ inches deep. In contrast, regular pie crusts hold around 2 to 2 ½ cups of volume and are around 1 to 1 ½ inches deep. Store-bought pie crusts will typically specify whether or not they are “deep-dish” (but more on that shortly—not all store-bought pie crusts are created equal!). If the label doesn’t say anything, assume it’s a regular pie crust!
The Best Kind of Store-Bought Frozen Vegan Pie Crust
I mentioned earlier that not all store-bought pie crusts are created equal. There’s a shockingly large variety of store-bought pie crust available. But in general, there are two kinds of store-bought frozen pie crust: the kind that comes in a sheet that you roll and shape onto your own pie pan, and the kind that already comes molded onto a disposable pie pan. To make your life easier, I recommend the latter kind that is already in the pan.
And again, find a store-bought frozen pie crust that labels itself “deep-dish” and can hold at least 4 cups of filling. But let me warn you now—some deep-dish pie crusts are LIARS! When I tried to make this with the generic “deep-dish” pie crust my supermarket sold, it wasn’t able to hold the filling. So stick with a trusted brand. I like Marie Callender’s Deep Dish Pastry Pie Shells and Wholly Wholesome Organic Traditional 9″ Pie Shells.
Hold the phone—Marie Callender’s pie crust is VEGAN?!
Yep! It is “accidentally” vegan and even PETA-approved.
What does “accidentally” vegan mean? It means that the item does not use any animal products like dairy and eggs. To wit—Marie Callender’s makes its frozen pie crusts with soybean oil instead of butter. That being said, their pie crusts are still manufactured in a facility that also processes other items made with animal products. That’s why I say it is “accidentally” vegan!
So if you are super strict about your veganism, you may want to make your own vegan pie crust from scratch (I like my friend Erin McDowell’s recipe in The New York Times—it’s made with shortening!).
Alternatively, you can source a product that is deliberately vegan and makes its items in an animal product-free facility. I think that’s harder to find, but this website has a good round-up and analysis of different store-bought vegan pie crusts.
Can I use a frozen vegan pie crust that I roll out and shape into the pie pan instead?
Yes, with reservations. First, make sure you have a 9-inch, deep-dish pie pan at home that can hold at least 4 cups of volume. Then, make sure to buy a pie dough sheet big enough to fit your pan.
My favorite rolled vegan pie crust is by Wholly Wholesome. They use shortening in place of butter.
Can I use a gluten-free pie crust instead?
Yes, absolutely! Wholly Wholesome makes a store-bought frozen pie crust that is both vegan AND gluten-free.
All About Store Bought Vegan Whipped Cream
These days, there are a surprising amount of options for vegan whipped cream. Reddi Wip, one of the largest whipped cream brands in the United States, sells several non dairy whips made with coconut and almond.
However, my personal favorite vegan whipped cream is this CoCoWhip from So Delicious Dairy Free. You can typically find it in the refrigerated aisles of most major supermarkets, especially fancy ones like Whole Foods.
Can I make my own vegan whipped cream?
Yes! In a pinch, you can make your own vegan whipped cream from coconut cream. I have an official recipe for it in my cookbook, Weeknight Baking.
But if you don’t own a copy of my book, here’s a truncated version of the recipe: chill a can or box of coconut cream, then whip it with 1 to 2 Tablespoons of confectioners’ sugar (or, to taste). That’s it!
How To Make The Recipe
Here are the basic steps to make my best easy vegan pumpkin pie:
First, pre bake the pie crust.
- Prep the pie crust for pre baking. (Prep Time: <5 minutes)
Unwrap the pie crust from its packaging and set it on a lined sheet pan. Cover the crust with foil and make sure that its crimped edges are completely covered. There should be no gaps between the foil and crust—if there are, you risk burning parts of your pie! Fill the covered pie with pie weights. - Pre bake the pie crust. (Bake Time: 30 minutes)
Bake for 30 minutes to “set” the pie crust. I also recommend prepping the ingredients—that is, measuring everything out—for the pumpkin pie filling at this time. - Seal the pie crust with melted coconut oil. (Work Time: 5 minutes)
Once the pie crust is done baking for 30 minutes, set the whole thing—sheet pan with the pie full of pie weights—on a wire rack. Don’t forget to leave the oven on! Carefully use the foil to lift out the pie weights into a heatproof bowl. Be careful! Everything will be hot! Brush the bottom and sides of the pie crust with the coconut oil.What’s the point of this step? The coconut oil bakes into the crust, creating a kind of glaze that “waterproofs” and “seals” the crust from the pie filling. This extra step ensures that you get a pumpkin pie with no soggy bottom, and instead an extra crispy crust!
- Finish pre baking the pie crust. (Bake Time: 5 minutes)
Bake for another 5 minutes to “set” the coconut oil. Once done, set the pre baked pie on a wire rack to cool slightly while you make the filling.
Then, make the pumpkin pie filling and assemble the pie.
- Make the pumpkin pie filling. (Work Time: 5 minutes)
The pumpkin pie filling comes together SO quickly. First, whisk together the pumpkin puree, coconut milk, and spices. Then, whisk in the cornstarch and brown sugar. Finally, gradually pour in the maple syrup while whisking continuously. That’s it! - Assemble the pumpkin pie. (Work Time: <5 minutes)
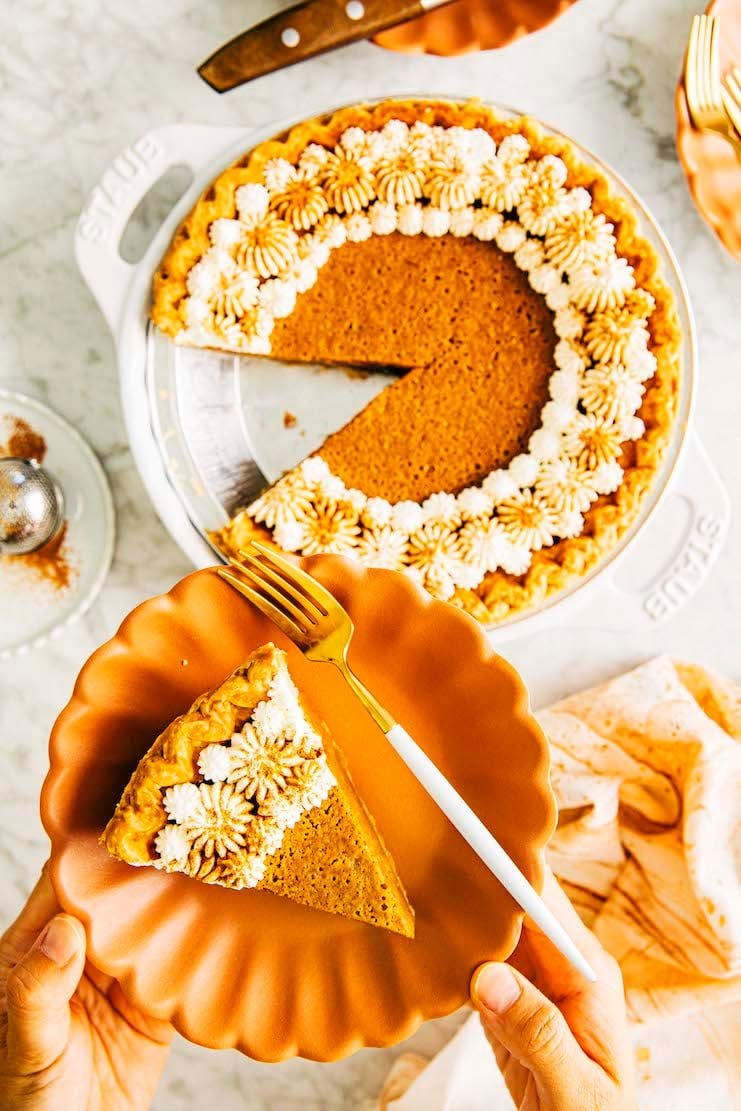
Similarly, assembling the pumpkin pie is a breeze! Once you’ve made the pumpkin pie filling, pour it into the pre baked pie shell. That’s it! The best part? There’s no need to wait for the pie shell to cool before doing so.
Finally, bake the pumpkin pie.
- Bake the pumpkin pie. (Bake Time: 45 minutes)
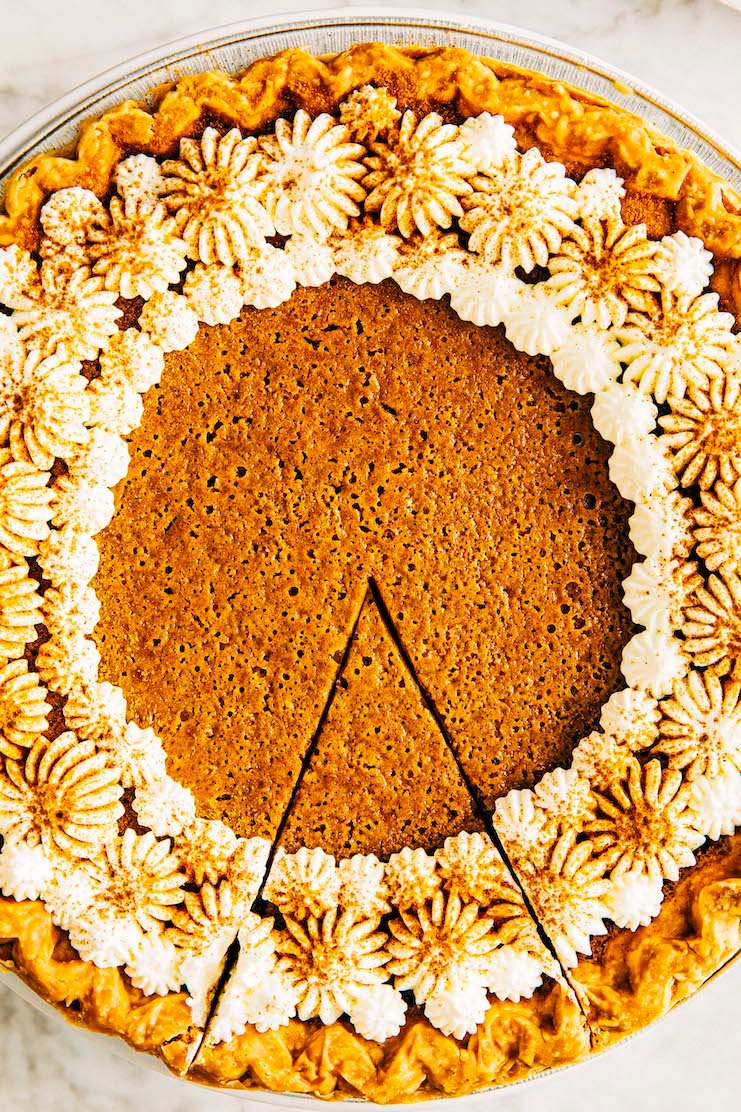
The pumpkin pie needs 45 to 50 minutes in the oven, or until the edges are set but the center of the pie wobbles ever so slightly. Unlike with conventional pumpkin pies, you don’t need to worry about potentially overbaking the pie and causing its filling to crack (that’s mostly an issue with eggs). However, you still want to ensure that it wobbles in the center so you don’t end up with an overly firm custard. It will continue to cook and set after you pull it out the oven!
Recipe Troubleshooting and FAQ
Why do you prebake the crust?
Most custard-filled pie recipes instruct you to pre bake the pie crust before filling it. Prebaking the pie crust helps keep the crust crisp and prevents a soggy-bottomed pie. There’s also the fact that many custard fillings cook much faster than the crust itself. The crust needs extra time in the oven to really crisp up. Learn more in my post on How to Pre Bake Pie Crust.
In my recipe below, I add specific instructions on how to pre bake store-bought pie crust. Although most store-bought pie crusts have instructions on how to pre bake the crust, I am never satisfied by their results. I found that the crusts were never crispy or done enough! So the recipe below uses my tried and tested method of pre baking pie crust. It includes a neat trick on “waterproofing” the crust with coconut oil.
Can you freeze vegan pumpkin pie?
Yes!
Cool the pumpkin pie on a wire rack completely. Once it’s cool, stick the entire thing—pie pan and all—in the freezer. At this point, leave it uncovered. You’re freezing it to get the filling solid for wrapping later. Freeze for 2 to 4 hours, until the pie filling is completely solid. Then, wrap the entire thing in two layers of plastic wrap and a layer of aluminum foil. Doing so ensures that the pumpkin pie doesn’t absorb any flavors or odors from other goods in the freezer. Freeze for up to 3 months.
To serve, transfer to the refrigerator to thaw overnight. Serve slightly chilled, or rewarm individual slices in the microwave.
Best Recipe Tips
Equipment Tip
- No pie weights? No problem! You can use other pantry items like beans, rice, and even granulated sugar in their place. And if you don’t want to waste food, you can also use household items like coins from your loose change jar! I promise the coins won’t melt in the oven—it takes a LOT of heat to melt metal.
Technique Tip
- For the best pie crust, only brush the bottom and sides of the pie crust with coconut oil. Avoid brushing the pie crust crimp. Doing so will cause it to overly brown and burn before the filling is done cooking! So don’t worry if you have leftover coconut oil—this is normal.
Get the Recipe:
My Best Easy Vegan Pumpkin Pie Recipe
Servings: 1 (9-inch) pie
My best easy vegan pumpkin pie recipe is made with a coconut milk based pumpkin custard in a store bought vegan pie crust! The recipe comes together SO quickly—the custard comes together in less than 5 minutes!
Prevent your screen from going dark
For My Best Easy Vegan Pumpkin Pie
For My Best Easy Vegan Pumpkin Pie
-
Prep your oven. Position a rack in the center of the oven and preheat the oven to 350°F. Line a half sheet pan with parchment paper.
-
Prep the pie crust. Place the frozen crust, still in its plate, in the center of the pan. Cover the crust with foil, making sure the crimped edges are completely covered and that there are no gaps between the foil and the crust. Fill with pie weights and spread them out so they are more concentrated around the edges of the crust.
-
Prebake the crust. Bake for 30 minutes. After 30 minutes, remove the sheet pan from the oven, keeping the oven on. Carefully lift out the pie weights and foil. Use a wooden skewer or a fork to poke holes all over the bottom and sides of the pie crust.Brush the bottom and sides of the pie crust (but not the crimped border) with a thin layer of the melted coconut oil. Bake, uncovered, for an additional 5 minutes. Set aside on a wire rack to cool slightly while you make the pumpkin pie filling.
-
Make the pumpkin pie filling. In a medium bowl, whisk together the pumpkin puree, coconut milk, pumpkin pie spice, cinnamon, and salt. Whisk in the cornstarch and brown sugar. Slowly add the maple syrup and whisk to combine. Pour the mixture into the pre baked pie crust on the sheet pan.
-
Bake the assembled pumpkin pie. Bake for 45 to 50 minutes, or until the edges are set and the center of the pie just slightly jiggles. Cool on a wire rack.
-
Serve and store. Serve slightly warm or at room temperature with whipped cream. The pie can be kept at room temperature, under a cake dome or a large bowl turned upside down, for 1 day. After that, cover tightly in plastic wrap and refrigerate for 2 more days.
Did you make this recipe?
Please leave a comment and rating for the recipe using the form below!
Your ratings make it easier to find the recipe online, and I’m always looking for ways to improve Hummingbird High.
get new recipes via email:
buy the book
Weeknight Baking:
Recipes to Fit your Schedule
Over the past several years of running Hummingbird High, I kept a crucial aspect of my life hidden from my readers: I had a full-time, extremely demanding job in the tech world. In my debut cookbook, Weeknight Baking, I finally reveal the secrets to baking delicious desserts on a tight schedule.
")
")