


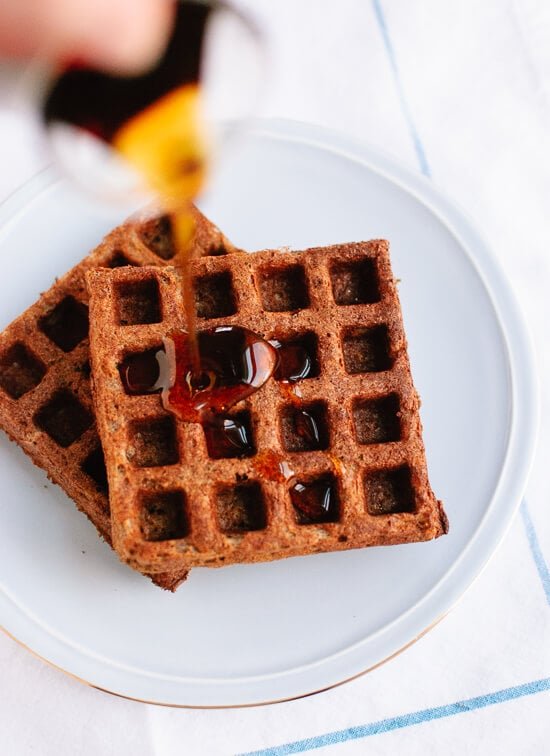
I have high standards when it comes to waffles. They must be:
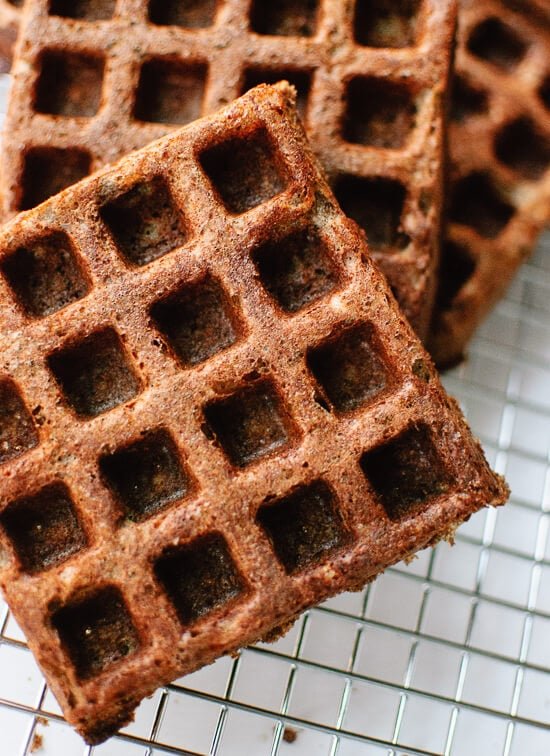
- crisp on the outside,
- fluffy on the inside,
- light but made with whole grains, so they stick with me for longer than a couple of hours.
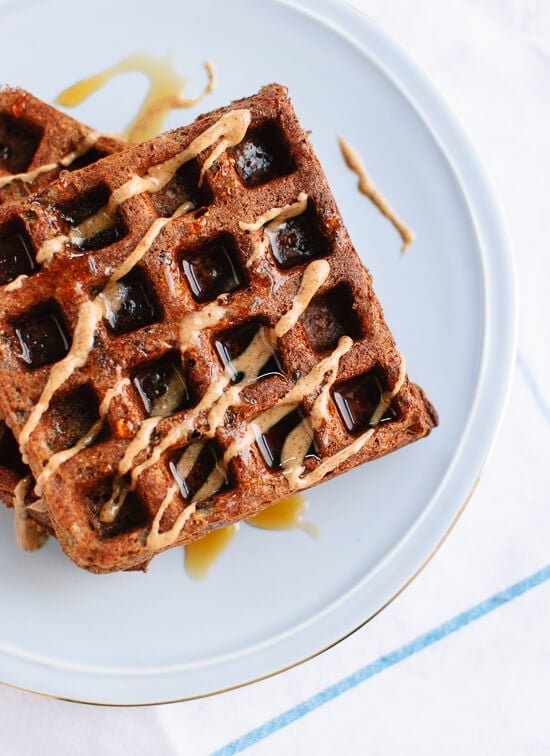
These 100 percent buckwheat waffles meet all of those qualifications and then some.

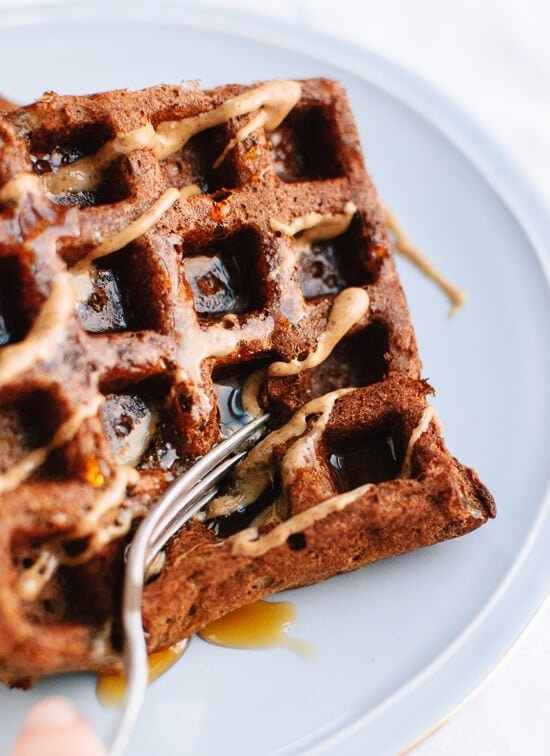
They possess buckwheat’s rich, nutty flavor, which makes them more unique than my go-to oat waffles.
Plus, I can share them with my gluten-free friends since they’re made with buckwheat flour. You can also make them dairy-free with two simple adjustments (see the recipe notes). I think you’ll love them.
These waffles freeze well for future breakfasts. Pop them in the toaster until warmed through.
Don’t have a waffle maker? Try some buckwheat pancakes or crepes instead!
More Gluten-Free Breakfast Recipes
Here are a few gluten-free favorites from my breakfast recipes:
Please let me know how your waffles turn out in the comments! I love hearing from you.
Gluten-Free Buckwheat Waffles
This simple, 100 percent buckwheat flour recipe yields light and crisp waffles that are nice and fluffy on the inside! This recipe yields waffles for two to three people, so multiply the recipe as needed.
- Preheat your waffle iron. If desired, preheat oven to 200 degrees Fahrenheit to keep waffles warm until you’re ready to serve.
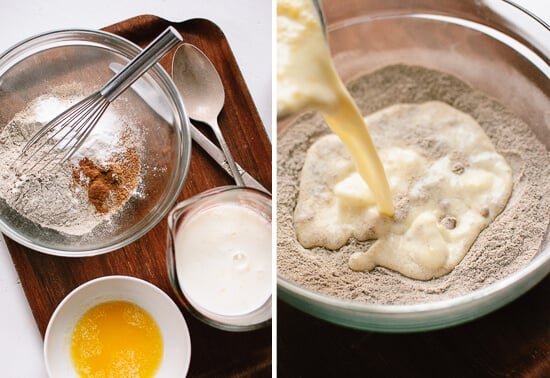
- In a medium-sized mixing bowl, whisk together the buckwheat flour, sugar, baking powder, baking soda, salt and cinnamon.
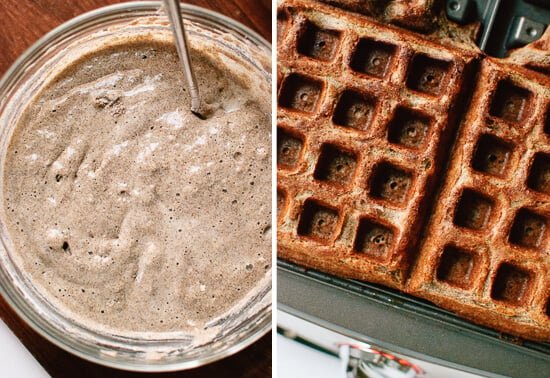
- In a liquid measuring cup or another bowl, whisk together the buttermilk, melted butter and egg. Pour the wet mixture into the dry mixture and stir them together until there are only a few small lumps remaining. Give it a few more stirs if you see any liquid that hasn’t fully incorporated. Commenter Monisha says her waffles turn out lighter and more crispy if she lets the batter rest for 5 to 10 minutes, so you might want to give that a try.
- Pour batter onto the hot waffle iron plates, close the waffle iron and cook until the waffles are barely letting off steam and they are lightly crisp to the touch (this might take longer than your waffle iron suggests). Carefully lift waffle out of the waffle iron and serve immediately or place in the oven to keep warm. Avoid stacking the waffles or they will lose their crispness. Repeat with remaining batter as necessary. Serve with maple syrup, almond butter and/or sliced banana on top.
Notes
Recipe adapted from my buckwheat pancakes.
How to make your own buttermilk: Measure 1 tablespoon + ¾ teaspoon vinegar into a 2-cup capacity liquid measuring cup. Pour in any variety of milk until you reach the 1 and ¼ cups line (regular cow’s milk, almond, soy, oat, rice, low-fat coconut milk should all work). Let the “buttermilk” rest for 5 minutes before using.
Make it dairy free: Make your own buttermilk with non-dairy milk and use coconut oil instead of butter.
Storage suggestions: These waffles freeze very well in sealed, freezer-safe bags. Just pop them in the toaster to warm them up.
Nutrition
The information shown is an estimate provided by an online nutrition calculator. It should not be considered a substitute for a professional nutritionist’s advice. See our full nutrition disclosure here.
")
")