


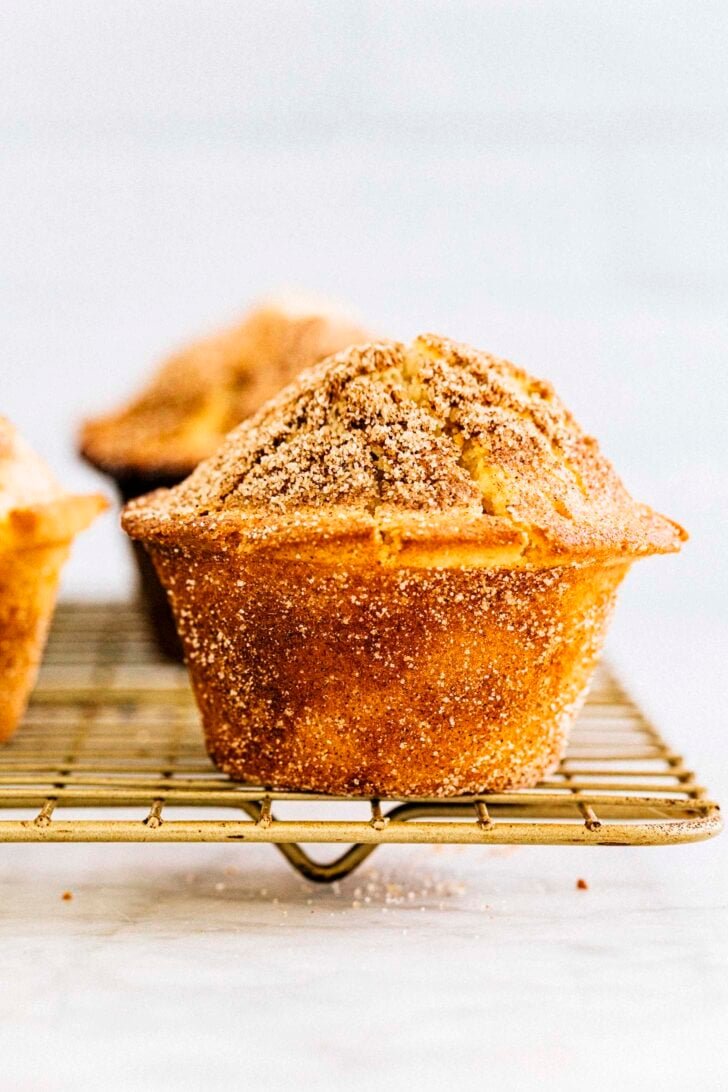
About These Bakery Style Snickerdoodle Muffins
These bakery style snickerdoodle muffins are incredibly moist and fluffy, with tall domed muffin tops that look like puffy snickerdoodle cookies! Each giant muffin is topped with a generous scoop of cinnamon sugar, giving the muffins a unique flaky sugar top.
The best part? The recipe comes together with just two bowls and a spatula—no stand mixer required! The batter takes just 5 minutes to mix!
For more snickerdoodle recipes, check out Hummingbird High’s snickerdoodle archive. The collection includes popular recipes like this Snickerdoodle Recipe Without Cream of Tartar and Soft and Fluffy Snickerdoodle Cake.
@hummingbirdhigh bc grad school was a little bit of a bust
Ingredients and Substitutions
Let’s talk about key ingredients, where to find them, and any potential substitutions:

Ingredient Sources and Substitutions
- All-Purpose Flour: You can use a 1-1 gluten free all purpose flour replacer to make these muffins gluten free. I like Bob’s Red Mill Gluten Free 1 to 1 Baking Flour or King Arthur Flour Gluten Free All Purpose Flour.
- Cream of Tartar: You need cream of tartar to make snickerdoodles. This is the ingredient that gives them their unique flavor! Check out My Best Snickerdoodle Recipe to learn more.
- Kosher Salt: Kosher salt is the best salt for baking recipes. But you can replace the kosher salt in the recipe with table salt. Just use half the amount listed in the recipe when you do!
- Unsalted Butter: In a pinch, you can use salted butter to make these muffins. The muffins will come out slightly saltier than usual. Don’t worry—the difference is subtle. There’s no need to adjust the salt in the recipe.
- Whole Milk: Whole milk can be substituted with 2% or skim milk. You can also substitute the whole milk with the plant-based milk of your choice.
- Nonstick Baking Spray: Nonstick baking spray is similar to nonstick cooking spray. However, it typically includes flour mixed into the fat/oil of the spray. The flour helps prevents baked goods from sticking in pans. I use Bak-Klene ZT All Purpose Release Spray. Avoid using a baking spray made with butter, coconut oil, or shortening—these don’t release the muffins as easily!
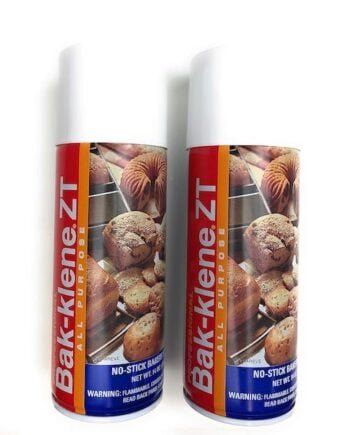
Bak-Klene ZT All Purpose Release Spray
The best nonstick baking spray—it’s what most professional bakeries use!
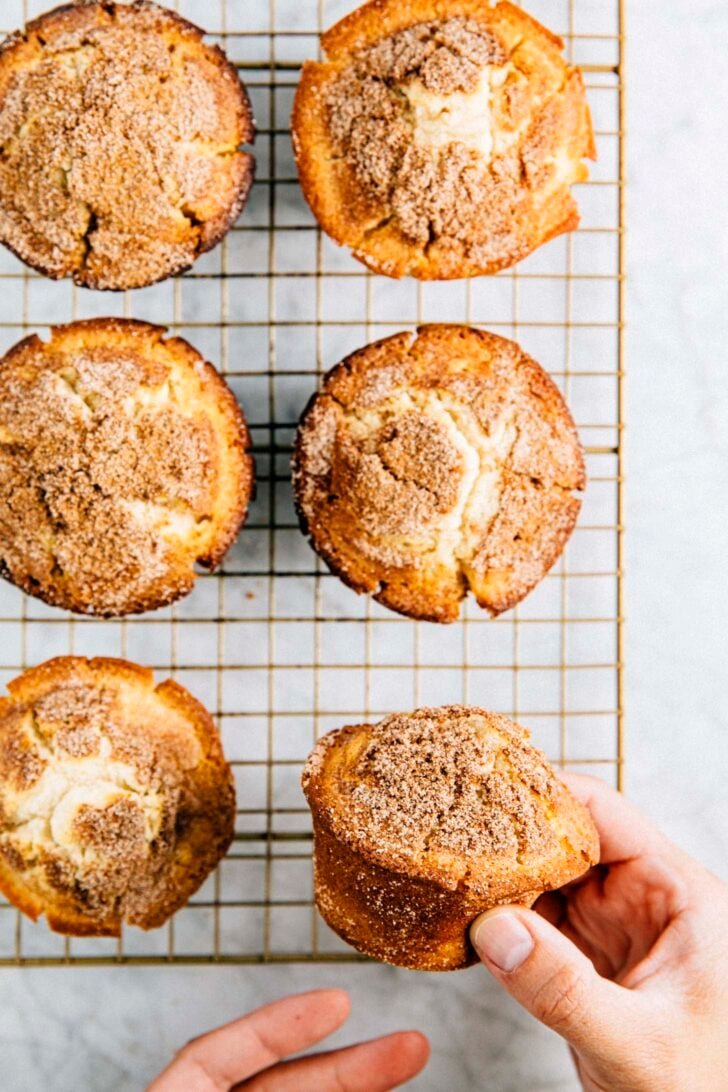
Key Steps In Making The Recipe
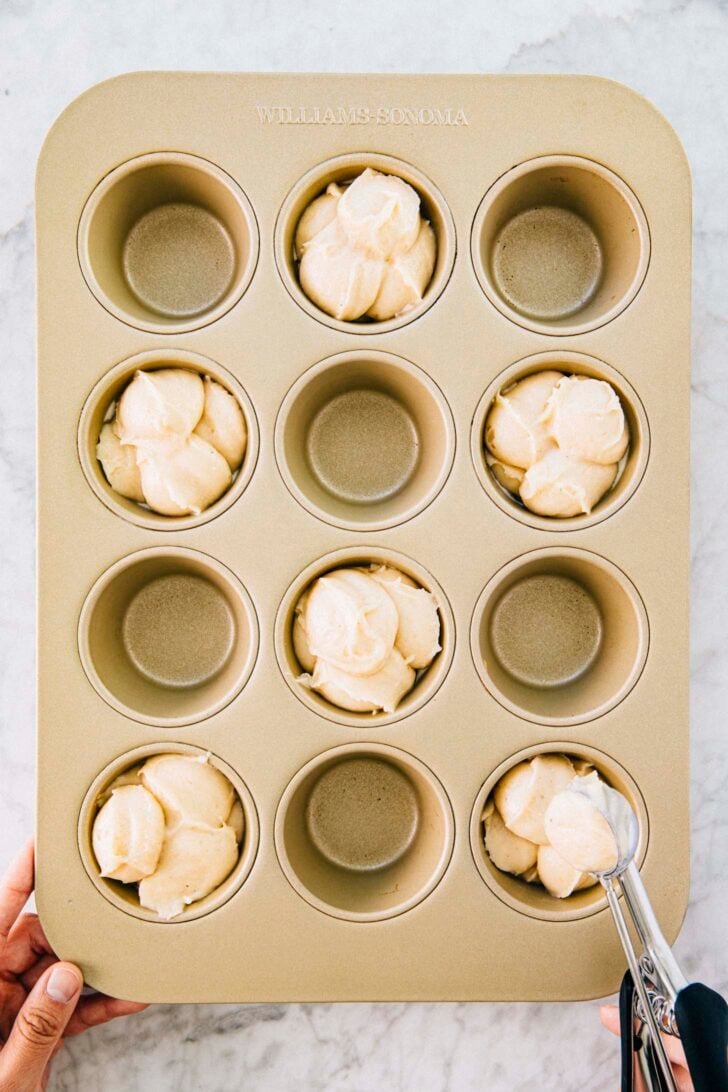
Below are photos showing how to make these snickerdoodle muffins—check them out to see how to scoop the muffin batter into the pans properly!

1-Tablespoon Cookie Dough Scoop
This 1-Tablespoon cookie dough scoop is a workhorse in the Hummingbird High kitchen. I use it to scoop cookies, portion batter into cake pans, and more!
Recipe Troubleshooting and FAQ
FAQ: Questions About Baking Equipment
Why don’t you use muffin liners?
I tested a recipe that scooped the batter into muffin liners. The muffin tops didn’t grow as big and tall—they looked more like homemade muffins as opposed to bakery style ones. Learn more in my recipe for Copycat Levain Bakery Blueberry Muffins.
FAQ: Questions About The Recipe’s Techniques
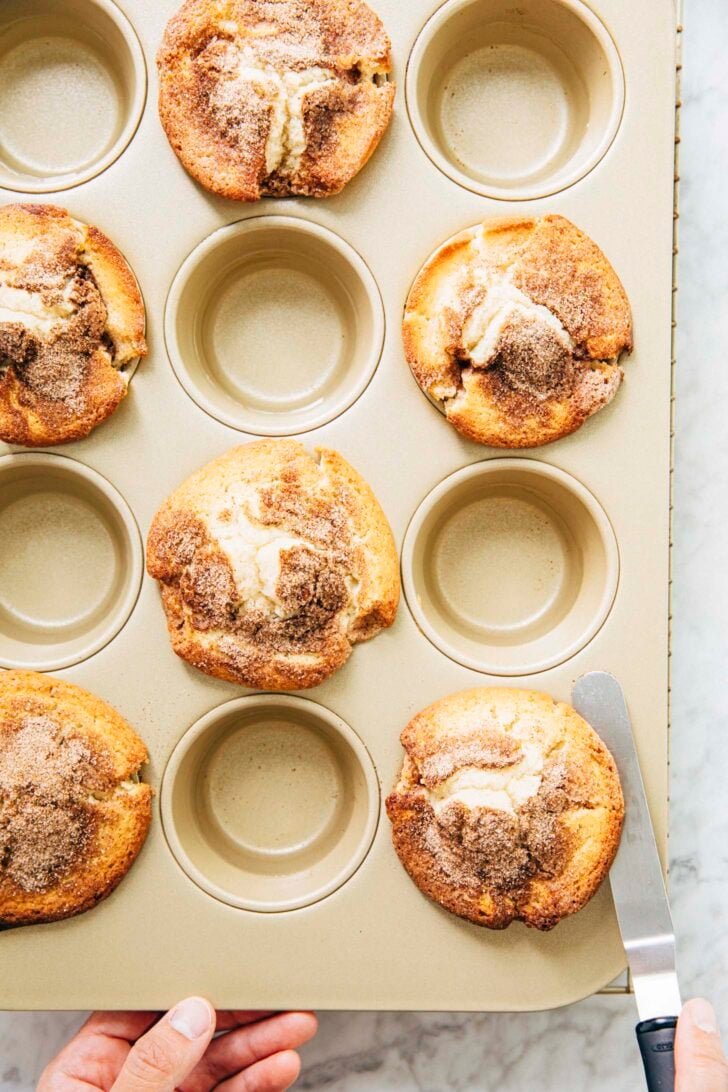
Can I fill ALL the cavities in the muffin pan with batter? Why do you only fill every other one?
It’s best if you follow the recipe instructions exactly as they are written, especially when it comes to filling the muffin pan. Why? The tops of the muffins spread so much that if you fill each single cavity, they’ll spread into one another and get stuck, creating one giant muffin top mass! The empty cavity in between each muffin prevents that from happening.
How To Store Bakery Style Snickerdoodle Muffins
The muffins are best the day they are made—that way, you get a crispy top! However, they can be wrapped individually in plastic wrap, or stored in an airtight container or under a cake dome, at room temperature for up to 2 days. Just note that their muffin tops will soften significantly.
Can you freeze the muffins?
Yes, but if you do, the tops will lose their crispiness. That is, the muffins will still be tasty and soft, with no crunch or crisp from their muffin tops.
To do so, follow the recipe instructions to bake the muffins. Once you’ve turned them out of the muffin pan, cool them completely to room temperature. Once cool, individually wrap each muffin in two layers of plastic wrap. Freeze for up to 3 months.
When ready to serve, thaw overnight in the refrigerator. Rewarm by placing the muffins on a parchment-lined sheet pan, and bake at 350°F for 10 minutes.
Best Recipe Tips
- For the tallest muffin tops, you can preheat your oven to 425°F and reduce the temperature to 400°F once you place the muffin pan in the oven. The extra hot temperature will activate the baking soda in the batter even faster and lead to taller muffin tops!
- When baking recipes that require melted butter, I like to melt the butter (usually in short intervals in the microwave) first. That way, it can cool to the perfect temperature by the time I’m done measuring and prepping the rest of the recipe’s ingredients.
- Most baking recipes will instruct you to prep the baking pan by lining and greasing it as your first step. But note that the recipe below only does so after you’ve made the batter. This gives the batter time to thicken (it thickens the longer it sits) and makes it easier to scoop!
- Got leftover cinnamon sugar? Dip the bottoms of each muffin in it, and use your fingers to spread it around the muffins’ bottoms and sides to complete the snickerdoodle look. That’s what I did for the muffins in these photos!
Get the Recipe:
Bakery Style Snickerdoodle Muffins
Prep: 5 minutes
Cook: 20 minutes
Bake Time: 20 minutes
Total: 45 minutes
Servings: 10 muffins
These bakery style snickerdoodle muffins look and taste exactly like the muffins from your favorite bakery! The muffins have a tall and domed muffin top, complete with flaky cinnamon sugar. Grab the recipe in the post, along with photos, tips, and tricks on how to make them!
Prevent your screen from going dark
For The Snickerdoodle Muffin Batter
-
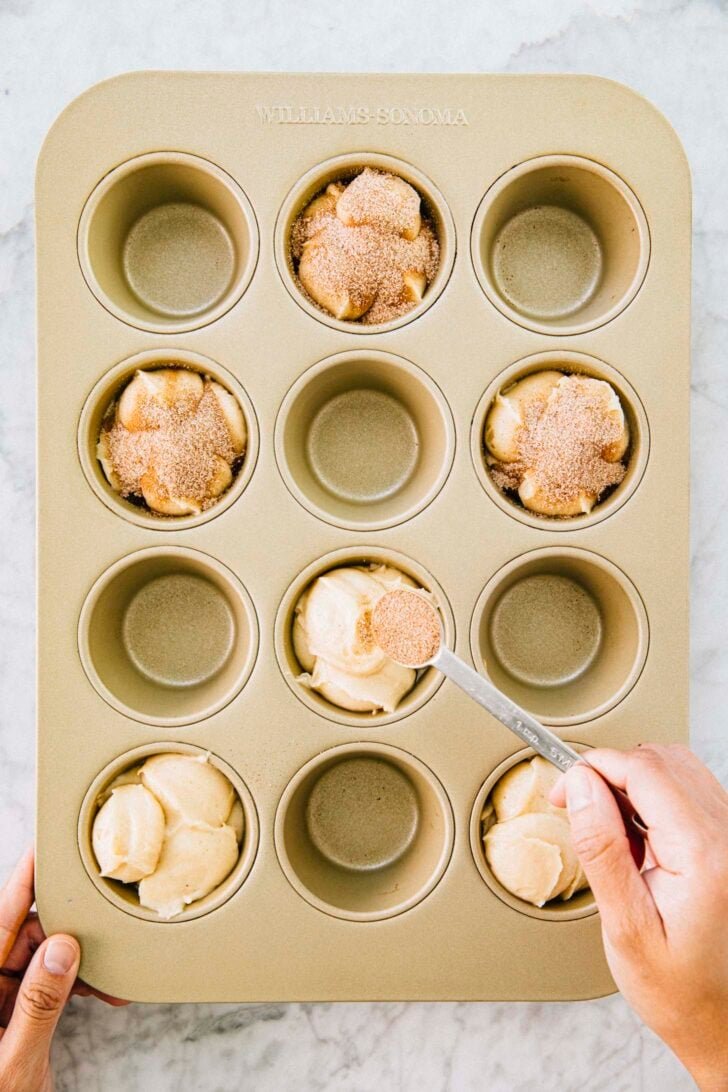
First, make the cinnamon sugar. In a small bowl, whisk together the sugar and cinnamon for the swirl.
-
Prep the oven. Position a rack in the center of the oven and preheat the oven to 400°F.
-
Mix the dry ingredients for the muffin batter. In a medium bowl, whisk together the flour, sugar, cream of tartar, baking soda, nutmeg, and salt.
-
Mix the wet ingredients for the muffin batter. In a large bowl, whisk together the melted butter, milk, egg, and vanilla.
-
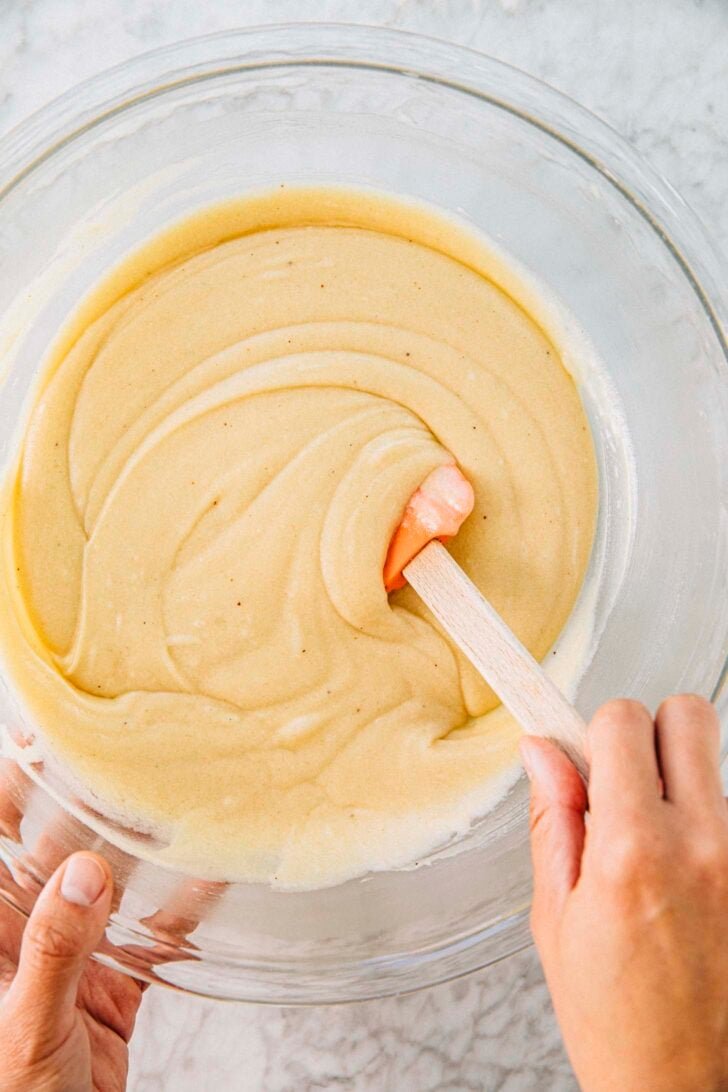
Mix the dry ingredients into the wet ingredients. Gradually whisk the dry ingredients into the wet ingredients until just combined. The batter will be fairly runny; use a rubber spatula to scrape down the bottom and sides of the bowl. Use the rubber spatula to finish mixing until smooth and well combined, 1 to 2 minutes more.
-
Prep the muffin pans. Prepare two muffin tins by spraying the inside and border of every other cavity in the muffin tin generously with cooking spray.
-
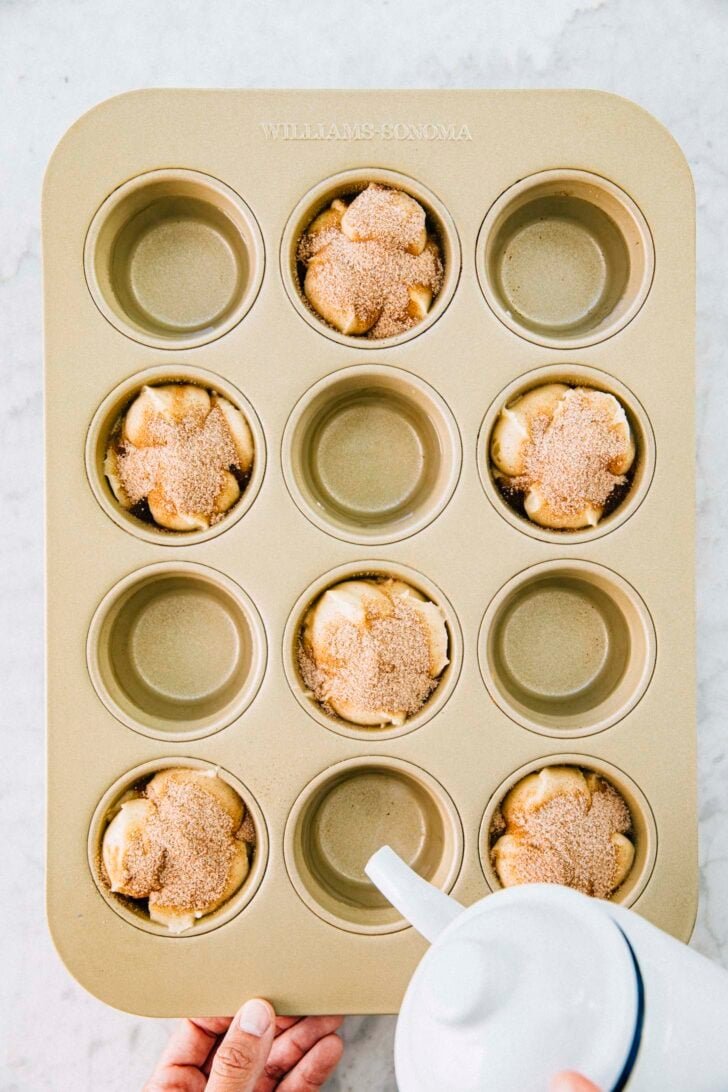
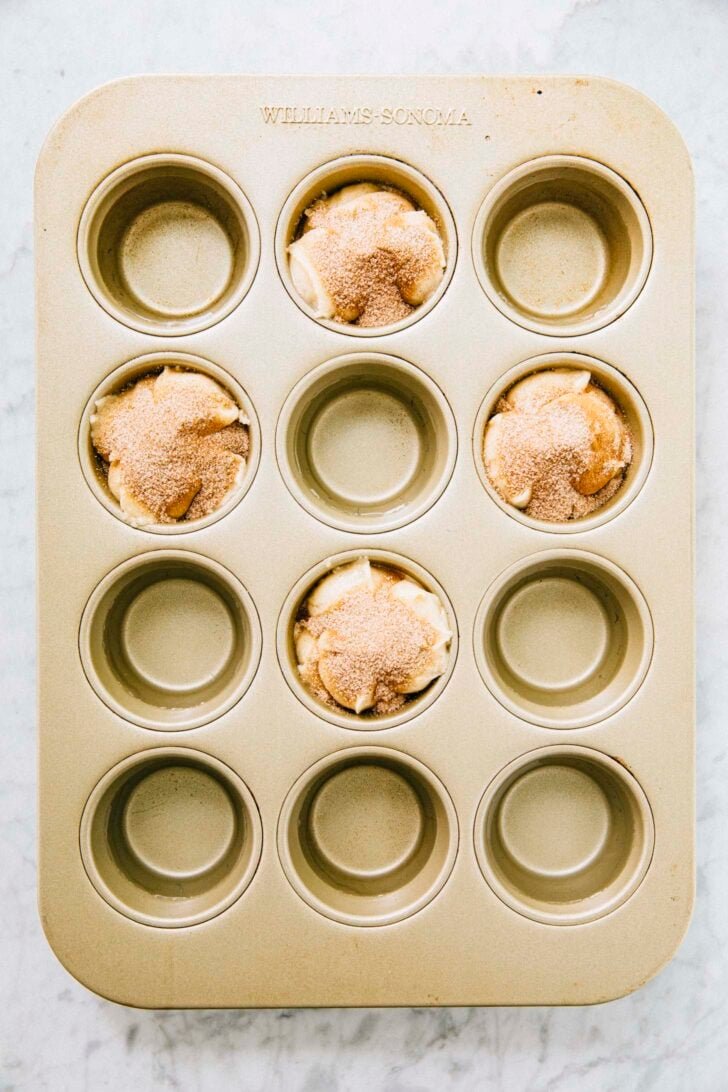
Portion the muffin batter into the muffin pan, sprinkle with cinnamon sugar, and fill the empty cavities with water. Use a 1-Tablespoon or 3-Tablespoon cookie dough scoop to fill each sprayed cavity with 6 tablespoons of the batter. The first muffin tin will have 6 cavities filled, whereas the second muffin will will have 4 cavities filled.Sprinkle the top of each muffin, aiming for the batter and avoiding the pan, with 1 teaspoon of the cinnamon sugar.Pour water into the empty cavities of the muffin pan, filling each ⅔rds of the way full.
-
Bake the muffins. Bake each muffin pan for 20 to 22 minutes, or until the muffins are domed and golden brown around the edges. A skewer inserted into the center of a muffin should come out with a few crumbs attached.
-
Cool the muffins. Cool the muffins completely to room temperature in their muffin pans on a wire rack.Because these muffins are so top-heavy, you’ll run the risk of accidentally pulling the tops and bottoms apart if the cake is still warm! Wait until they are cooled completely before turning them out of the pan. Run an offset spatula underneath each muffin top once more and gently tilt the muffin upwards to turn it out of the pan.
-
Serve and store. Serve at room temperature. The muffins are best on the day that they’re made, but can be individually wrapped in plastic and stored at room temperature for up to 2 days.
")
")