
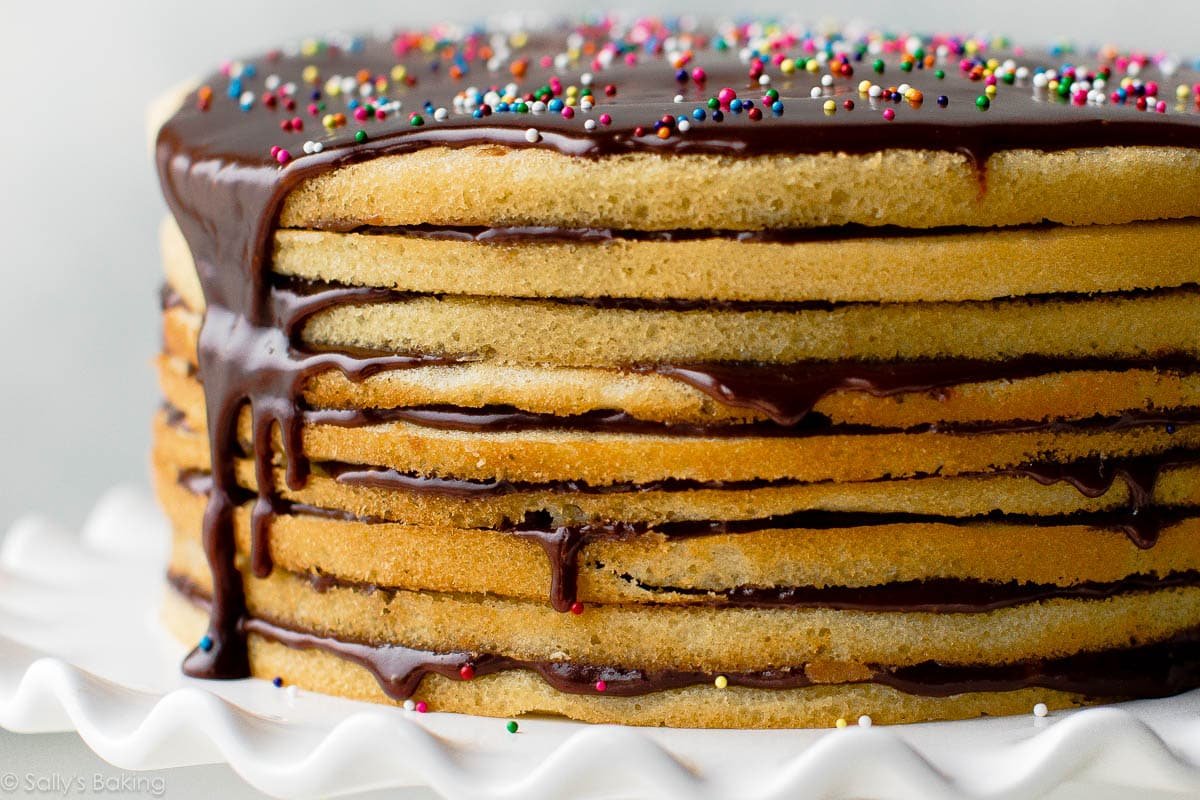
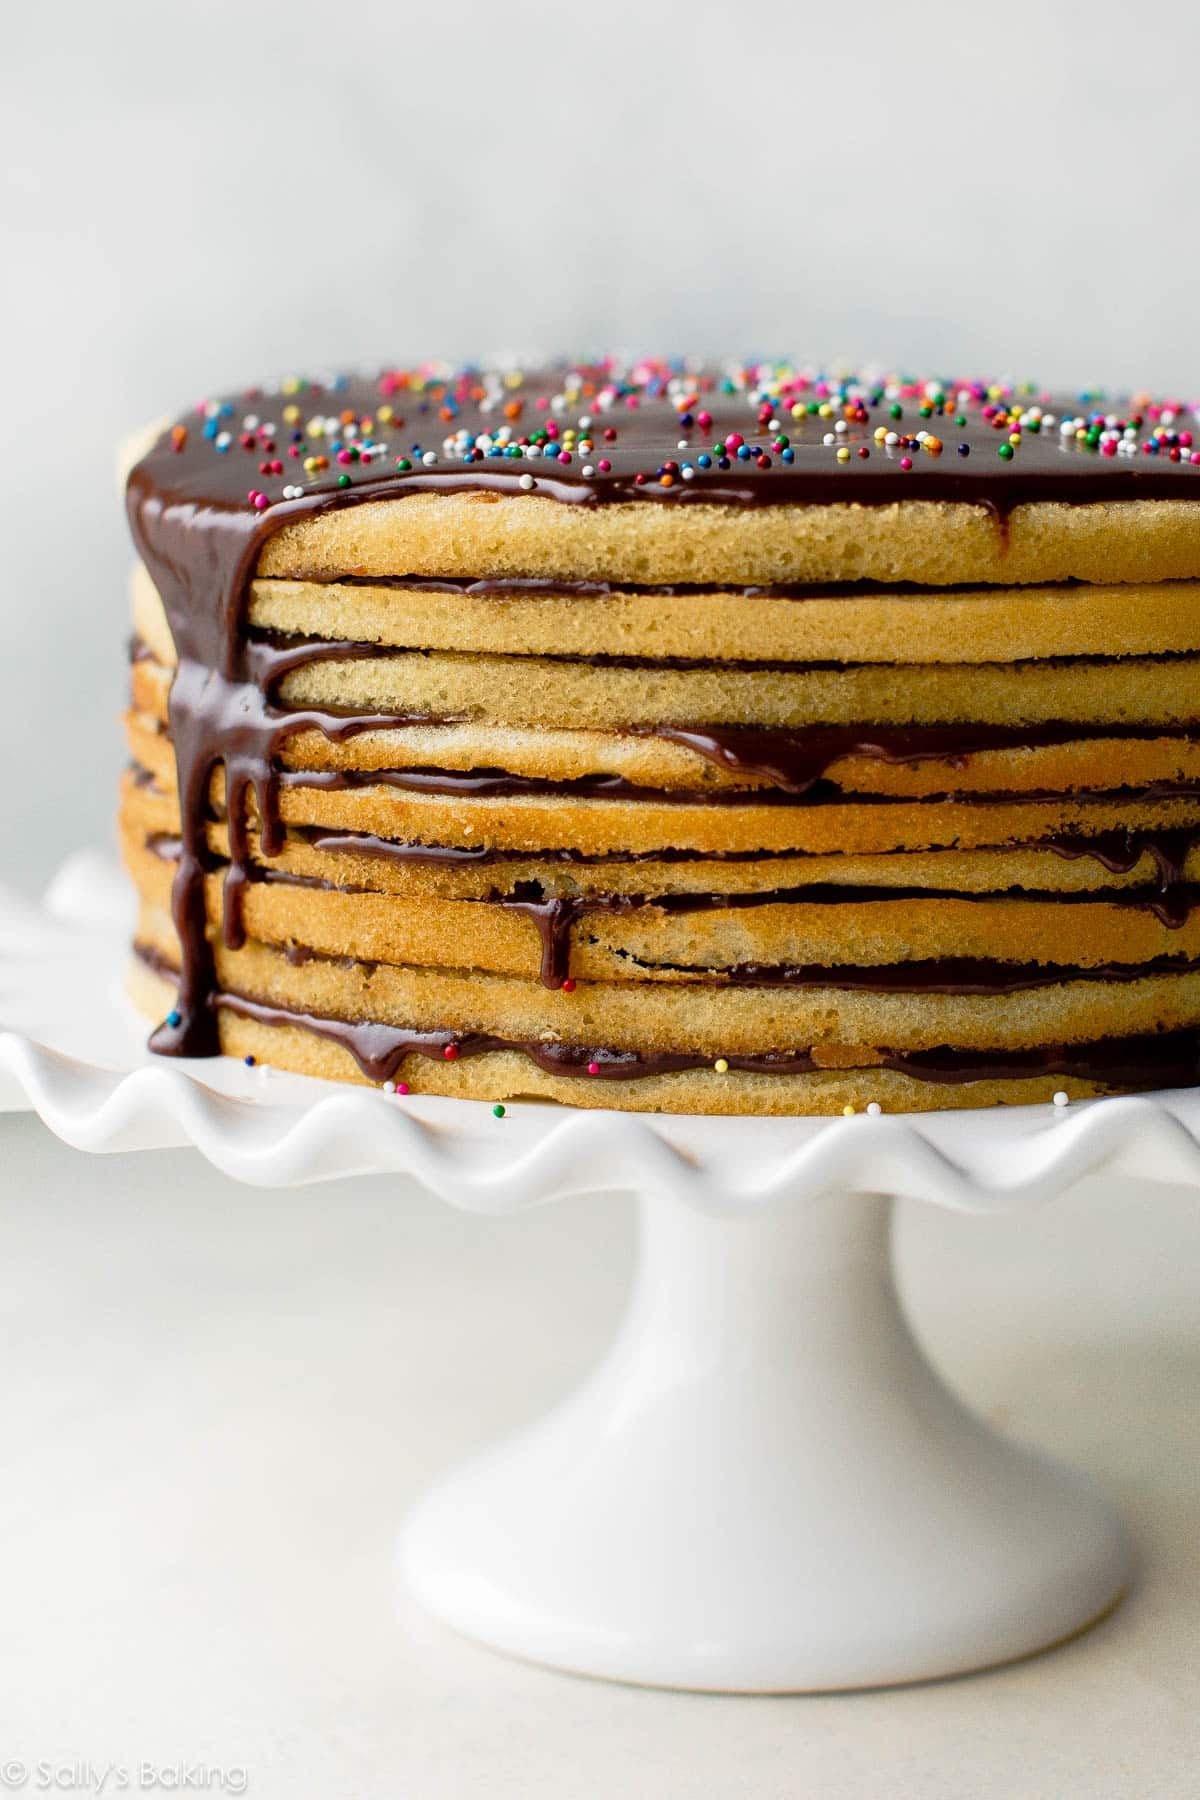
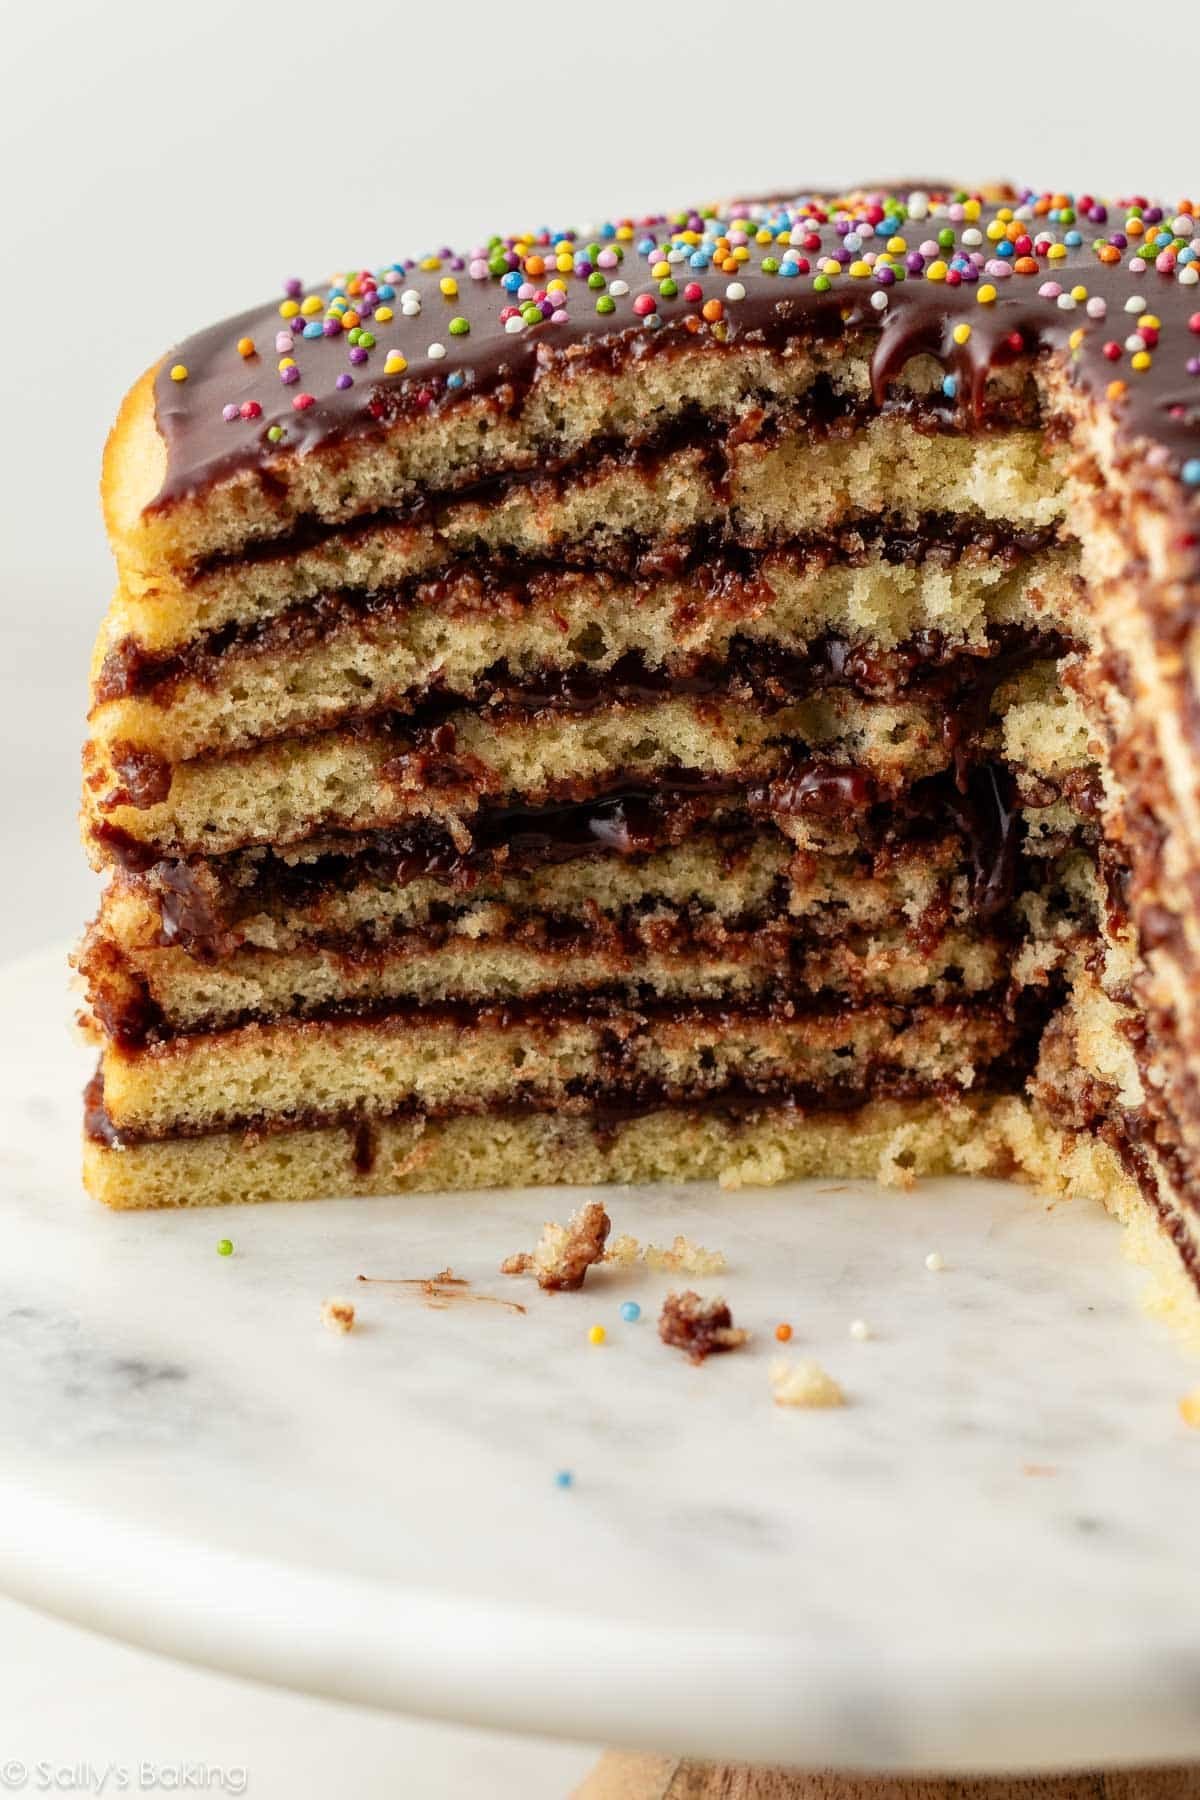
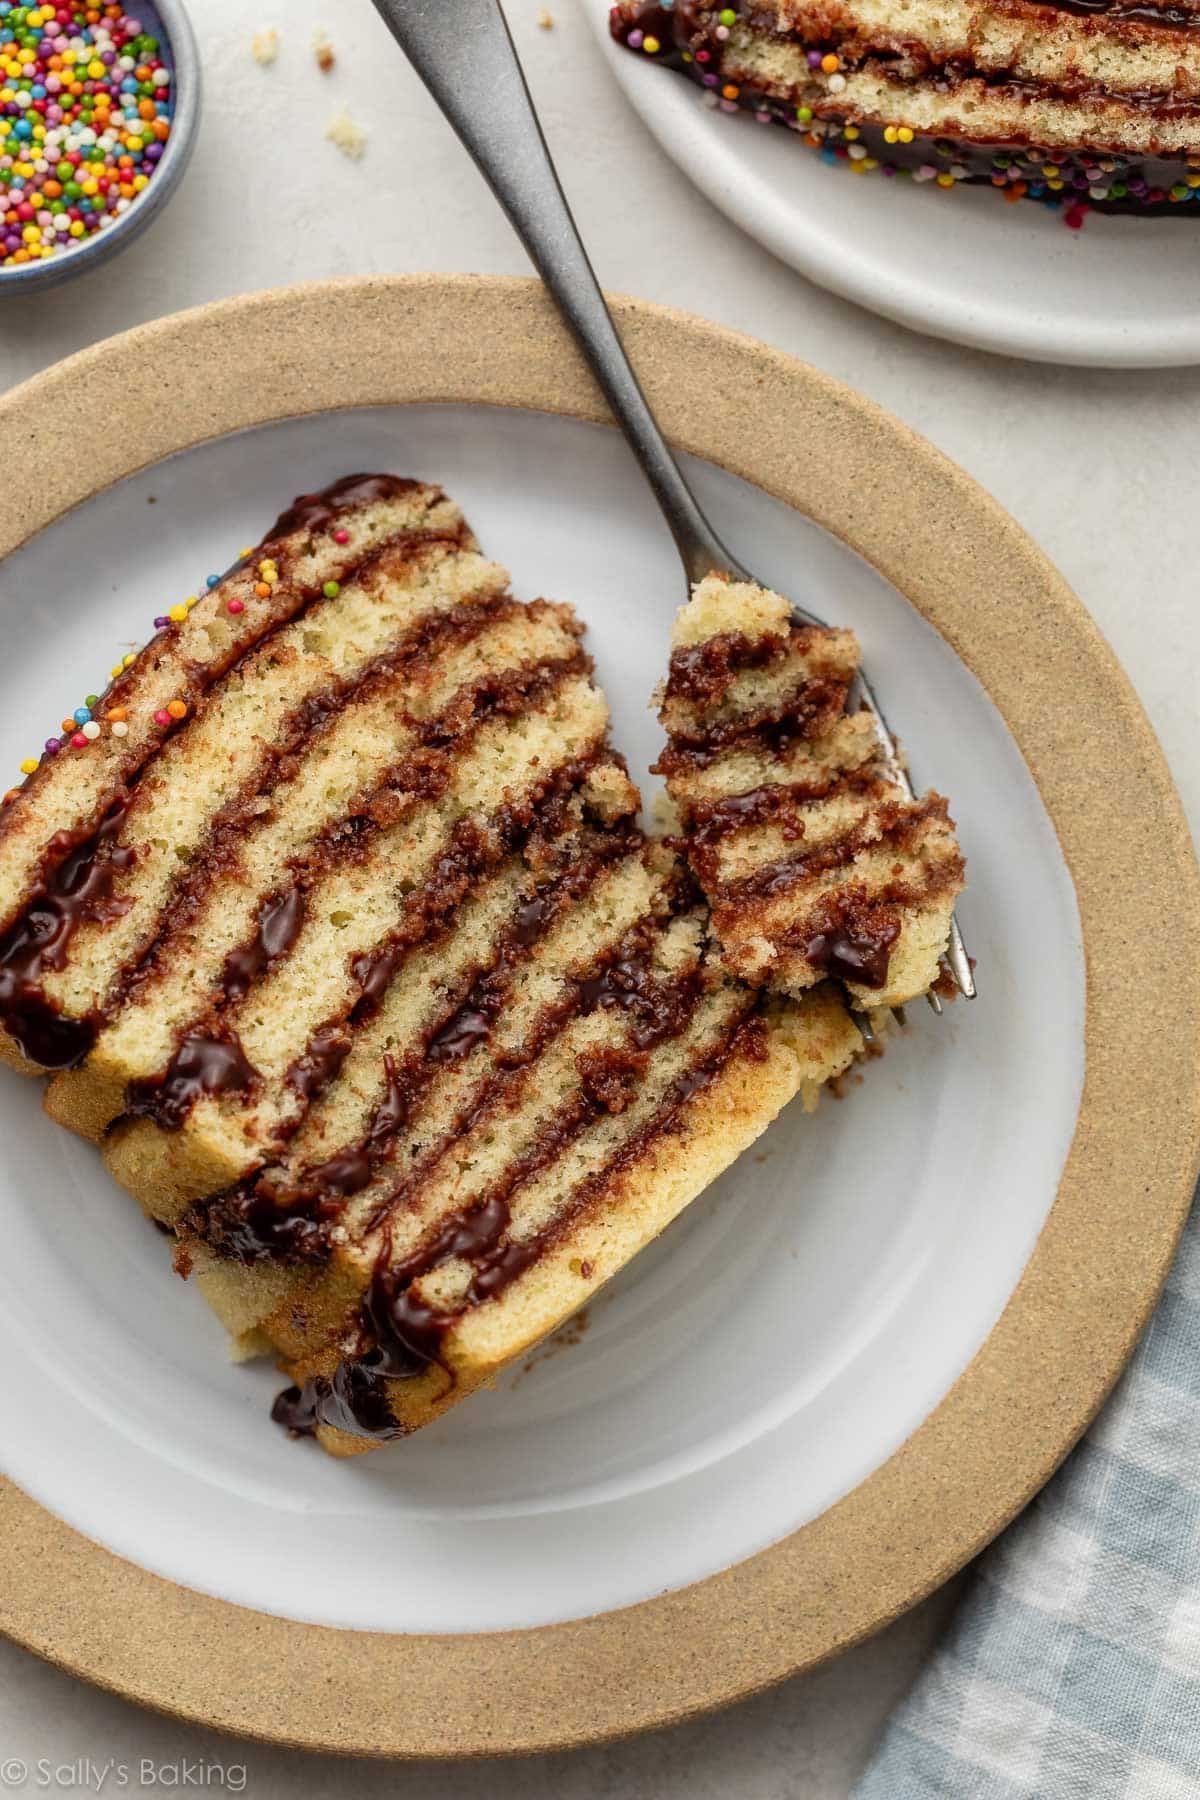
This homemade Smith Island cake features 9 thin layers of moist yellow cake covered with rich, fudgy chocolate icing. Maryland’s official state dessert is certainly a showstopper, but the individual cake layers bake and cool quickly, and the poured fudge icing makes decorating surprisingly simple.
I originally published this recipe in 2018 and have since returned to it for additional testing. I’ve updated the recipe with a few small but worthwhile improvements, plus new photos and additional success tips.
If you weren’t born in Maryland, you may have no idea what Smith Island cake is. Even if you live here, you still might not know! I certainly didn’t until a reader emailed me years ago and encouraged me to try it.
After plenty of research, recipe testing, and LOTS of taste testing, let me introduce you to my homemade version of Maryland’s official state dessert: Smith Island cake. The updated recipe includes a little more baking powder for better lift, slightly less sugar in the cake, and more chocolate in the fudge icing.
Only a handful of states have an official state dessert, so you know this one is extra special!
What Is Smith Island Cake?
Smith Island is located in the Chesapeake Bay and is only accessible by boat. The cake that shares its name has a long history on the island, as I learned, where it was traditionally sent along with watermen during the autumn oyster harvest. The cooked fudge icing was especially practical because it kept longer than other types of frosting.
Today, Smith Island cakes are famous for their many ultra-thin layers (often 8 or more!) and you’ll find versions in flavors like lemon, coconut, carrot cake, and strawberry.
Here, we’re sticking with the classic: thin layers of moist yellow cake covered in rich chocolate fudge icing. Sprinkles are completely optional, but I’ll always encourage them!
If there’s one thing to know about Smith Island cake, it’s that this cake is exceptionally moist. The chocolate icing settles into all those pencil-thin cake layers, so nearly every bite has both soft yellow cake and rich fudge icing.
Key Ingredients You Need & Why
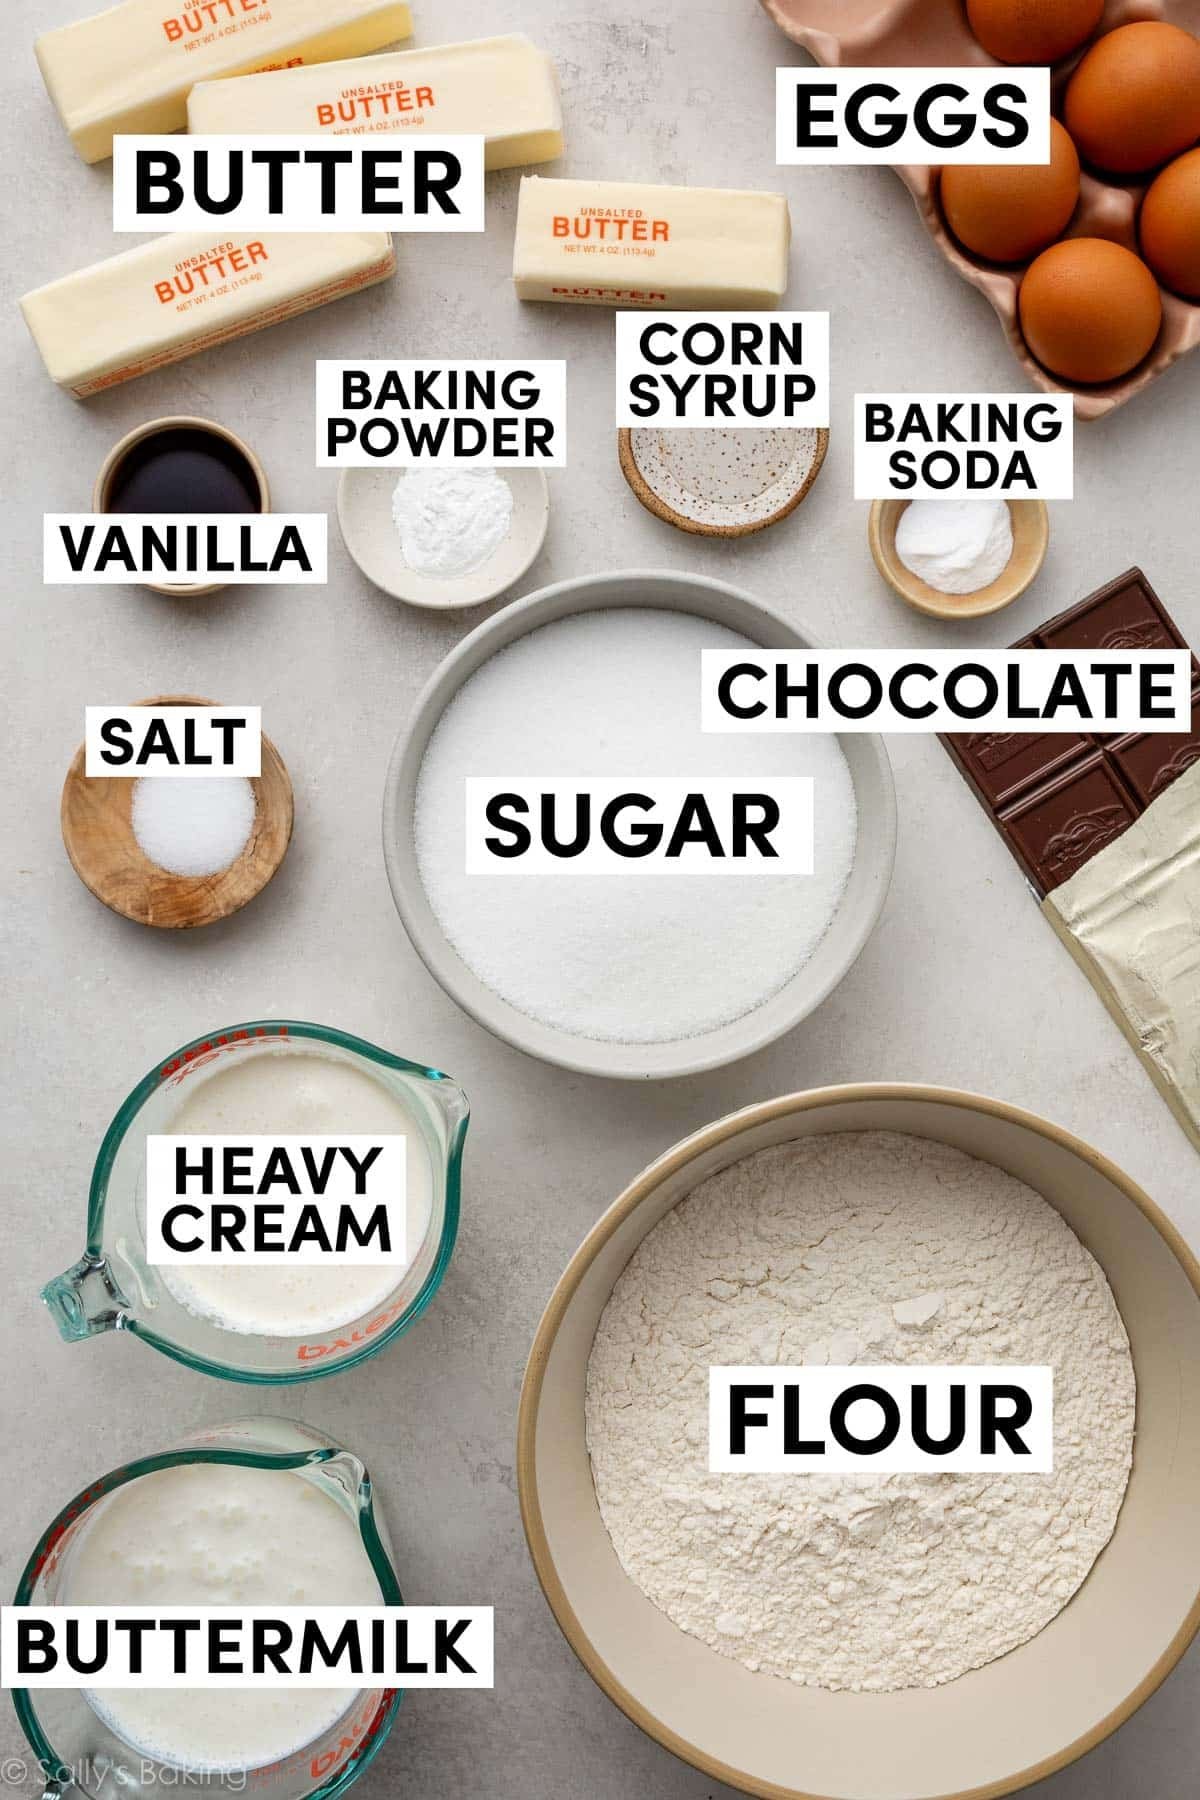
The ingredients for Smith Island cake are fairly simple and straightfoward, but a few are especially important:
- Butter: You’ll use unsalted butter in both the cake and the chocolate icing. For the cake batter, make sure it’s properly softened to room temperature so it can cream with the sugar.
- Buttermilk: This gives the yellow cake layers their exceptionally soft, moist texture. I don’t recommend substituting regular milk here.
- Bittersweet Chocolate: I prefer bittersweet chocolate in the icing to balance its sweetness. Use quality chocolate rather than chocolate chips, which don’t melt as smoothly. Looking for “baking bars” sold in the baking aisle. I like Ghirardelli brand. You need 6 ounces.
- Heavy Cream: The base of the cooked fudge icing, giving it a smooth, rich consistency.
- Corn Syrup: Just 2 teaspoons gives the chocolate icing a little extra shine. It’s completely optional and can be left out.
- Vanilla Extract: There’s plenty in both the cake and icing for flavor. Reach for pure vanilla extract and not imitation. You can even use homemade vanilla extract if you have a batch going!
You’ll also need baking powder and soda, flour, salt, sugar, and eggs.
The Smith Island Cake Layers
At its core, this is a 9-layer yellow cake. It sounds intimidating, but the process is actually much more manageable than you might expect.
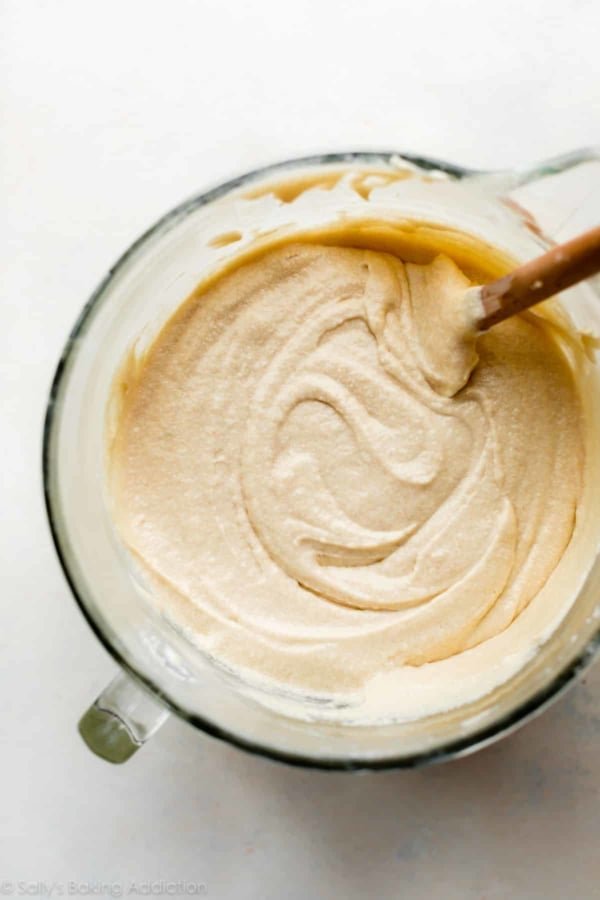
The yellow cake batter is made with familiar ingredients including all-purpose flour, creamed butter and sugar, eggs, and buttermilk. Make sure all your ingredients are at room temperature so the batter combines smoothly and evenly. A little extra baking powder in this updated version gives the thin layers some additional lift without making them too puffy to stack.
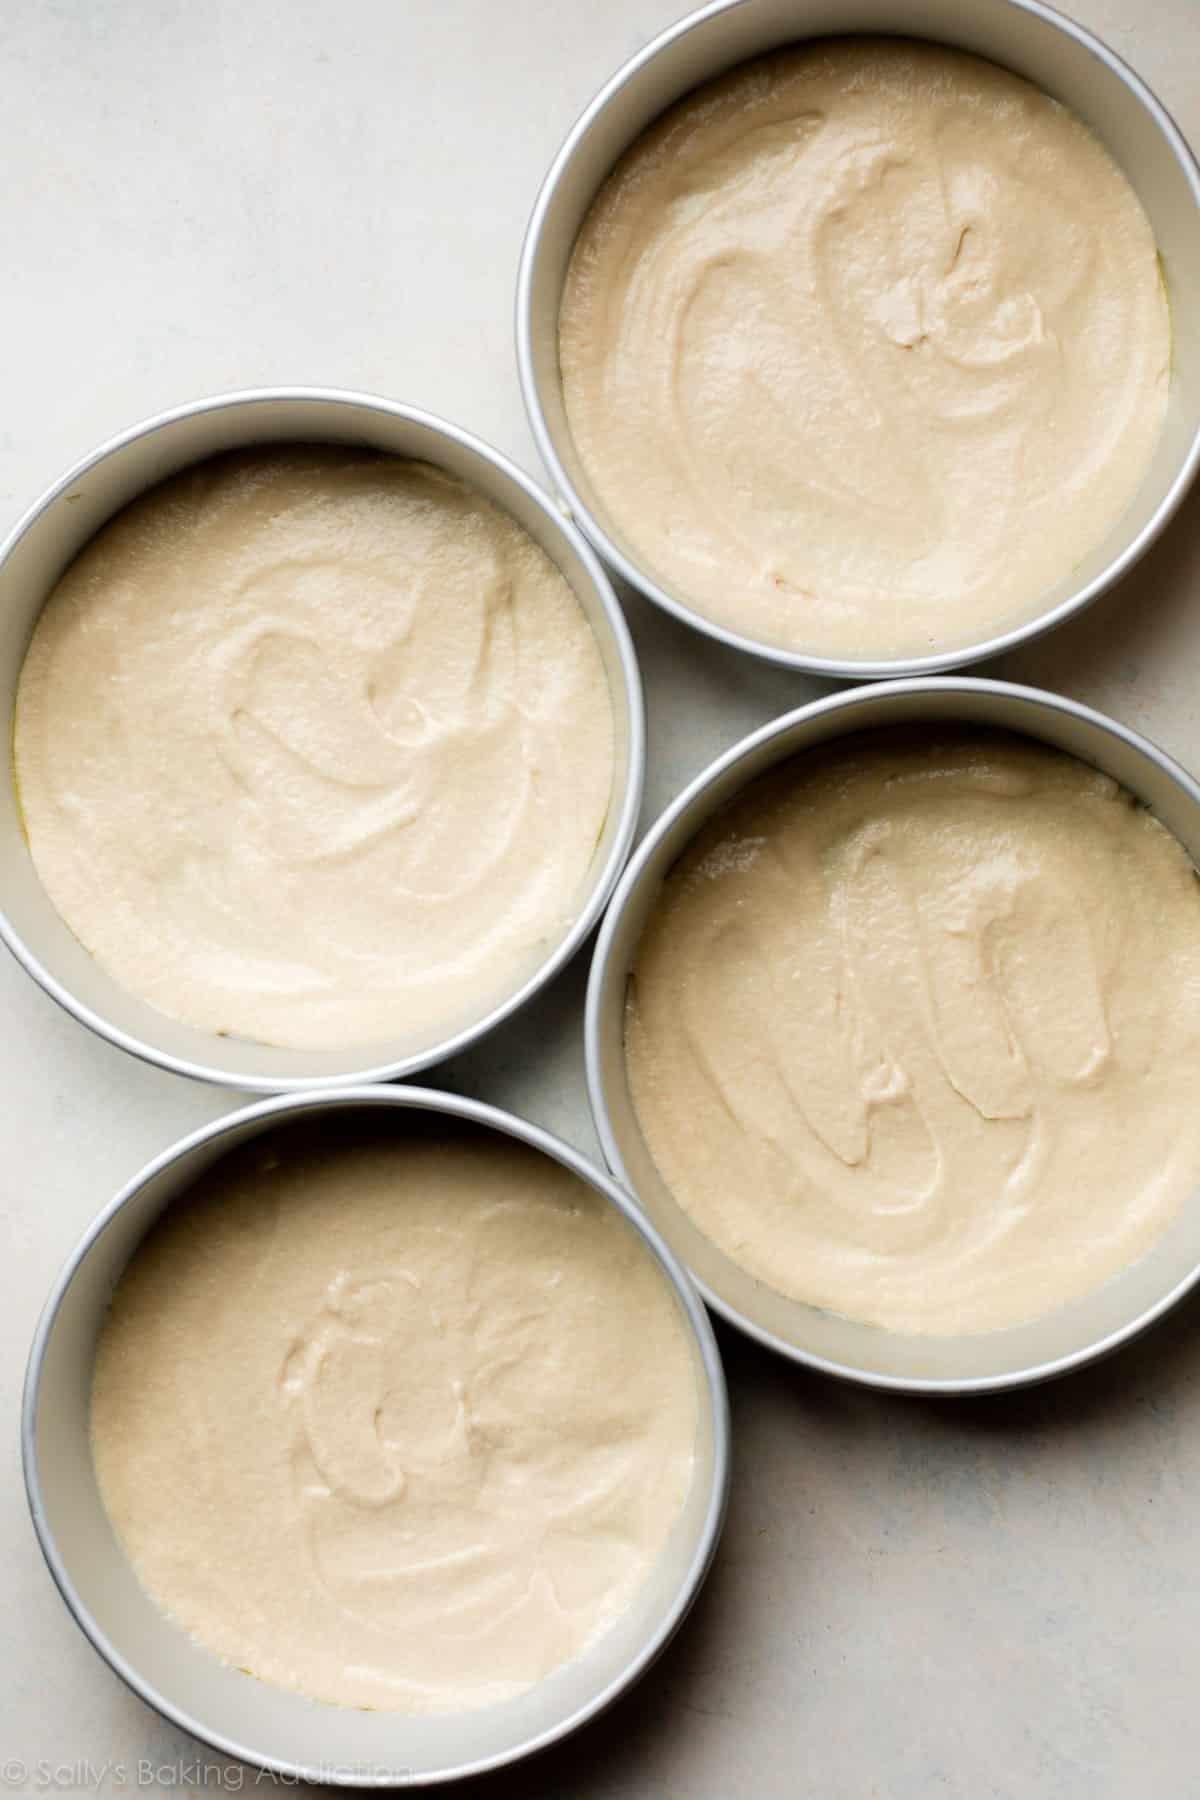
You’ll have about 7 cups of batter, and I divide it between nine 9-inch cake pans, using a little less than 1 cup of batter for each (around 200-210g of batter per pan). Don’t worry if you don’t own 9 cake pans (who does?!); you’ll simply bake the layers in batches.
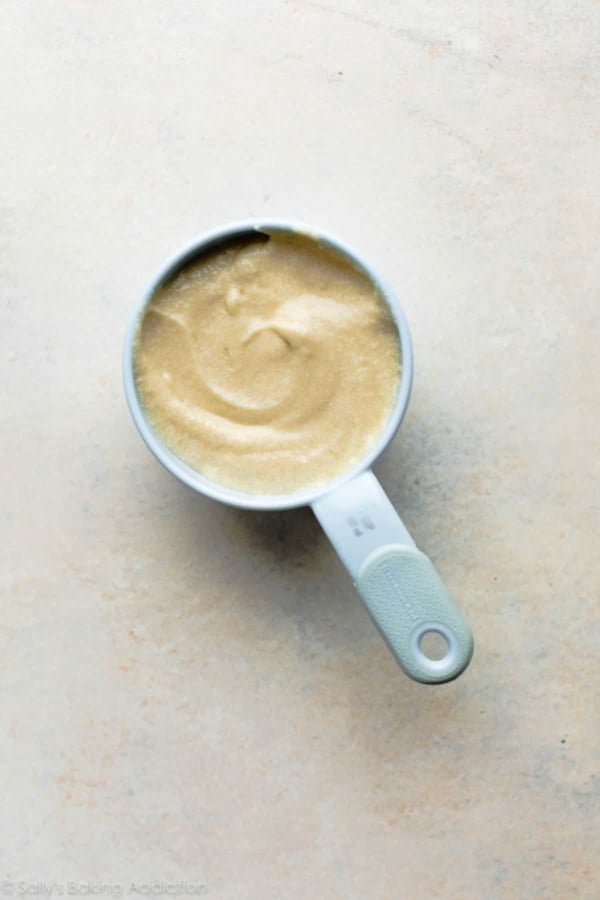
Spread the batter across the pans as evenly as you can. It will look like a very thin layer of batter and that’s exactly what you want.
And don’t skip the parchment paper. These thin cakes are delicate, so lining the pans with greased parchment paper rounds helps ensure they release without tearing.
Why Bake the Layers Individually?
Instead of baking a few thick cakes and slicing each horizontally into multiple layers, you bake each thin layer individually. This is easier than trying to evenly slice cakes into 9 delicate layers, and it helps each layer bake evenly. And because the cakes are so thin, they only need about 11-12 minutes in the oven.
If you have 3 cake pans, you can bake 3 layers at a time. If you have more pans, bake more at once. If you only have 1 or 2, that’s fine, too; just continue working in batches.
The good news about such thin cake layers is that they cool quickly, too. Let them cool completely before assembling, and handle them gently because they’re quite fragile.
Cooked Chocolate Fudge Icing
While the yellow cake layers are delicious, the cooked chocolate fudge icing is really the hallmark of Smith Island cake. The icing is made on the stovetop and needs time to cool and thicken before you assemble the cake, so I recommend making it first. It can cool while you prepare, bake, and cool the cake layers.
For this updated recipe, I increased the amount of chocolate from 4 ounces to 6 ounces for a thicker icing with even more chocolate flavor.
Combine butter, chopped chocolate, sugar, heavy cream, and optional corn syrup on the stovetop. I like bittersweet chocolate here because its deeper flavor balances the sweetness of the icing. Finish with vanilla extract and a pinch of salt.
Boil the icing for 2 minutes, or until it reaches about 220°F (104°C).
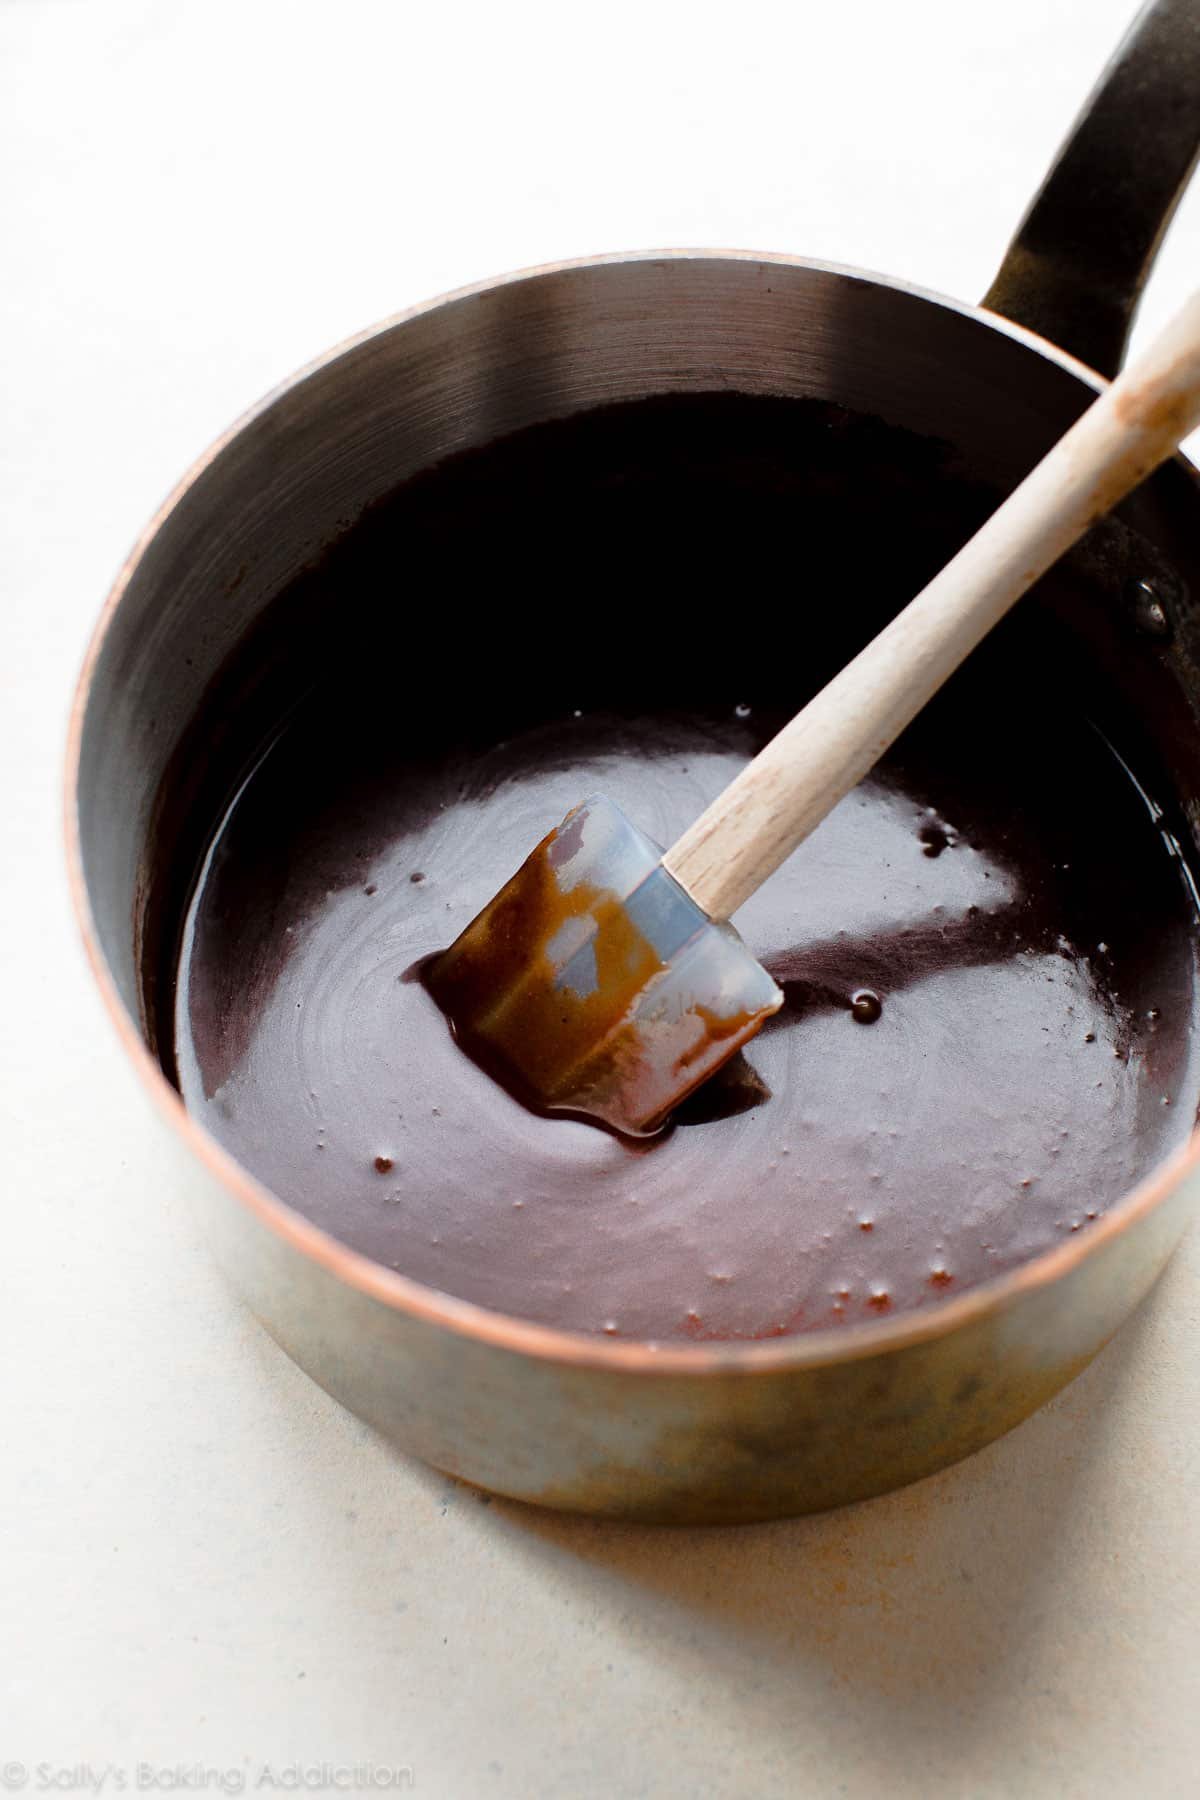
Make sure you give the icing enough time to cool before assembling the cake. It will be quite thin when it first comes off the stove (similar to warm hot fudge sauce or chocolate ganache) and that’s completely normal. As it cools, it develops a thicker, spreadable consistency, and then sets even more once layered on the cake.
Assembling Your 9-Layer Smith Island Cake
Once the cakes are cool and the icing has thickened, assembly is surprisingly straightforward.
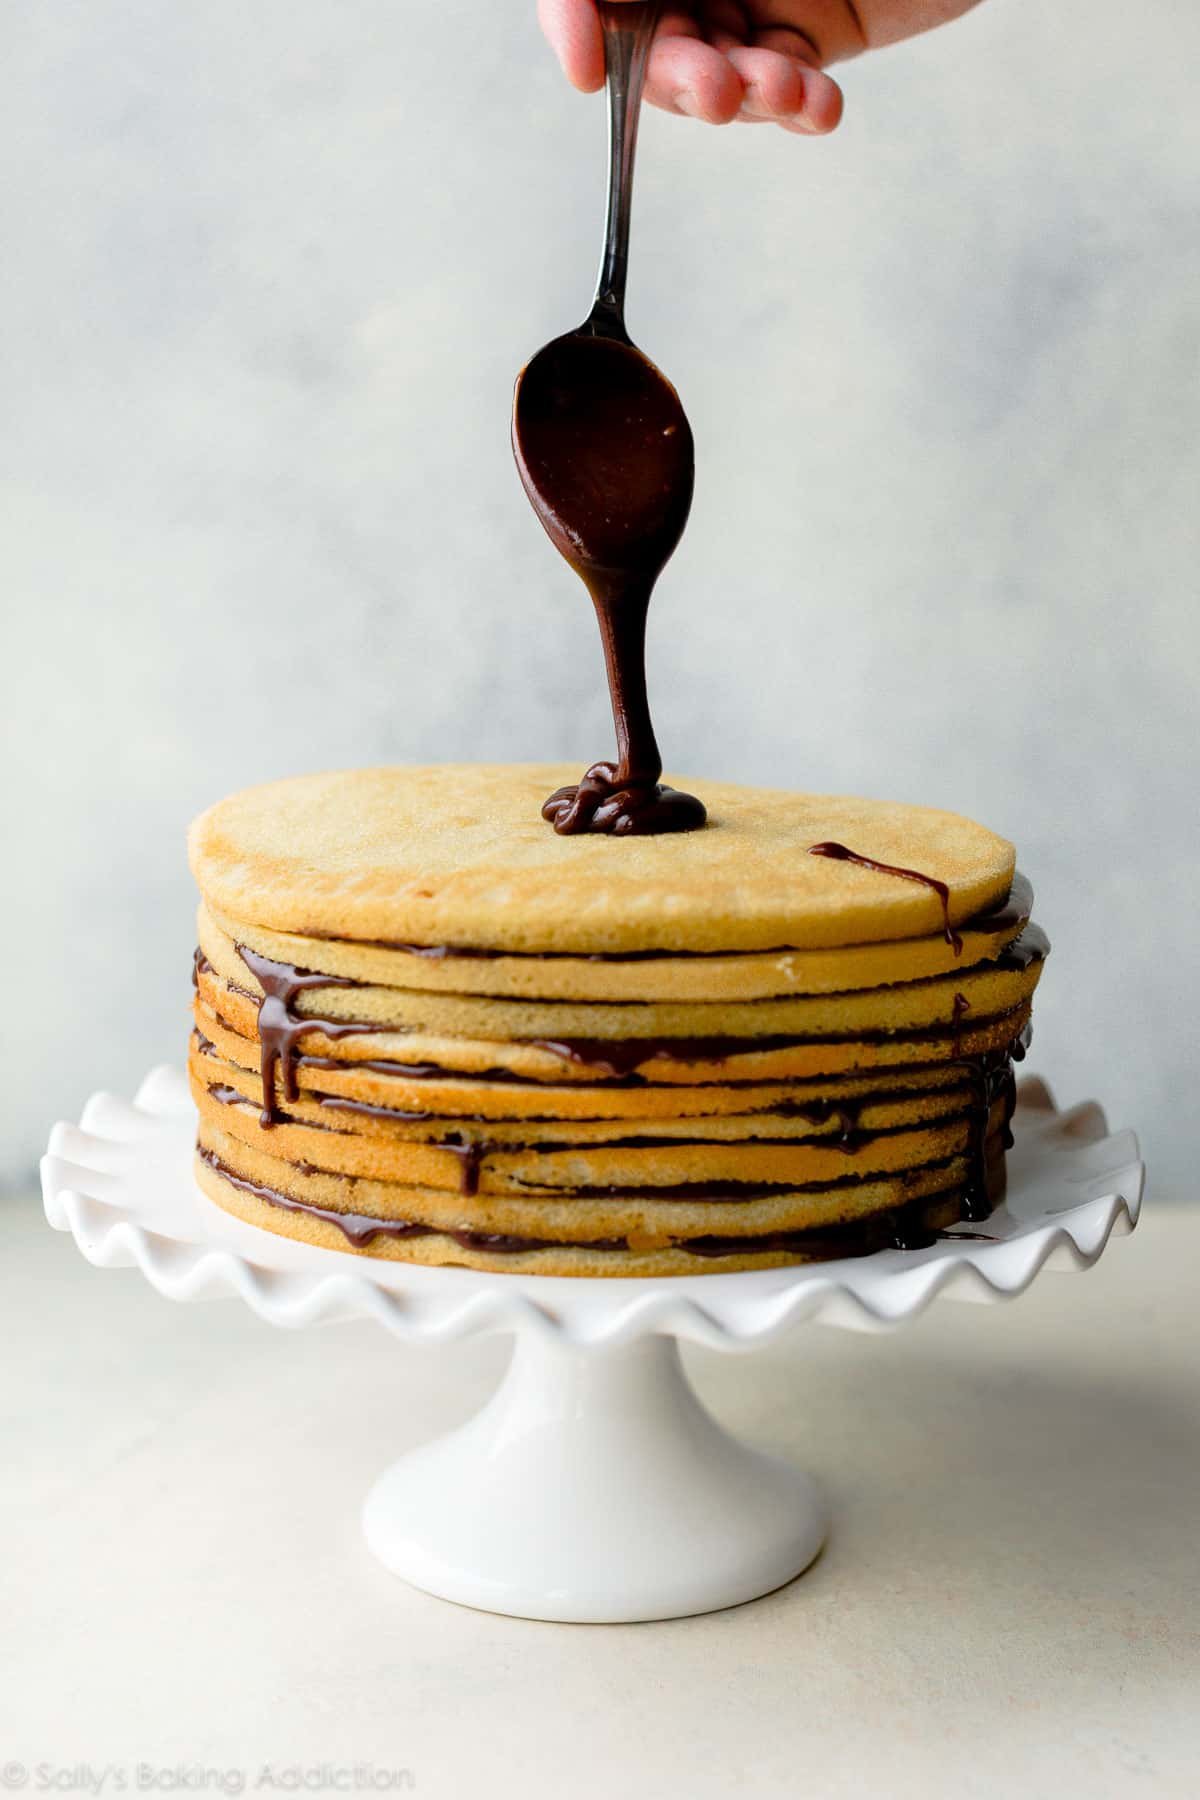
Place one cake layer on your cake stand or serving plate, spoon some chocolate icing on top, and spread it into a thin layer. Repeat with the remaining cakes and icing.
Don’t worry about making this cake look perfectly polished. Some icing will drip down the sides as you work, much like Boston Cream Pie and Chocolate Chip Cake, and that’s part of its charm.
And once you slice into it, you can really appreciate what makes Smith Island cake so special: layer after layer of soft yellow cake with chocolate fudge icing in every single bite.
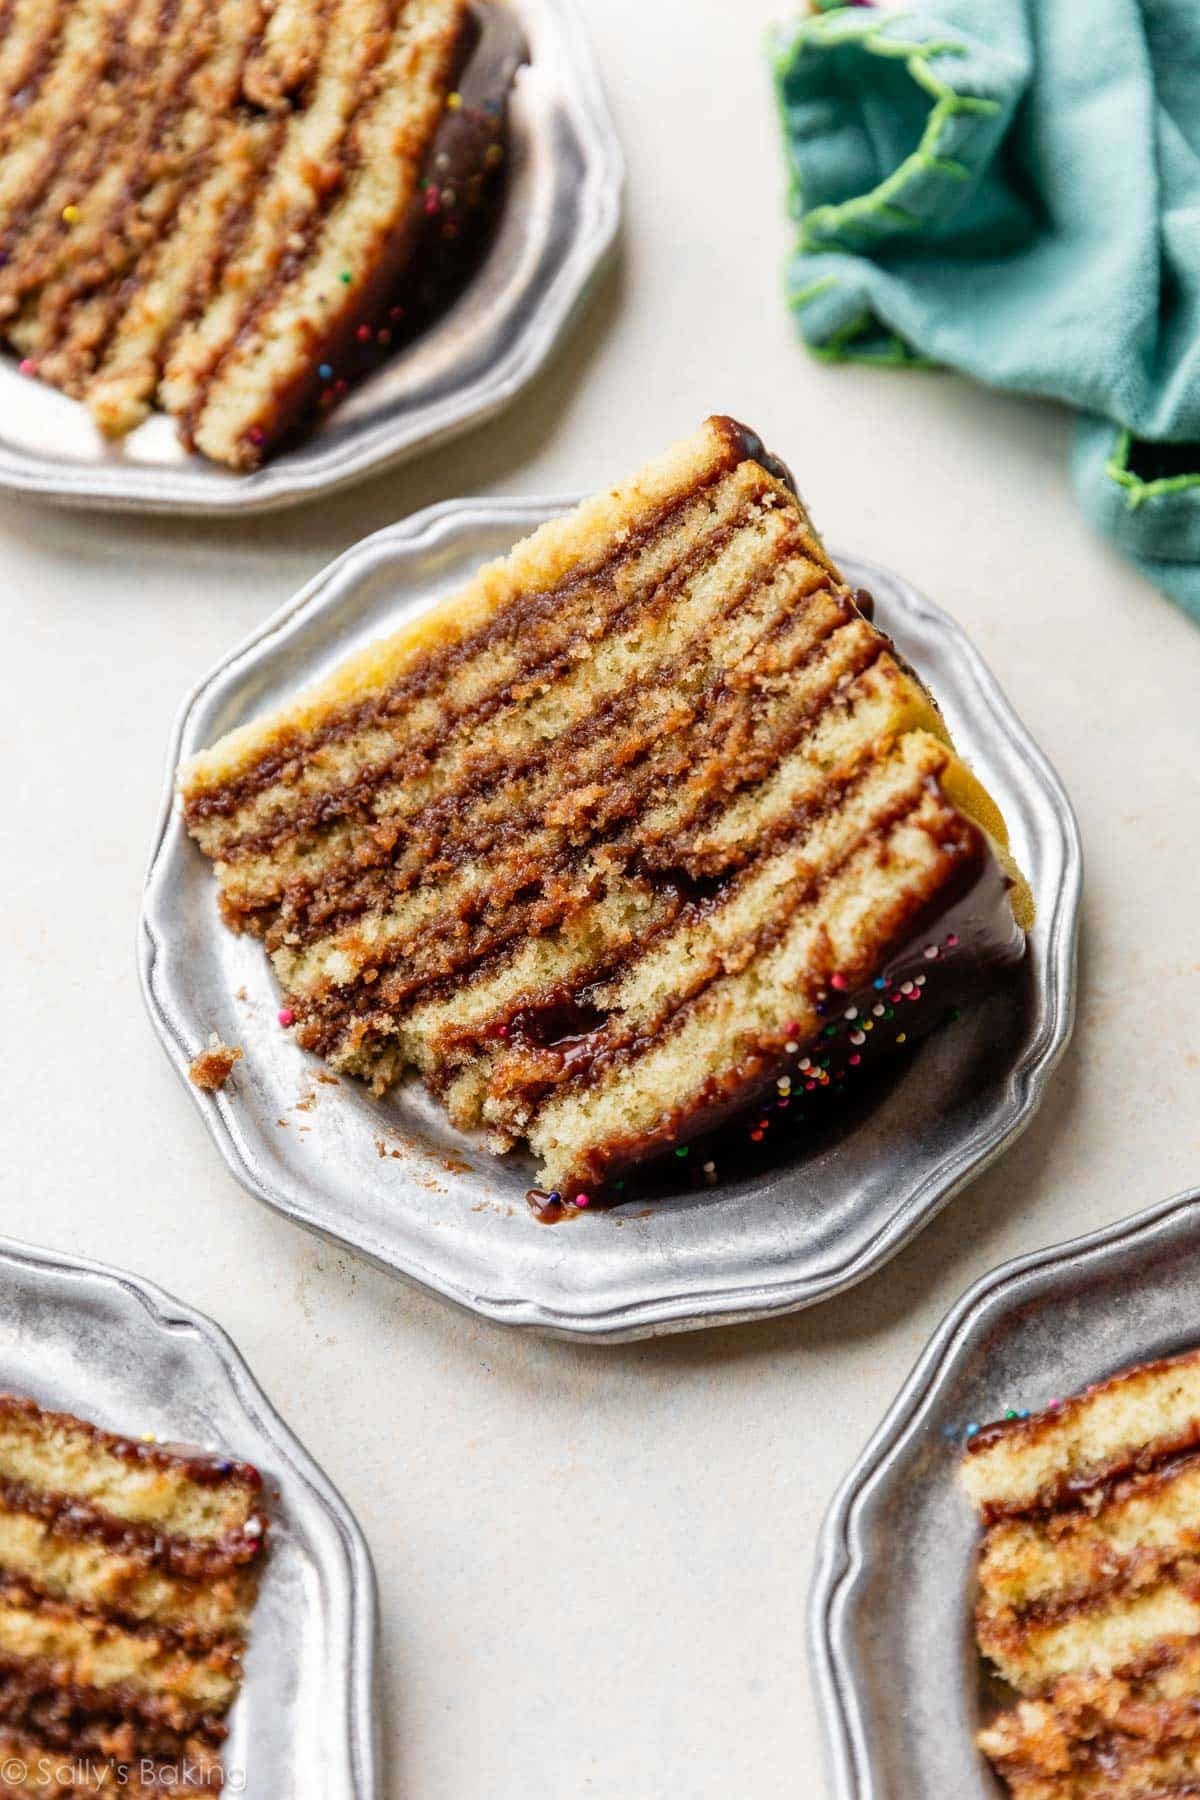
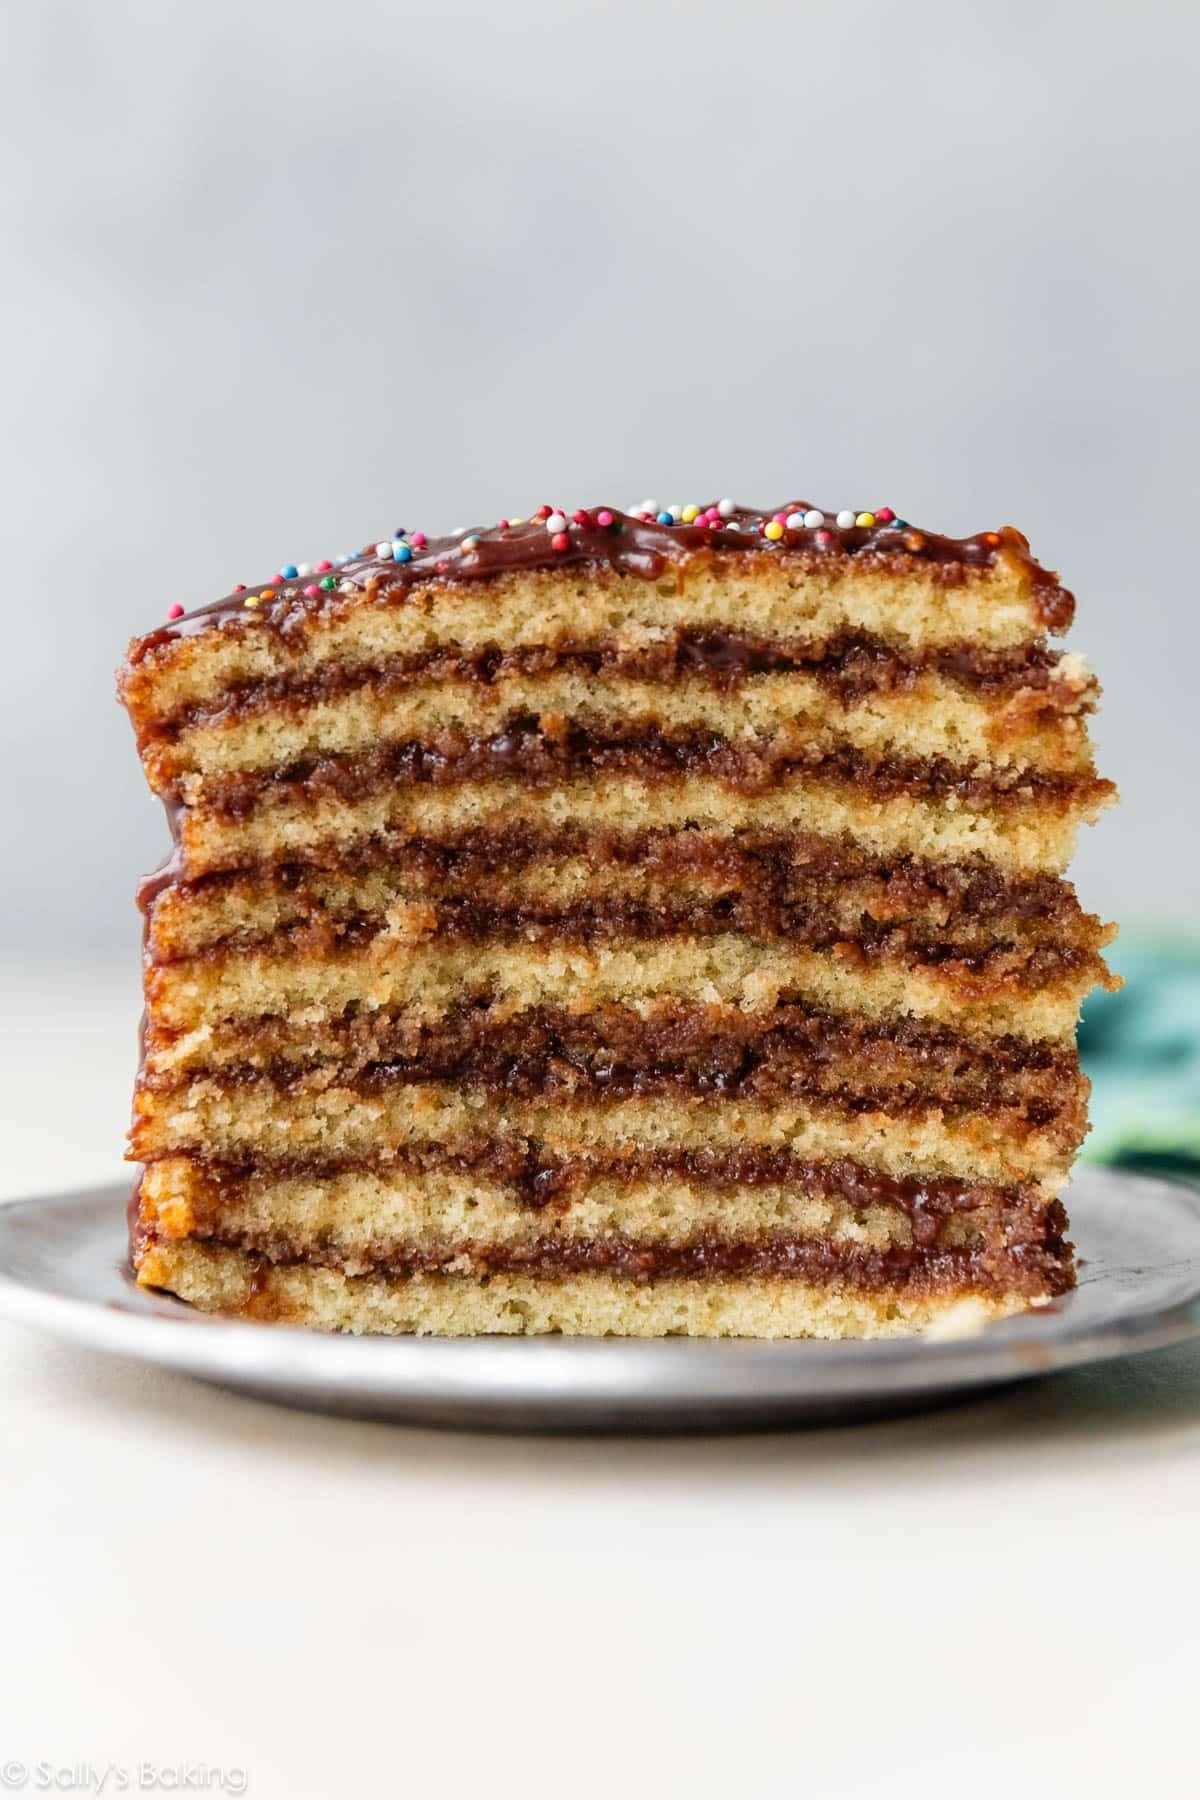
Nine layers, plenty of chocolate fudge icing, and one seriously unforgettable cake. This is Smith Island cake!
Description
Smith Island cake is the official dessert of Maryland. This stunning cake features 9 delicious yellow cake layers and chocolate icing layers. The chocolate icing seeps down into the cake layers creating the most deliciously moist cake you’ll ever taste. Garnish with sprinkles for an extra special treat!
- Make the icing first: The icing needs to cool completely and thicken before assembling the cake, so prepare it first. Combine the butter, chocolate, granulated sugar, heavy cream, and corn syrup in a medium saucepan over medium heat. Stir constantly until the butter and chocolate have melted. Continue to cook, stirring occasionally, as the sugar dissolves and the mixture comes to a full boil. (You should see bubbling in the center of the saucepan, not just around the edges.) Once boiling, cook for 2 minutes, or until the mixture reaches 220°F (104°C). Remove from heat and stir in the vanilla extract. Carefully taste and add a pinch of salt, if desired. Leave uncovered and set aside to cool and thicken for at least 2 hours, or until it reaches a spreadable consistency. This gives you plenty of time to bake and cool the cake layers. See the Make Ahead Tip if preparing in advance. Yields about 2 and 1/4 cups icing.
- Preheat oven to 350°F (177°C). Grease three 9-inch cake pans, line with parchment paper rounds, then grease the parchment paper. Parchment paper helps the thin cakes seamlessly release from the pans; they may crack and crumble otherwise. (If it’s helpful, see my parchment paper rounds for cakes video & post. You can also reuse the parchment rounds for each batch or cut 9 individual rounds.)
- Make the cake batter: Whisk the flour, baking powder, baking soda, and salt together in a large bowl. Set aside. Using a handheld or stand mixer fitted with a paddle attachment, beat the butter and sugar together on high speed until smooth and creamy, about 5 minutes. Scrape down the sides and up the bottom of the bowl with a silicone spatula as needed.
- On medium-high speed, add 1 egg at a time, beating well after each addition. Beat in the vanilla extract. Scrape down the sides and up the bottom of the bowl with a silicone spatula as needed.
- With the mixer on low speed, add the dry ingredients in three additions alternating with the buttermilk, beginning and ending with the dry ingredients, and mixing each addition just until incorporated. Do not overmix this batter. The batter will be smooth, velvety, and slightly thick.
- Bake the layers: You’ll have about 7 cups of batter total, so each of the 9 cake layers will use slightly less than 1 cup of batter, or about 200–210g. Keep any unused batter loosely covered at room temperature while the other layers bake. Pour slightly less than 1 cup (200–210g) of batter into each prepared cake pan and spread evenly. Bake for 11–12 minutes, or until a toothpick inserted in the center comes out clean. The layers are VERY thin, so they shouldn’t need much longer than this. Allow the cakes to cool in the pans for a couple minutes, then carefully invert each onto parchment paper on the counter. Peel off the parchment round from the bottom of the cake; you can reuse it for the next batch or use a new one. Once the pans are cool enough to handle, grease them again, line with parchment rounds, and grease the parchment. Repeat baking the remaining batter until you have baked all 9 layers. Allow all of the cake layers to cool completely, about 1 hour.
- Assemble the cake: Carefully place one layer on a serving platter, cake turntable, or cake stand. Spoon and spread 1/4 cup of icing on top, then repeat with the rest of the cake layers and icing. Some icing will spill over the sides and that’s ok. Decorate the top with sprinkles, if desired.
- Set the cake aside for at least 1 hour before slicing and serving. This gives the icing time to set and makes the cake easier to slice. You can refrigerate the cake during this time, if desired.
- Cover and store leftover cake at room temperature for 1–2 days or in the refrigerator for up to 1 week.
Notes
- Make Ahead & Freezing Instructions: The cake layers can be baked, cooled completely, covered tightly, and stored at room temperature for up to 1 day. The icing can also be prepared ahead of time, covered, and refrigerated for up to 2 days. The assembled cake can be frozen for up to 3 months. Thaw overnight in the refrigerator, then bring to room temperature before serving. For the best taste and texture, though, I recommend enjoying this cake fresh.
- Special Tools (affiliate links): Medium Saucepan | 9-inch Round Cake Pans | Whisk | Glass Mixing Bowl | Electric Mixer (Handheld or Stand) | Cake Turntable | Cake Carrier (for storage)
- 9 Layers: The 9 thin cake layers are baked individually rather than baking 3 or 4 thicker cakes and slicing them horizontally. This is actually easier and helps the layers bake more evenly—and because they’re so thin, each batch only takes about 11–12 minutes in the oven. If you have multiple 9-inch cake pans, you can bake several layers at once. If you only have 1 or 2 pans, simply work in batches until all 9 layers are baked.
- Chocolate in Icing: I prefer bittersweet chocolate for a rich chocolate flavor that balances the sweetness of the icing. For a sweeter icing, use semi-sweet chocolate. You need 6 ounces (170g) of chocolate, which is more than 1 standard 4-ounce baking chocolate bar, so be sure to have 2 bars on hand. Use baking chocolate bars, not chocolate chips, which don’t melt as smoothly.
- Flour: Sift flour before measuring.
- Buttermilk: Buttermilk (an acid) is required for this cake recipe. If you don’t have any, you can make a DIY buttermilk substitute. Add 1 Tablespoon of white vinegar or lemon juice to a liquid measuring cup. Then add enough whole milk to the same measuring cup until it reaches 1 and 3/4 cups. (In a pinch, lower fat or nondairy milks work for this soured milk, but the cake won’t taste as moist or rich.) Stir it around and let sit for 5 minutes. The homemade “buttermilk” will be somewhat curdled and ready to use in the recipe.