

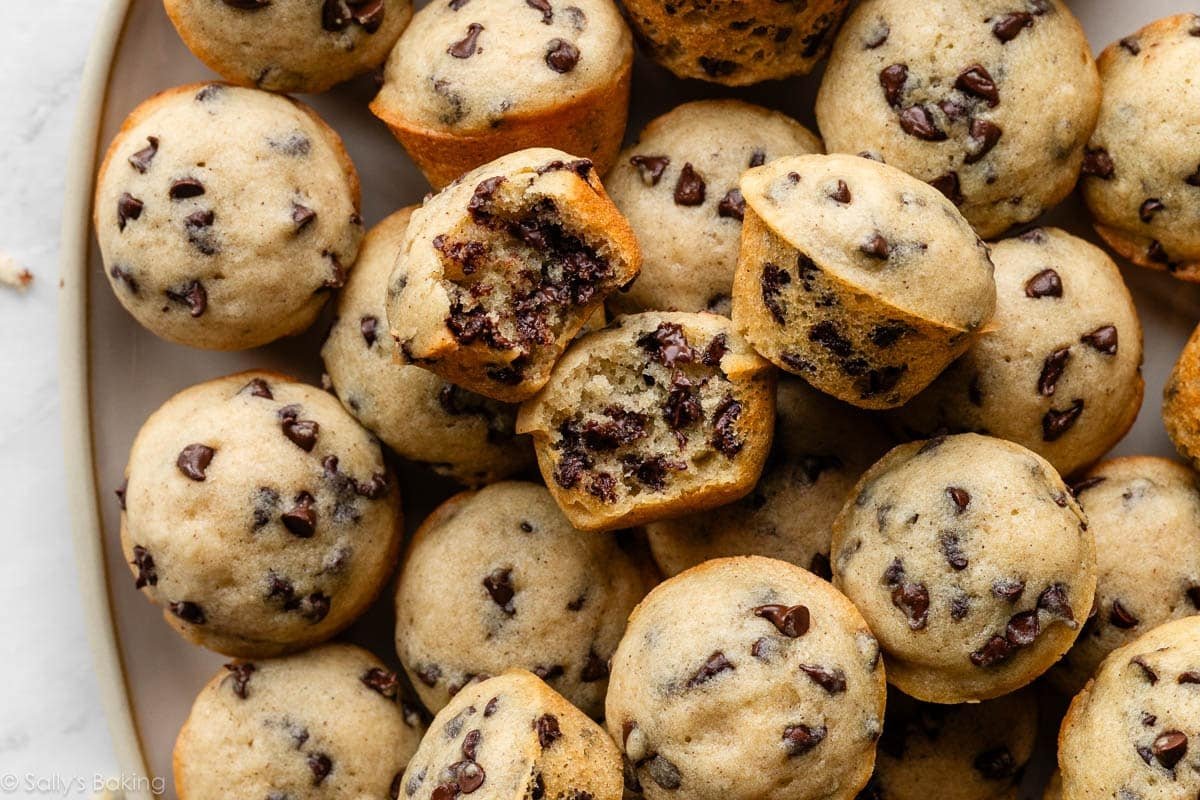
These lunchbox mini chocolate chip muffins are soft, moist, and loaded with mini chocolate chips. Made with Greek yogurt and your choice of melted butter or oil, they’re quick and easy to make with no mixer required. The recipe makes about 32 mini muffins, and they freeze and thaw beautifully, making them a convenient make-ahead treat for school lunches, snacks, and busy mornings.
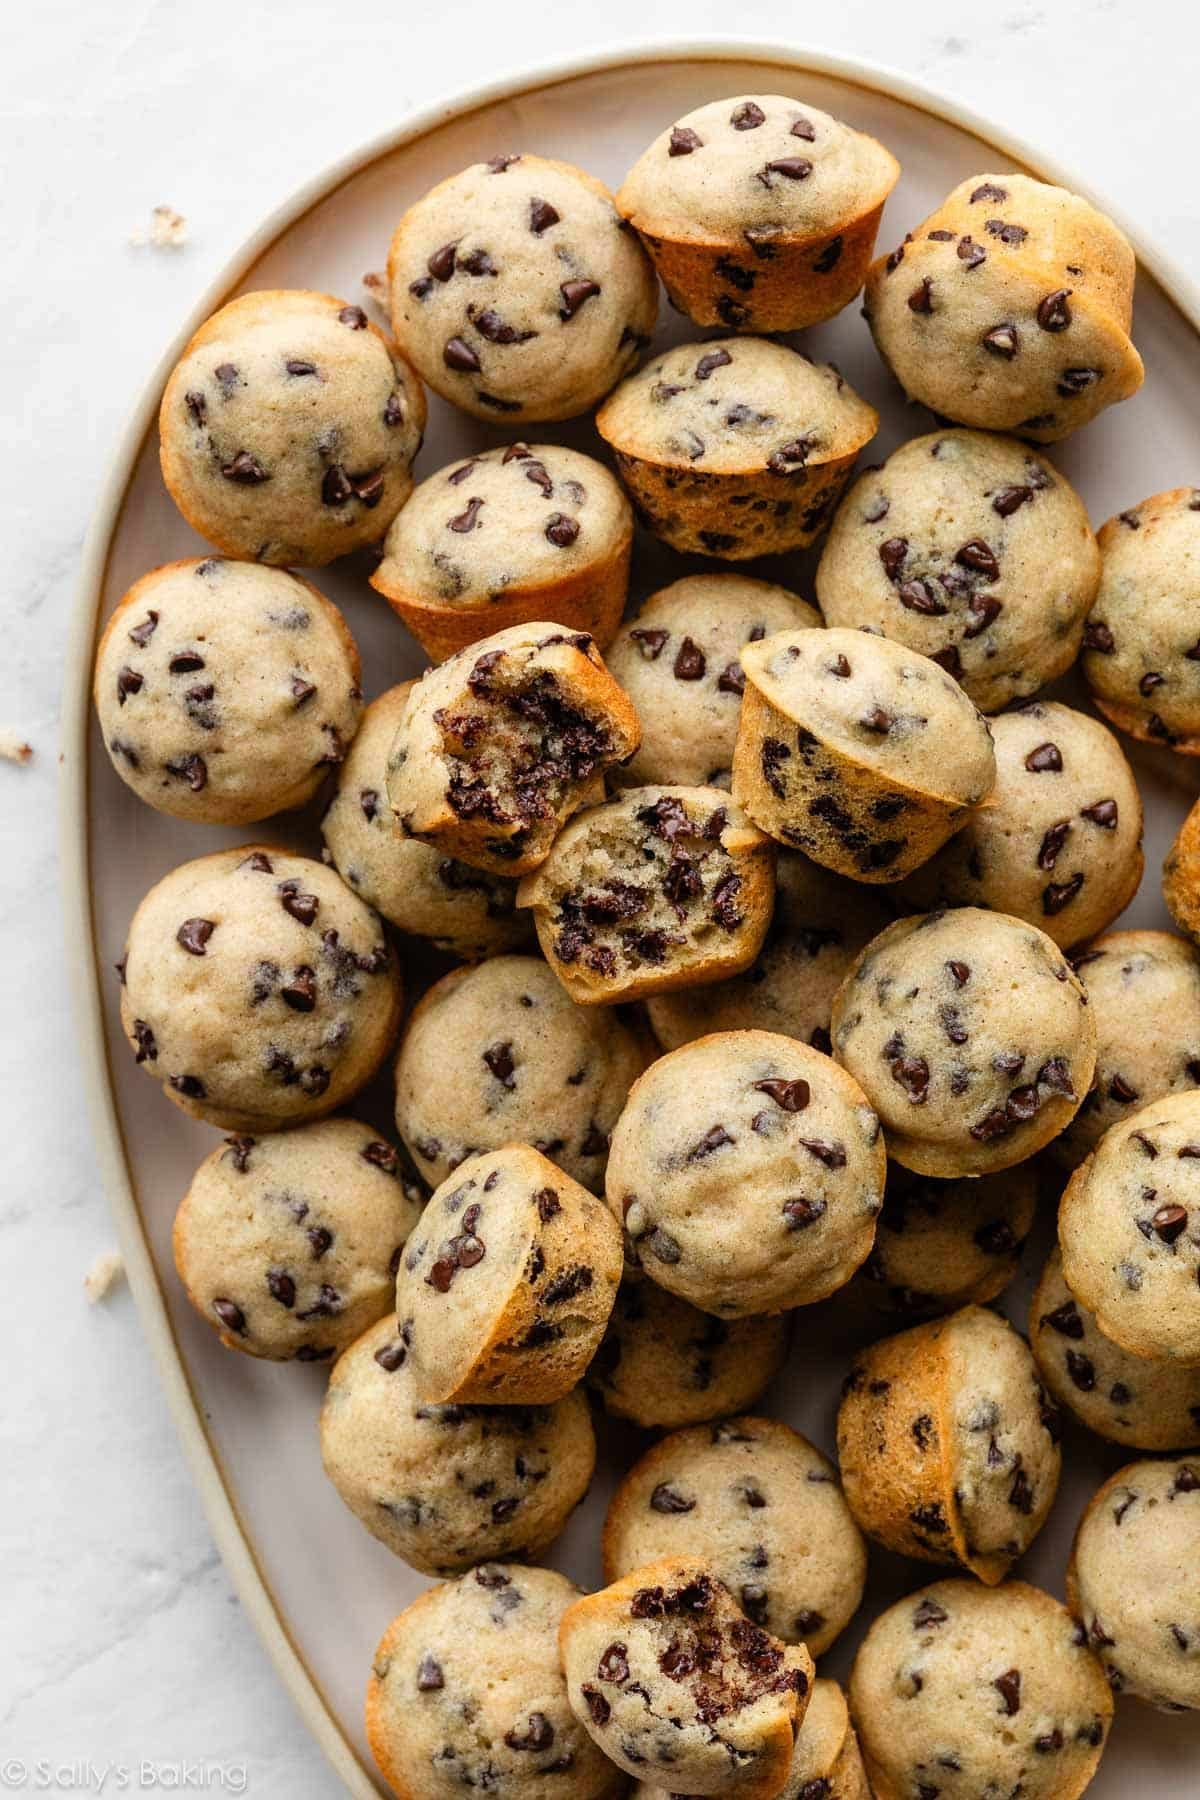
There’s something undeniably fun about mini muffins, especially when chocolate chips are involved. These bite-size muffins were inspired by the little packaged chocolate chip muffins that are super popular in school lunches, but with the flavor and texture you expect from homemade.
Verdict: Kids loved these.
Today’s mini muffins are wonderfully soft and moist, with plenty of mini chocolate chips in every bite. And while they aren’t quite as ultra-soft and cakey as the packaged variety, my team and I found that using oil gets them pretty close… and helps them stay moist for longer, too!
Best of all, you don’t need a mixer because you can whisk the batter by hand. The mini chocolate chip muffins also freeze and thaw beautifully, so you can stash a batch in the freezer and have homemade mini muffins ready whenever you need them.
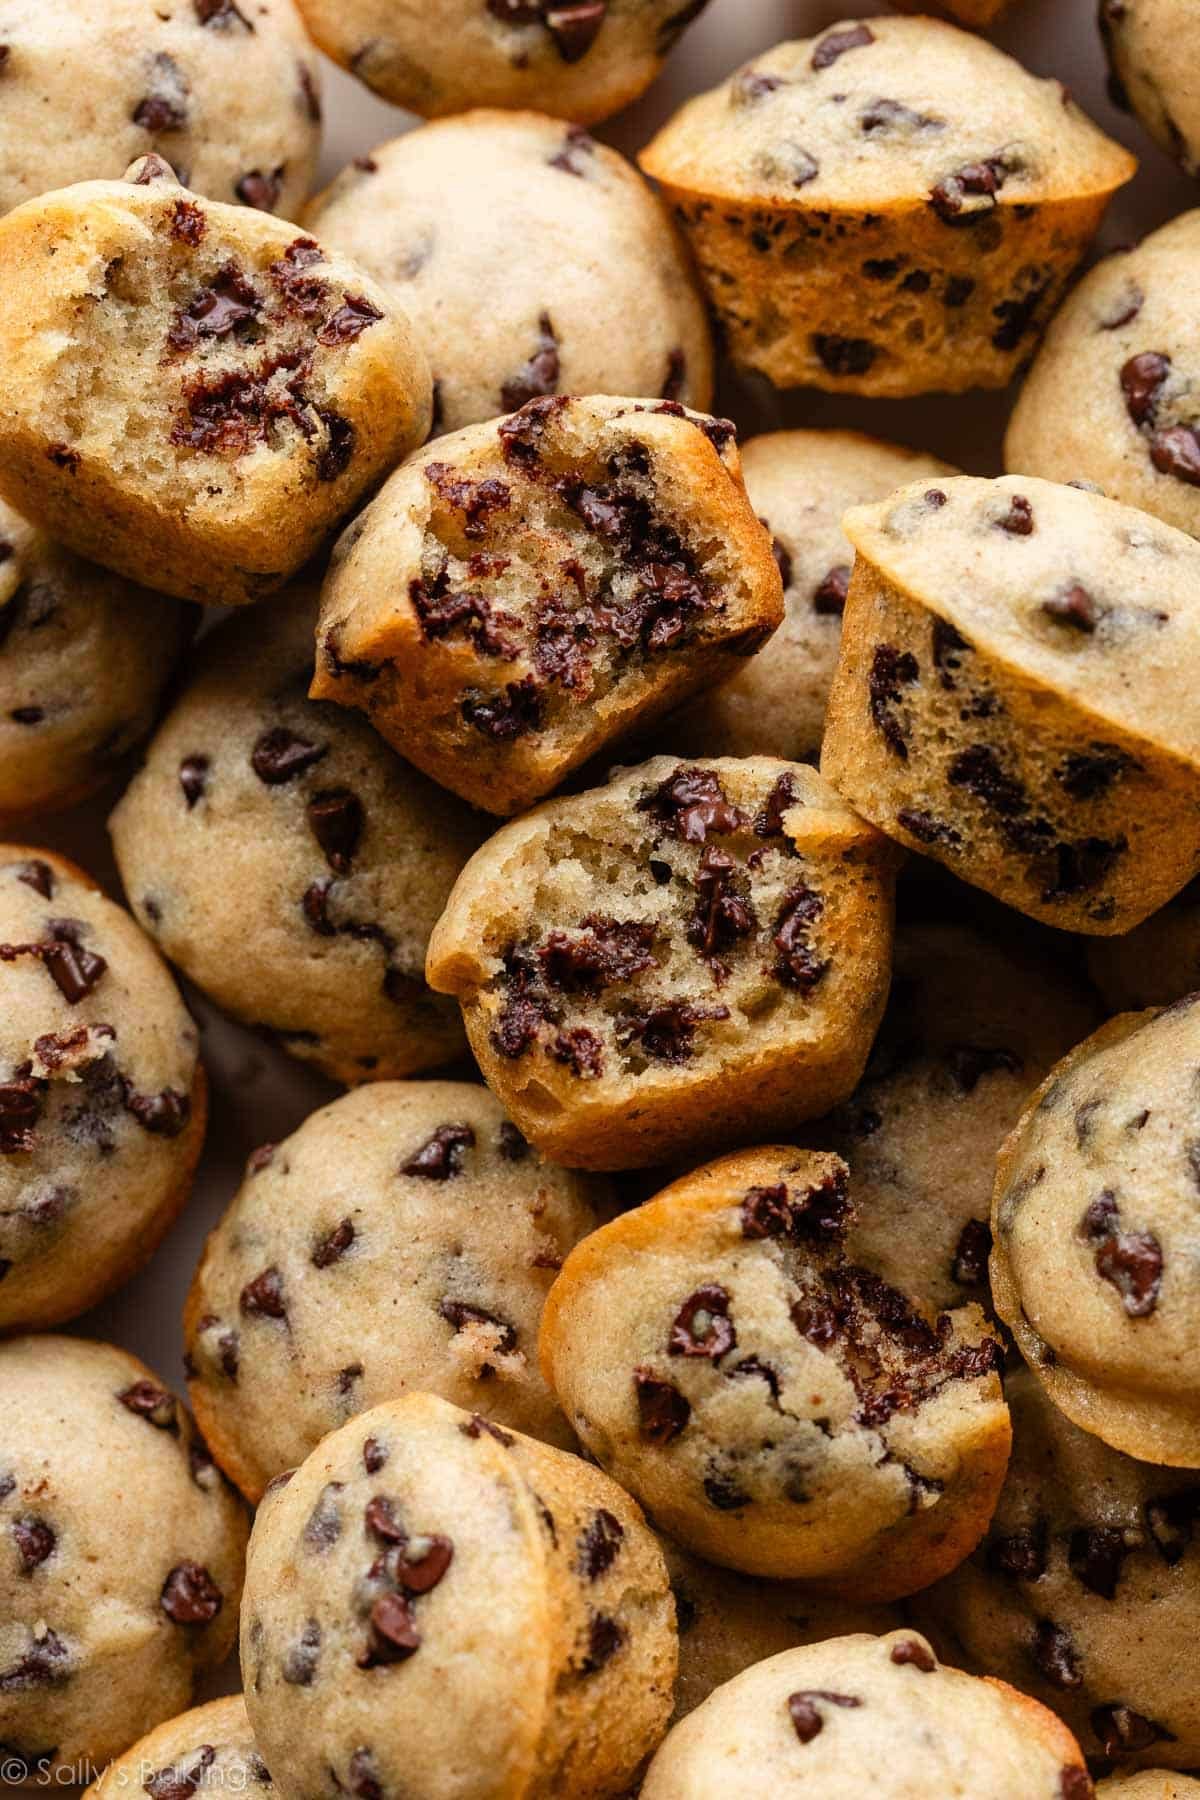
Here’s Why You’ll Love These Mini Chocolate Chip Muffins
- Soft, moist, and perfectly bite-size
- Plenty of mini chocolate chips in every muffin
- Quick and easy to make
- No mixer required
- Made with simple, everyday ingredients
- Freeze and thaw beautifully
- Perfect for lunchboxes, after-school snacks, and back-to-school season
Key Ingredients You Need & Why
I adapted the recipe from these quick & easy banana muffins, leaving out the banana (obviously!) and adding in some Greek yogurt, milk, and adjusting the leavening.
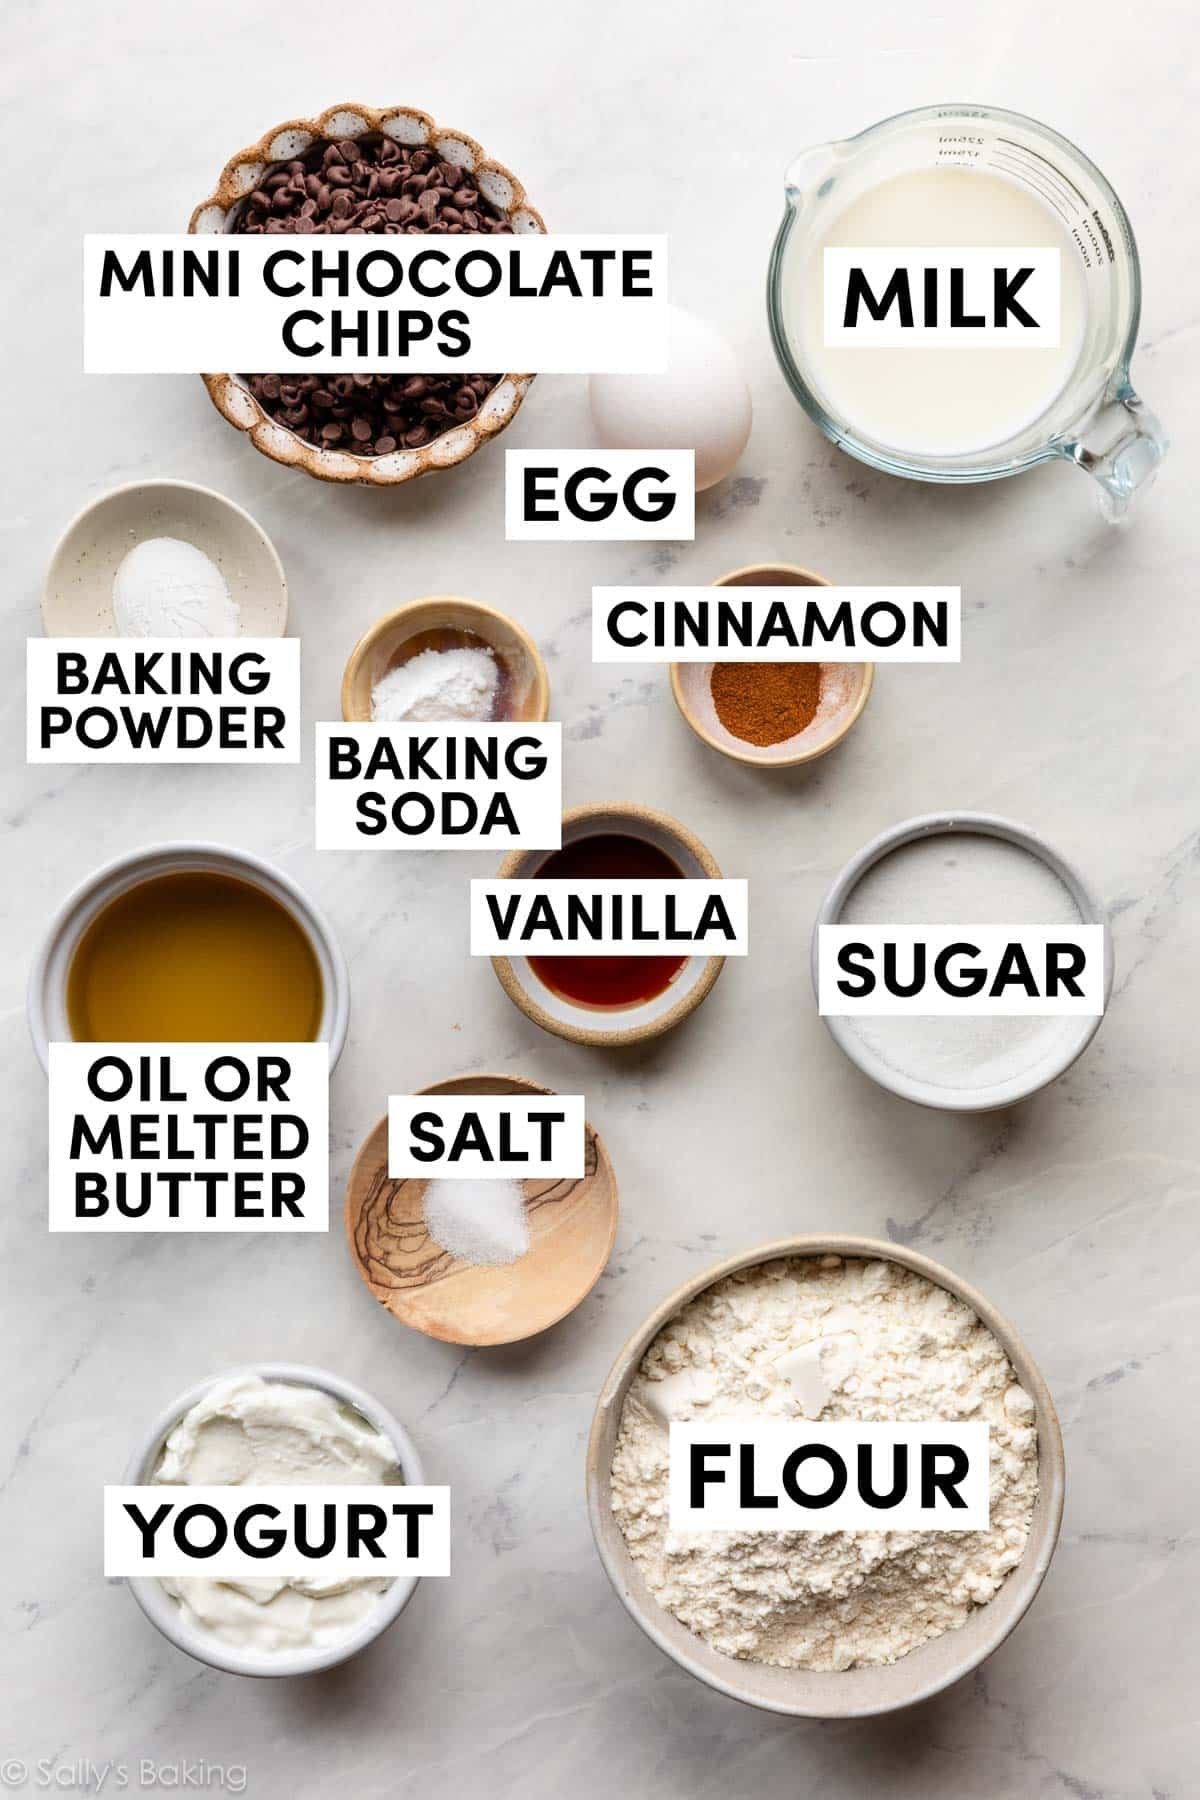
You don’t need anything unusual for these mini chocolate chip muffins, but a few ingredients are especially important for achieving their soft, moist texture.
- Greek Yogurt: Greek yogurt adds moisture and richness without thinning out the batter too much. I use plain Greek yogurt here, and it helps give the muffins a wonderfully soft and tender crumb.
- Butter or Oil: You can make these muffins with either melted butter or oil. Melted butter gives the muffins a little more buttery flavor, while oil produces a slightly softer muffin that stays moist for longer. If you’re using oil, avocado oil is my top choice because of its neutral flavor.
- Whole Milk: Milk provides additional moisture and helps create a soft, tender texture. Whole milk works best, but lower-fat or nondairy milks work in a pinch.
- Mini Chocolate Chips: Mini chocolate chips are ideal for mini muffins because you get lots of little pockets of chocolate throughout every bite. Regular-size chocolate chips are simply a little too large for such tiny muffins.
- A Touch of Cinnamon: Just 1/4 teaspoon adds a subtle background flavor. You won’t necessarily identify the flavor as cinnamon, but it makes the muffins taste a little more special!
Do you need a flourless version? Here’s a recipe for baked chocolate chip oatmeal cups.
Butter vs. Oil in These Mini Muffins
I tested these mini muffins with both melted butter and oil, and you can use either.
For the softest muffins that stay moist the longest, use oil. This is helpful if you’re making the muffins ahead for school lunches throughout the week. I like avocado oil because it has a mild, neutral flavor, but another neutral-tasting oil works, too.
If you prefer the flavor of butter, use 6 Tablespoons (85g) of melted and slightly cooled butter instead. The muffins are still wonderfully soft and moist, with a little more buttery flavor.
There’s no wrong choice here… it simply depends on what you value most: butter for flavor, or oil for longer-lasting moisture!
How to Make Mini Chocolate Chip Muffins
Good news: you don’t need a mixer for these! The batter comes together quickly with a couple bowls and a whisk.
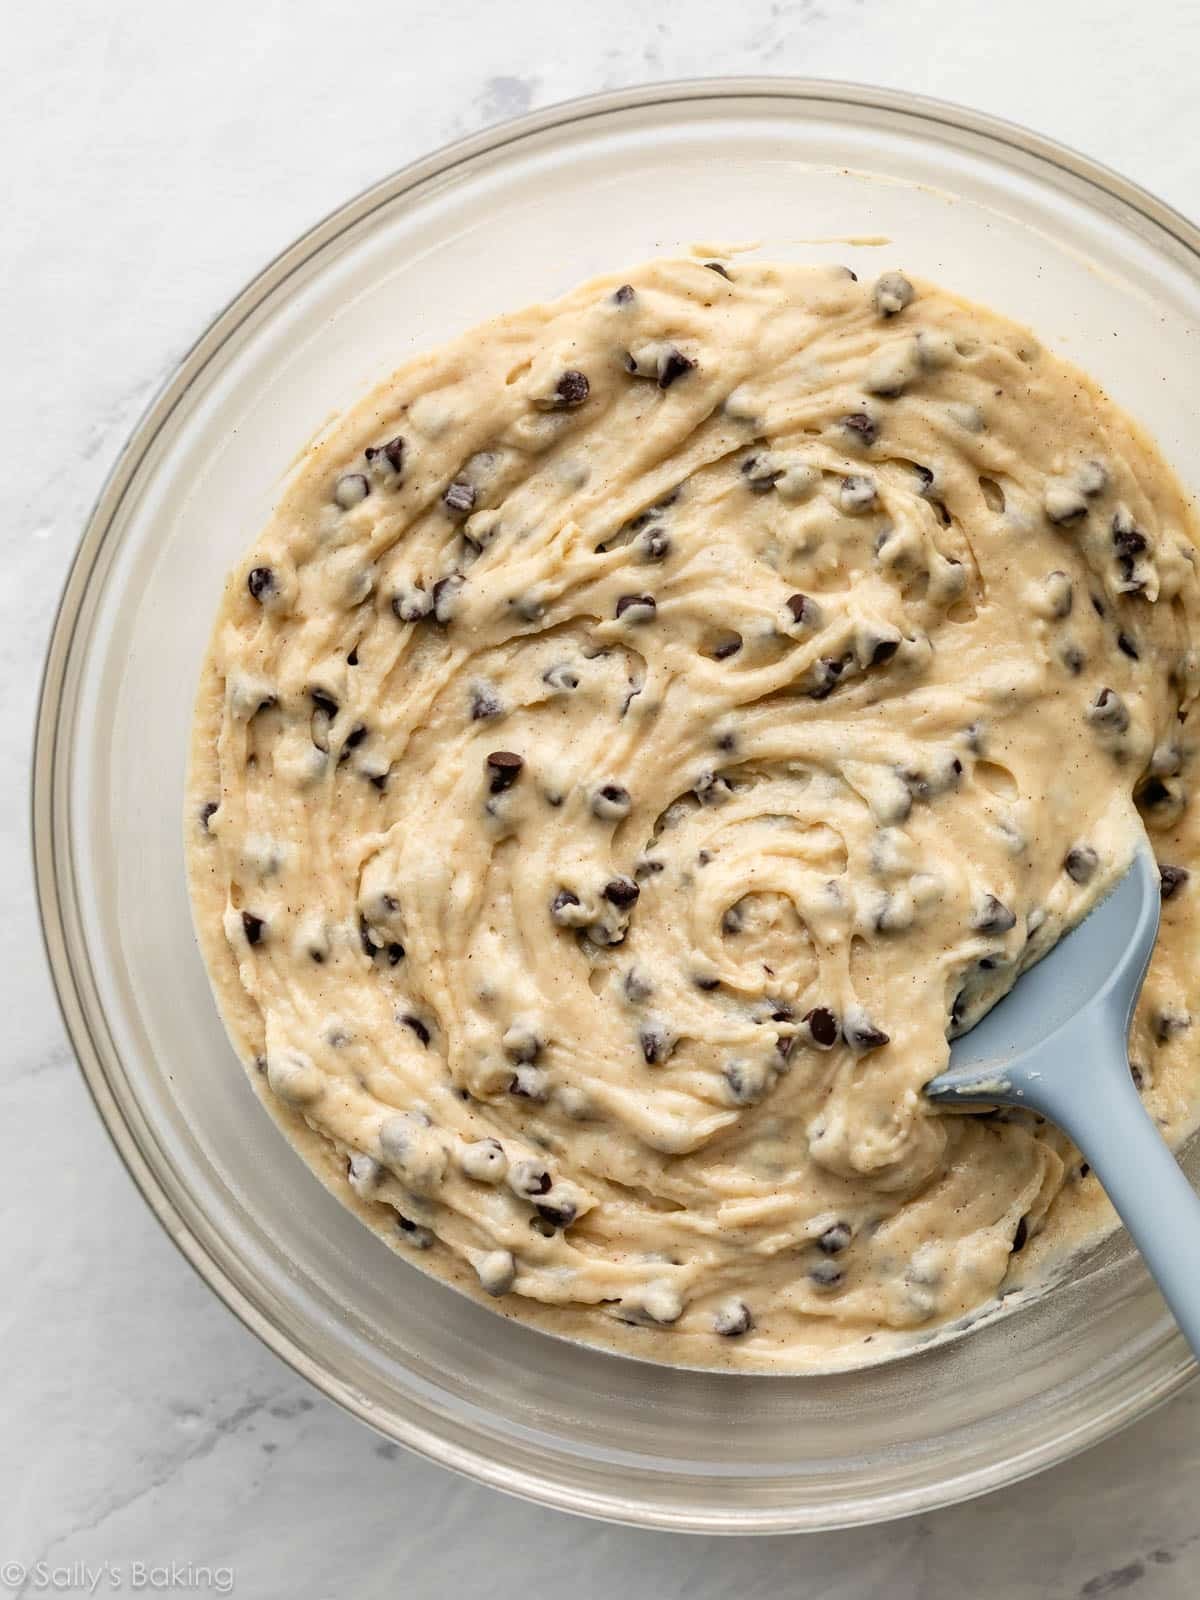
Whisk together the dry ingredients, then whisk together the wet ingredients. Then gently combine them both just until combined. Fold in the mini chocolate chips, being careful not to over-mix the batter.
Success Tip: Don’t over-mix. Like most muffin batters, this batter is happiest when you mix it only until everything is combined. Over-mixing can leave you with a denser, tougher muffin.
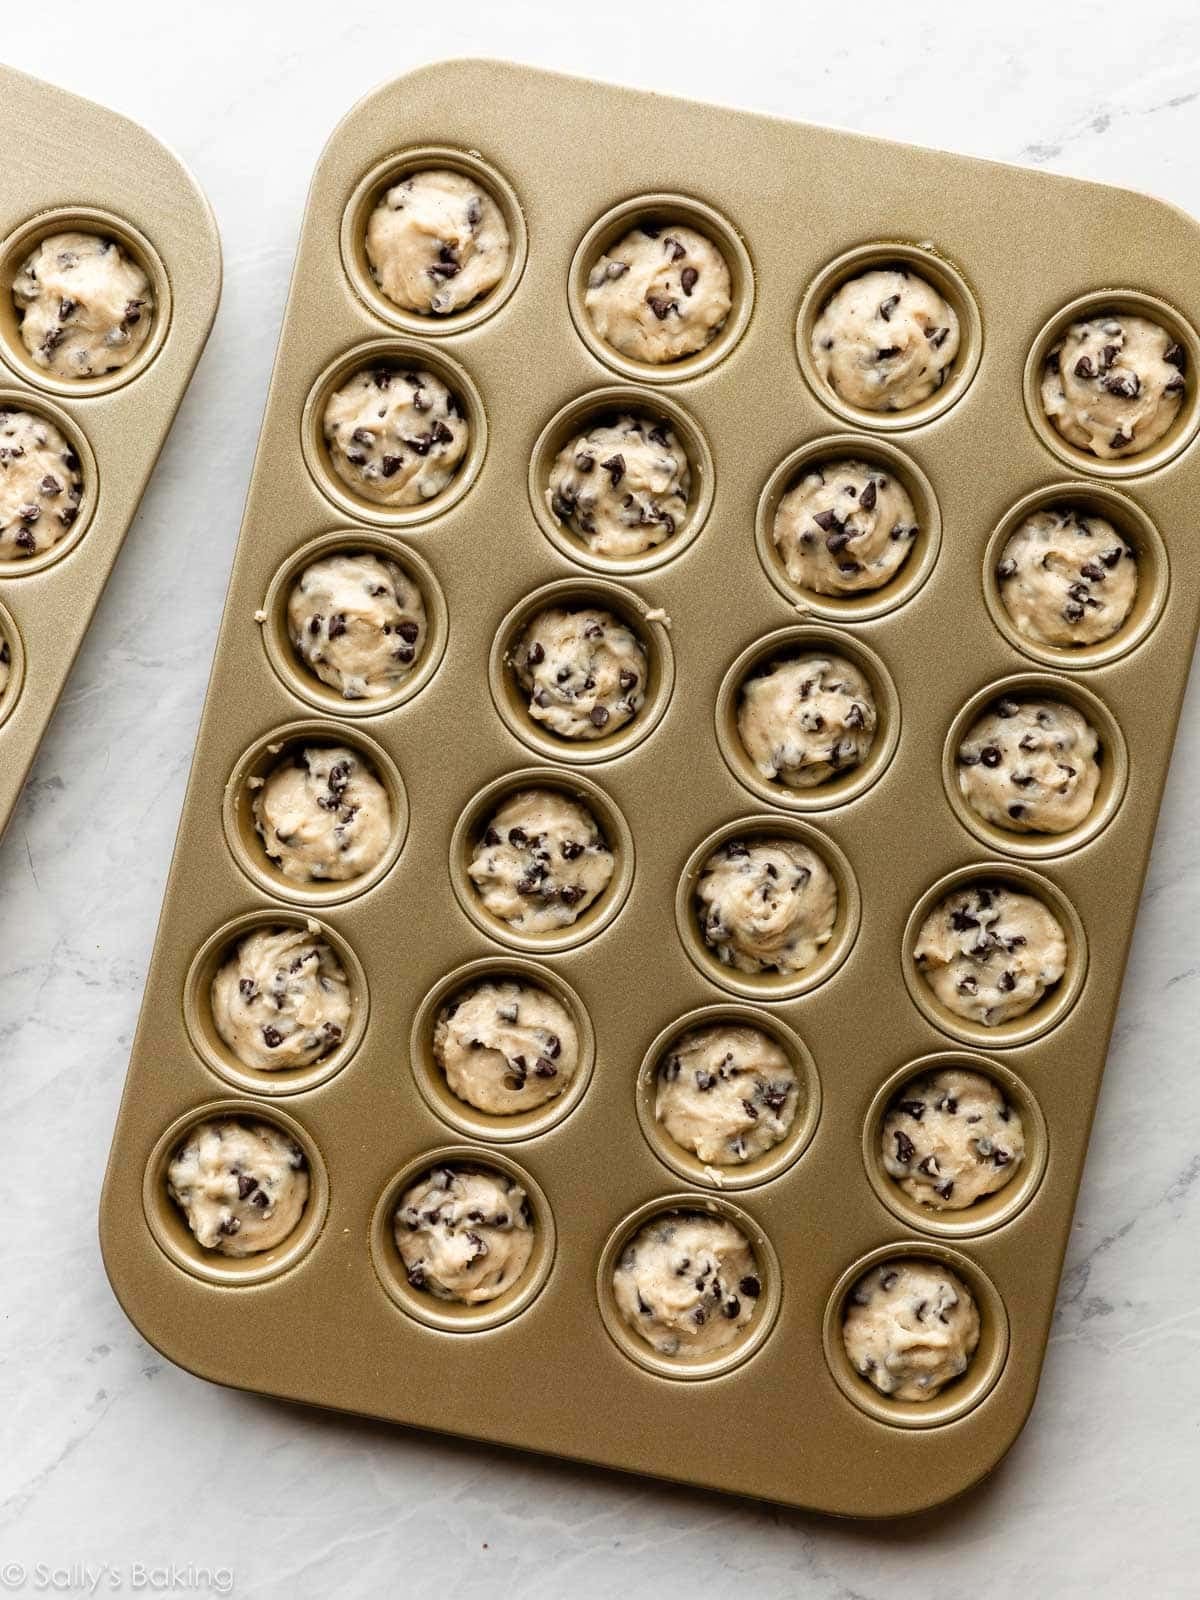
Spoon the batter into a greased or lined mini muffin pan and bake.
How to Freeze the Mini Muffins
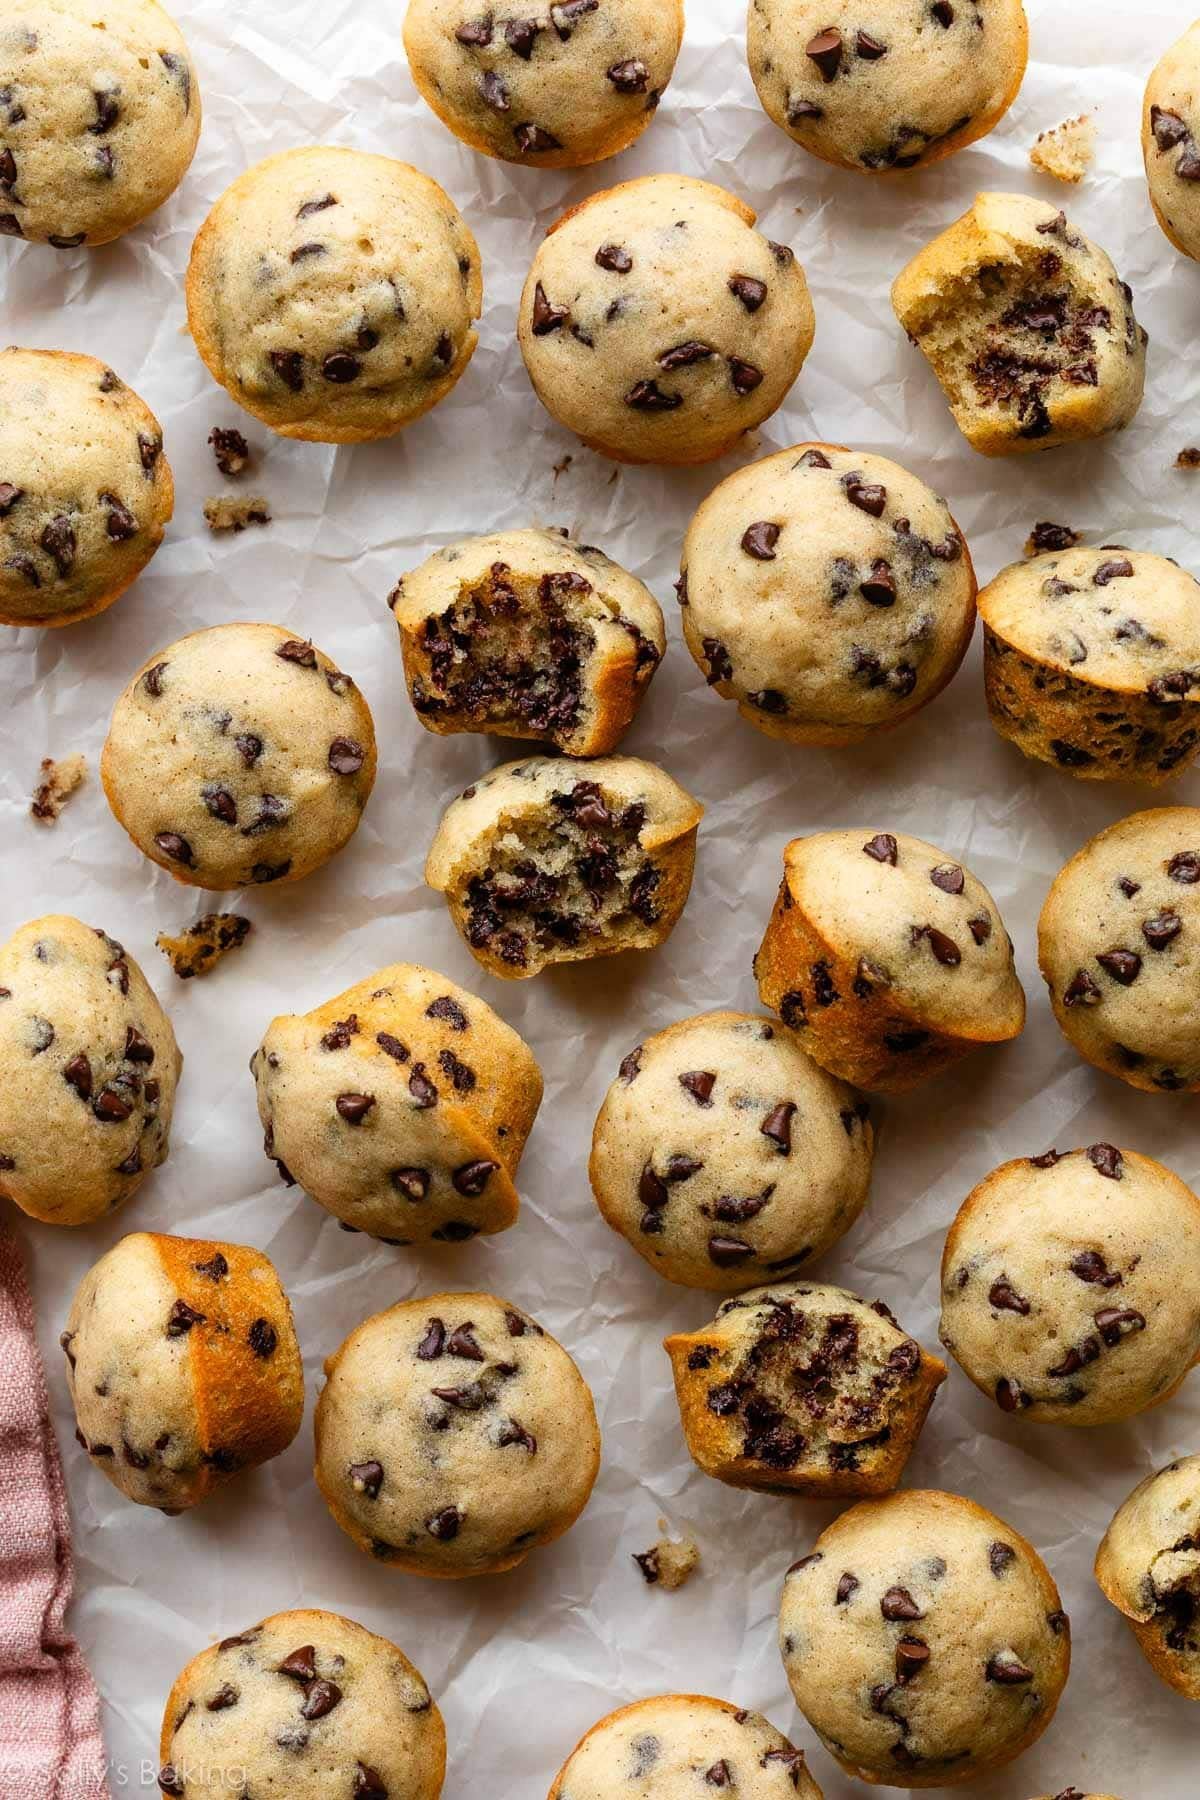
Once the mini chocolate chip muffins have cooled completely, you can freeze them in a freezer-friendly container or bag. You can thaw however many you need at room temperature.
PrintDescription
Soft and moist mini chocolate chip muffins made with Greek yogurt and plenty of mini chocolate chips. These easy, no-mixer muffins freeze beautifully and are perfect for lunchboxes, after-school snacks, and busy mornings!
- Preheat oven to 375°F (190°C). Spray a 24-count mini muffin pan with nonstick spray or line with mini muffin liners. If using liners, I recommend lightly spraying them with nonstick spray. This recipe yields about 32 mini muffins, so prepare a second mini muffin pan in the same manner or bake in batches, keeping any leftover batter at room temperature while the first batch bakes.
- In a medium bowl, whisk the flour, baking powder, baking soda, salt, and cinnamon together. Set aside.
- In a large bowl, whisk the yogurt, melted butter or oil, and sugar together. Add the egg and vanilla, and whisk until combined. Finally, whisk in the milk.
- Pour the dry ingredients into the wet ingredients and fold together just until combined. Do not over-mix. Gently fold in the mini chocolate chips. The batter will be slightly thick. Some small lumps are OK. Again, avoid over-mixing.
- Spoon the batter into the prepared muffin cups, filling each about 3/4 full. Bake for 10–12 minutes, or until a toothpick inserted into the center of a muffin comes out clean. The muffins will still look fairly pale on top. Do not over-bake.
- Allow the muffins to cool in the pan for 5 minutes, then transfer them to a cooling rack to continue cooling.
- Cover leftover muffins tightly and store at room temperature for up to 5 days, or in the refrigerator for up to 1 week. If enjoying straight from the refrigerator, warm them in the microwave for a few seconds to soften them up, as they can taste a bit dense when cold.
Notes
- Freezing Instructions: For longer storage, freeze the cooled muffins in a freezer-friendly container or bag for up to 3 months. Thaw at room temperature before serving.
- Special Tools (affiliate links): 24-count Mini Muffin Pan | Glass Mixing Bowls | Whisk | Silicone Spatulas
- Greek Yogurt: I recommend plain nonfat or 2% Greek yogurt. I have not tested this recipe with regular (non-Greek) yogurt, though I’m sure it would be fine. Sour cream works in place of yogurt if needed.
- Butter or Oil: You can use either melted butter or a neutral-tasting oil in this recipe. Butter provides more flavor, while oil produces slightly softer muffins that stay moist for longer. We prefer avocado oil, but vegetable oil or canola oil works, too.
- Milk: Whole milk produces the best flavor and texture. In a pinch, you can use lower-fat or nondairy milk instead.
- Why Are All of the Cold Ingredients at Room Temperature? When ingredients are at room temperature, they combine more easily and evenly. This helps produce a uniform batter and consistent texture throughout the muffins.